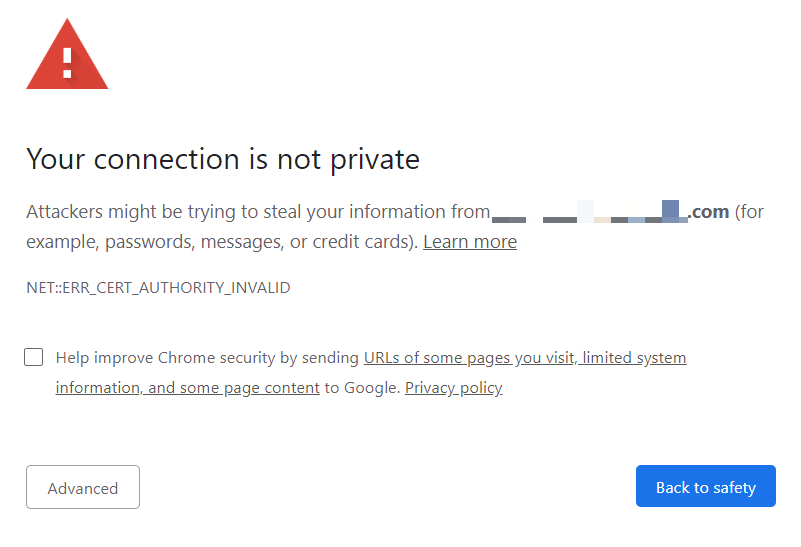
The Chrome app might encounter the ‘connection not private’ security alert. This alert might be caused by a failed security requirement or an unsecured connection between the browser and the web server.
In such cases, we can verify the correct system date and time, verify the SSL certificate’s validity, adjust firewall settings, and clear obsolete cookies and cache data to resolve the connection error.
In this guide, I have shared written instruction about:
Method 1: Verify System Date and Time
If the site has updated its certificates, but your PC’s date and time are not set up correctly, then the browser can’t identify the changes to that site. This would then lead to the SSL certificate verification failure leading to connection privacy error.
In such cases, you need to check and change the to correct time.
- Check for the current Date and Time in the Windows taskbar.
- If it’s incorrect, right-click and select Adjust Date/Time.
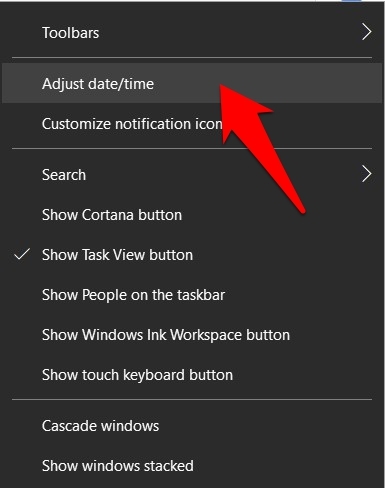

- Enable the Set Time Automatically and Set Time Zone Automatically options.
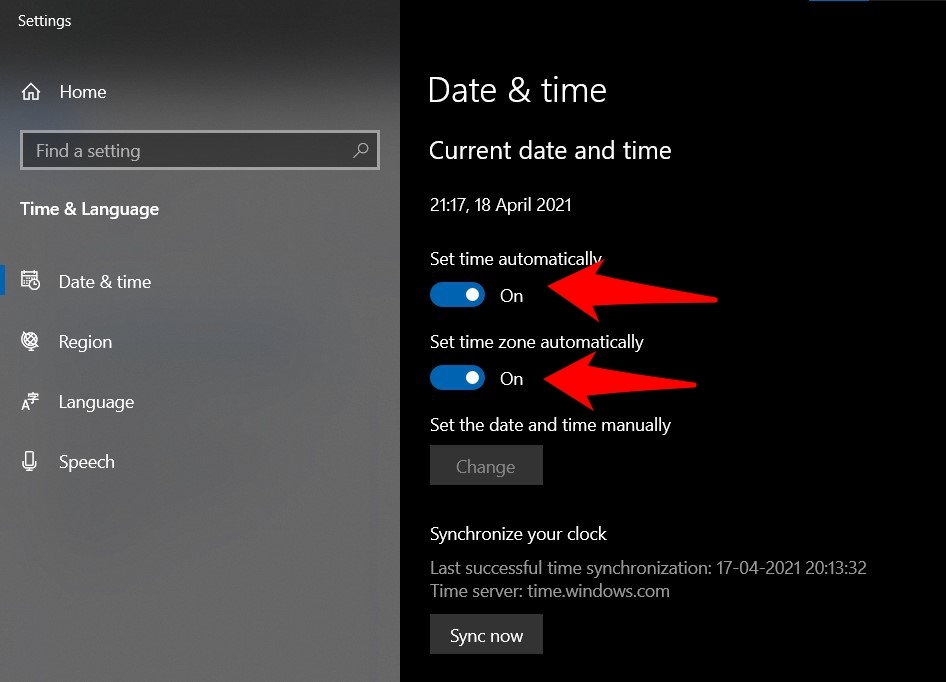

- Hit on the button to perform a manual online sync.
Once done, try accessing the site and check whether the issue has been rectified. However, if you cannot be online, disable the automated options and consider manually making the adjustments from the same menu.
Method 2: Delete Browser Cache and Site Cookies
If temporary browser data accumulates over the course of time, then it could result in quite a few issues. One among them is the inability of the browser to correctly read the website information before it properly loads it up.
Therefore you should clear these cache and cookies data right away.
- Launch the Google Chrome browser.
- Click on the More

 option, and select Settings menu.
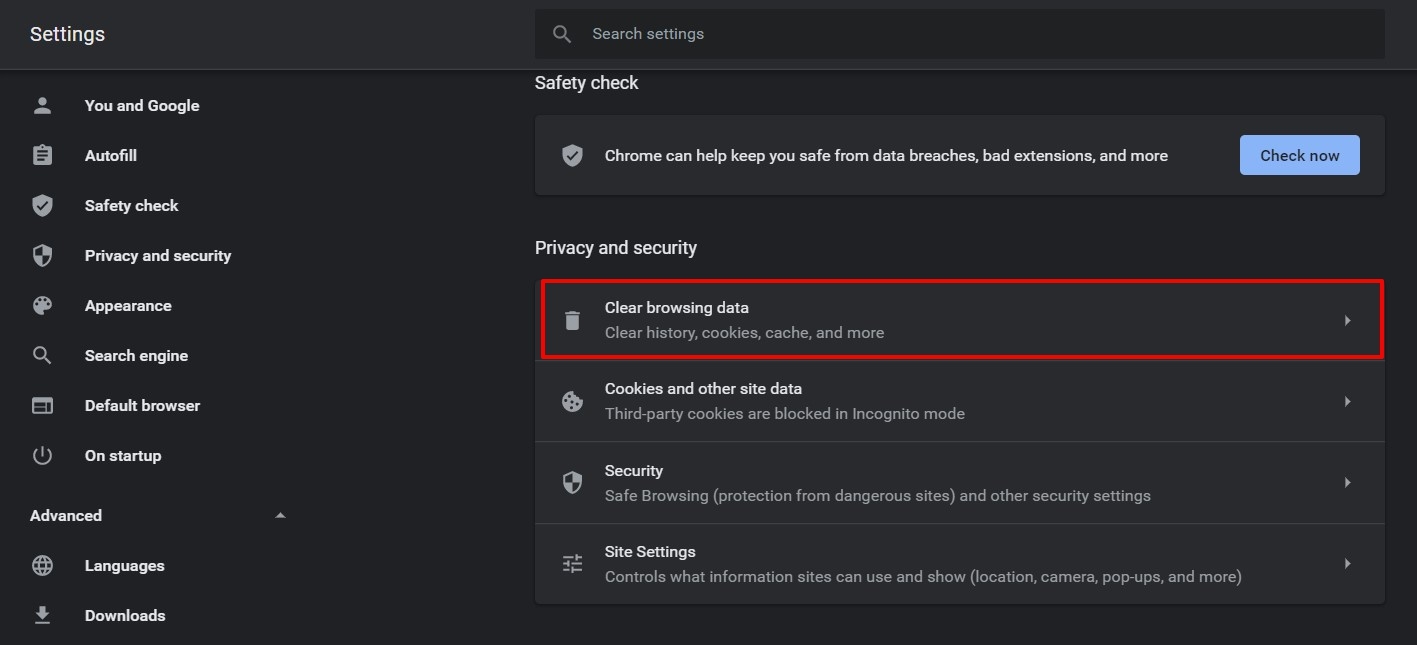
 - Switch to the Privacy and Security section.
- Select the Clear browsing data tab.

- Enable checkbox for Cookies and Other Site Data and Cached Images and Files.
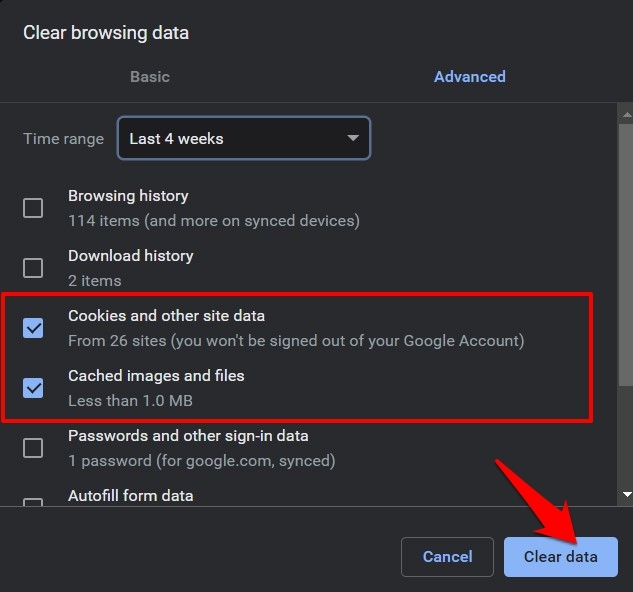

- Hit the button.
Once done, restart the browser and check whether the error has been rectified. Deleting these temporary data might result in a slow load of some sites. But if it fixes the underlying issue, then a wait for a few extra seconds would be more along the justifiable lines.
Method 3: Clear SSL State in Windows PC
Your PC has a standalone section where it stores the SSL Certificate information for various websites. However, if any of that data gets corrupted, then there could be a high chance of the browser raising a false positive when, in reality, that might not be the case.
The best way to check for the same is to delete all the stored SSL states and then let browser create a new instances.
- Head over to the Start menu and search for Internet Properties.
- Open Internet Properties from the search result and switch to the Content tab.
- Hit the button and wait for the process to complete.


- Now restart your browser and try visiting the site.
Since you have deleted the SSL state of every website, Chrome might take a while before displaying the security of the sites you visit. However, this will only happen once, as the browser will automatically save the current state in its SSL cache on this first visit itself.
Method 4: Disable Antivirus and Firewall Protection
Sometimes, the antivirus app might become overprotective and block access to a particular site. So if you have complete trust in the site you are about to visit and believe that the antivirus has raised a false alarm, consider disabling it for the time being.
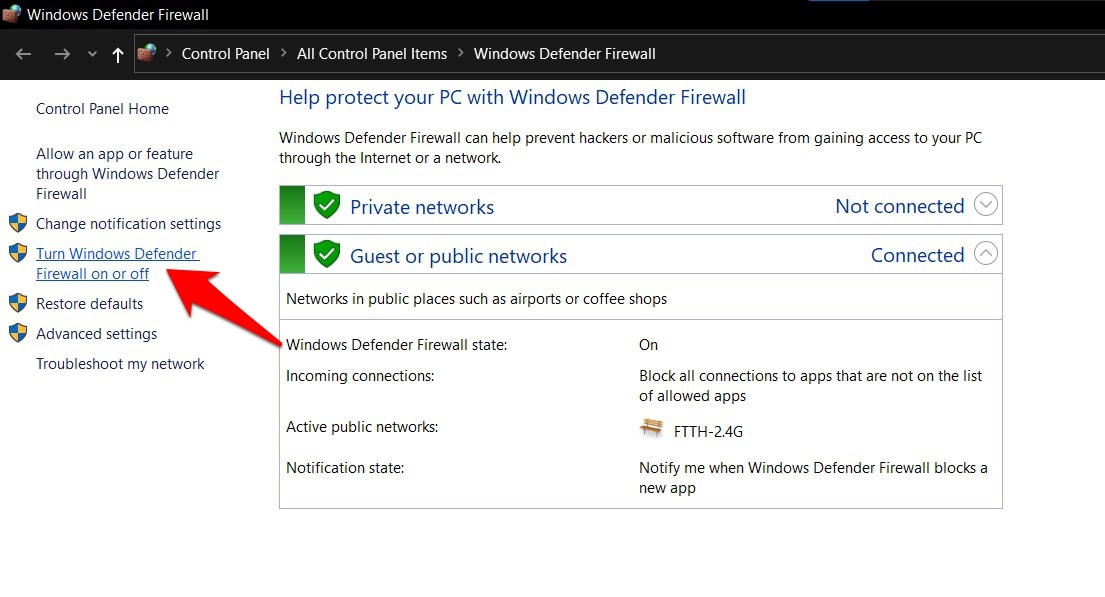
- Search and open Windows Defender Firewall from the Start menu.
- Click on Turn Windows Defender Firewall On or Off from the left menu bar.

- Select the Turn off Windows Defender Firewall option under Public and Private networks.
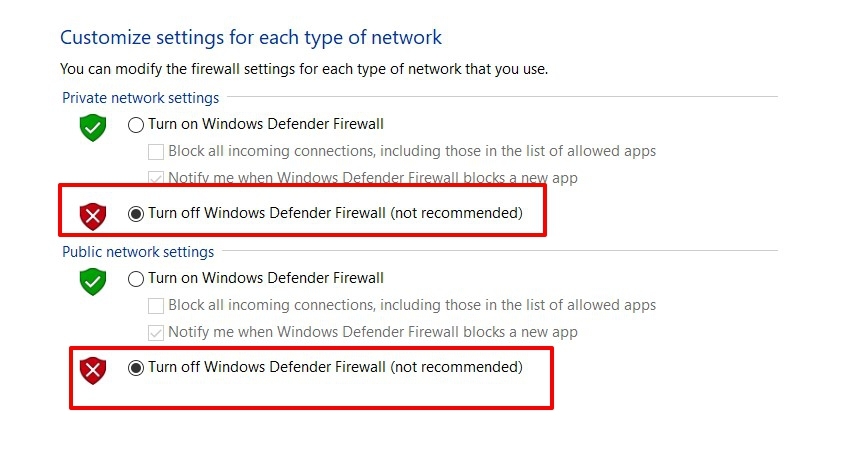

- Try accessing the site now and check whether the issue has been rectified.
Note: Disabling the Firewall might prove to be a risky bet. So if the issue is still present or you are done using the site, re-enable the Firewall/antivirus immediately. It is not safe to browse the internet with the firewall disabled.
Method 5: Bypass the Warning to Visit the Page
If none of the above methods managed to give out favorable results, then as a last resort, you may bypass this error and access the site. However, bypassing the warning is extremely risky and not recommended. But if you trust the website and wish to continue, you can bypass the alert.
- Click on the button at the bottom left of the error message.
This shall further expand the error message and explain why it was blocked. - At the bottom, you shall see a link Proceed to <www.websitename.com> (unsafe).
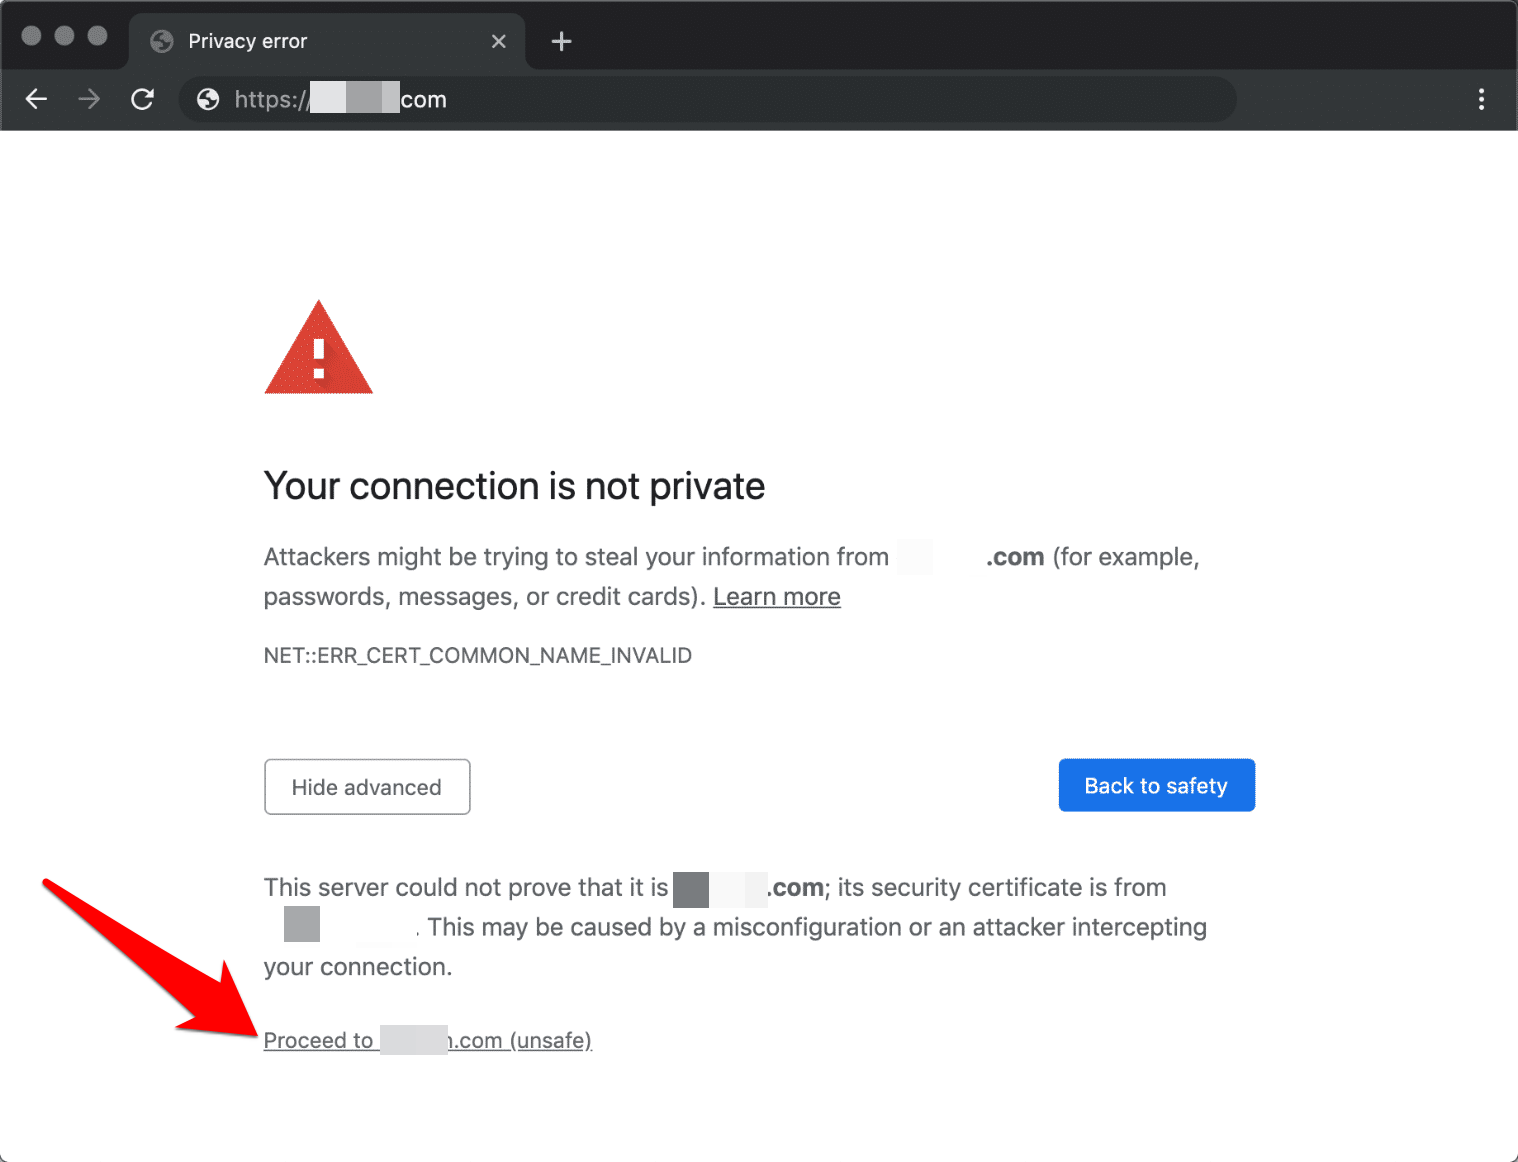

- Click on the link to access the unsecured site.
You shall be taken to that site with a broken padlock in the URL.
Method 6: Disable Chrome Flag to Allow Invalid Certificates
We would be taking the help of Chrome’s experimental feature known as flags which allows invalid certificates to load from the local machine. Here are the steps to enable the flags:
- Launch the Chrome app for Computer.
- Type in chrome://flags in the address bar, and hit key on the keyboard.
- Search for the ‘Allow invalid certificates for resources loaded from the localhost’ flag.
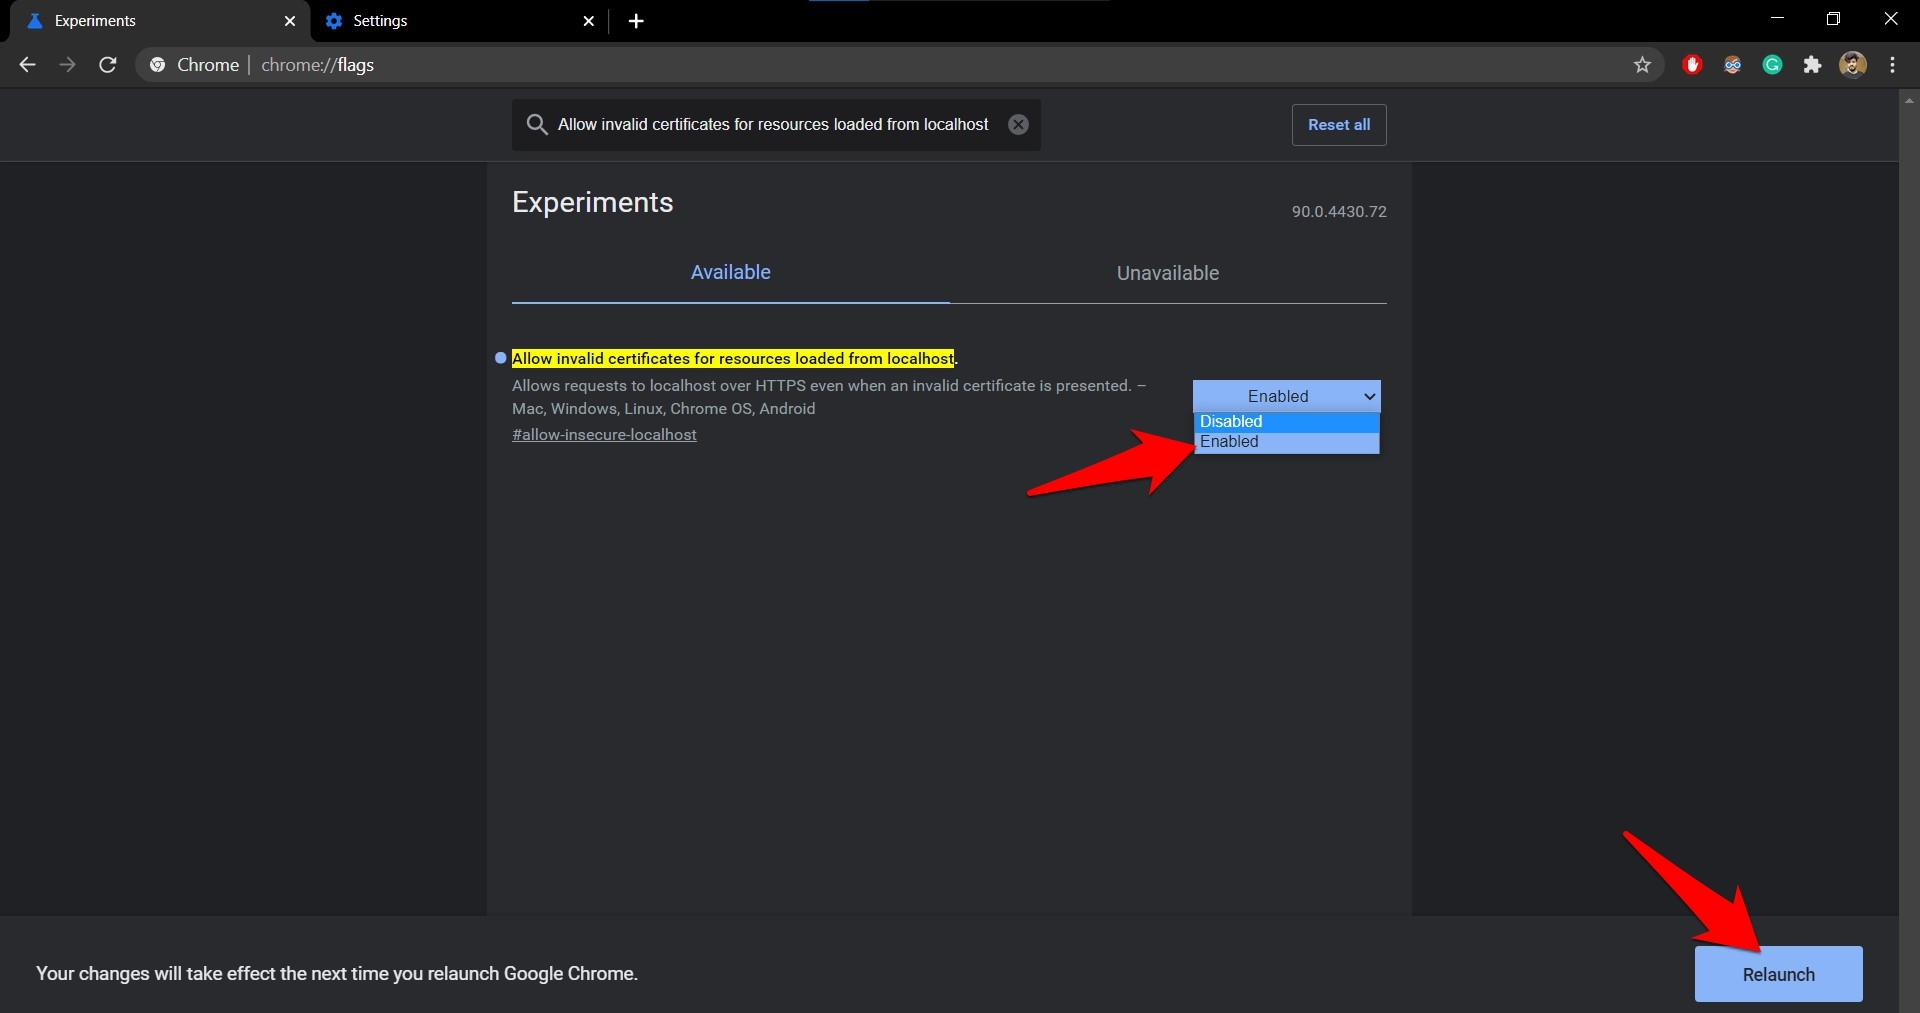

- Change its state to Enabled from the drop-down.
- Hit on the command button.
It will now allow invalid certificates from the website and local host bypassing the error.
Bottom Line
In my case, the error was fixed after deleting the SSL state via Internet Options. There was an overlap of the Secure Socket layer data of the two sites. It worked perfectly after deleting them and letting the browser create a fresh copy.
Lastly, if you've any thoughts or feedback, then feel free to drop in below comment box. You can also report the outdated information.