The caching error occurs when the browser cannot find a cached version of a web page. It can happen when a web page has been updated since the last time it was cached or is not cacheable.
To fix the error, you can hard refresh the web page, remove faulty extensions, clear the browser’s cache and cookies, reset the browser’s settings, and check the network status to resolve the problem.
In this guide, I have shared written instruction about:
Method 1: Remove Faulty Browser Extensions
Have you recently installed any browser plugins into your browser? An extension can unknowingly interfere with browser tasks, leading to the cache miss problem. Try removing the problematic browser add-on.
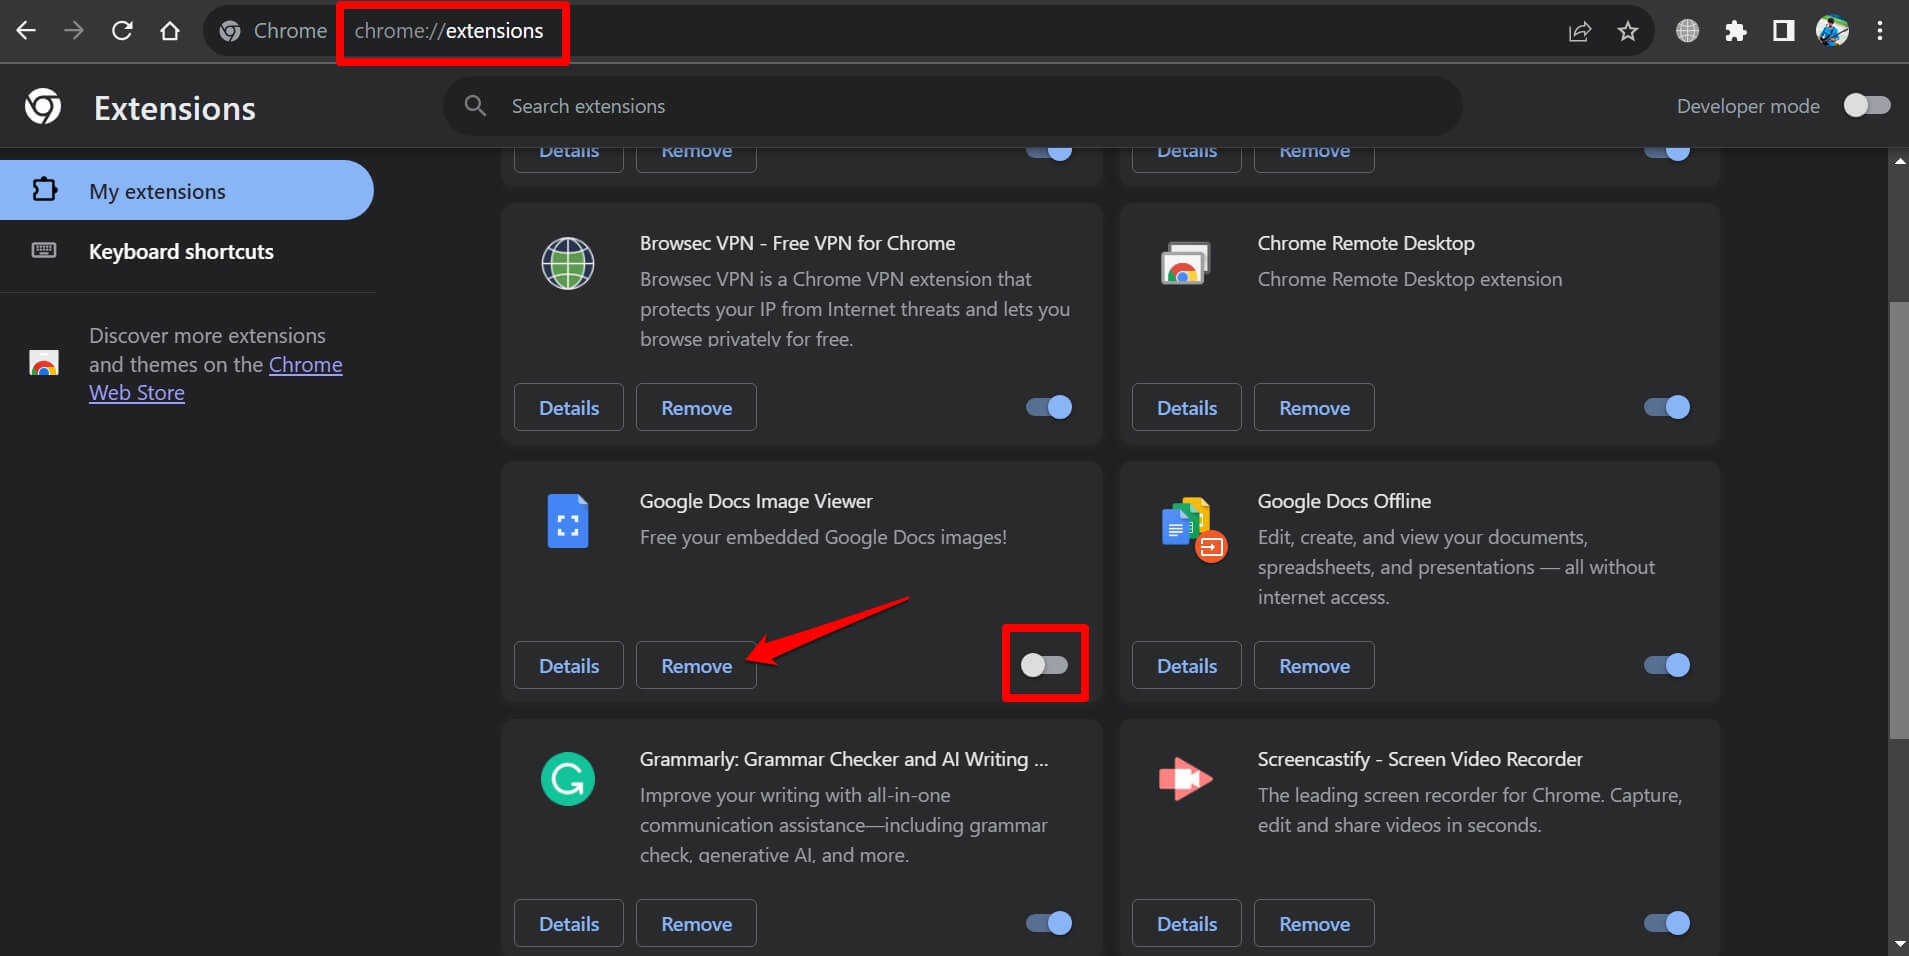
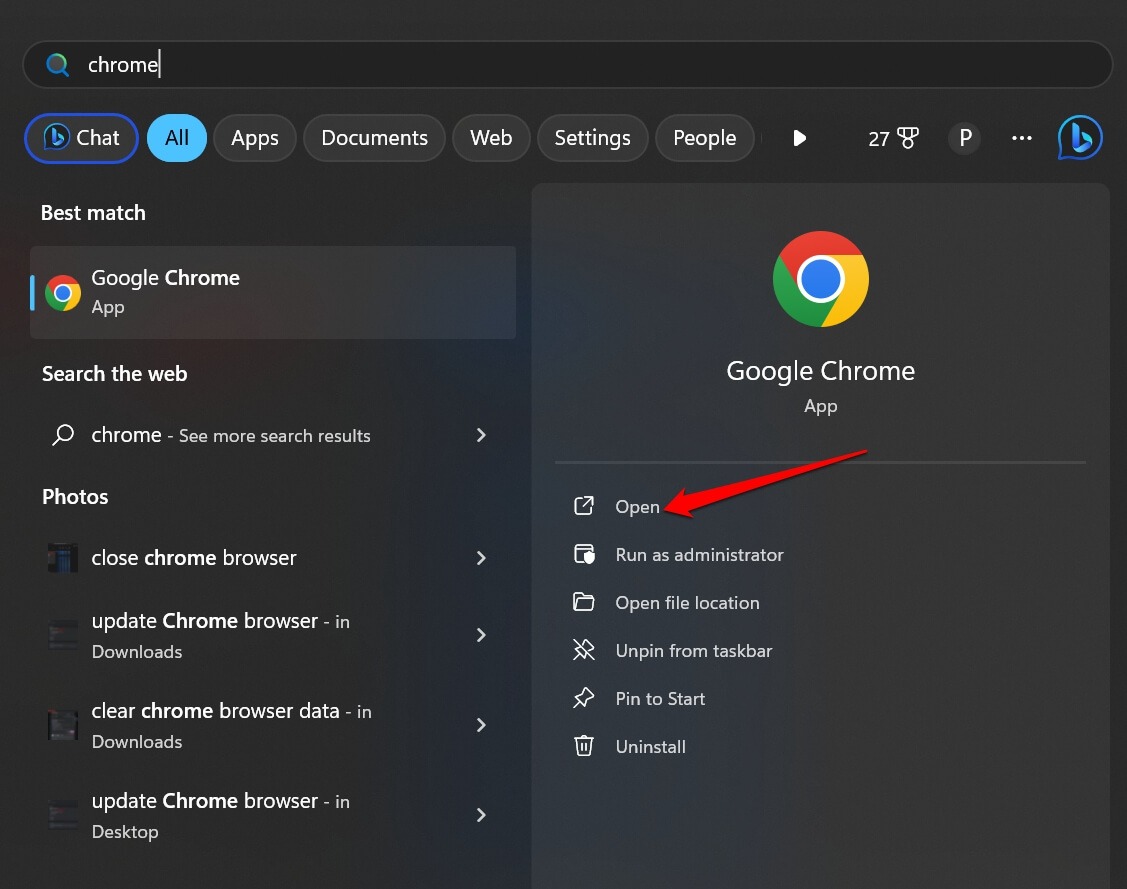
- Launch Chrome browser on your PC.
- In the URL bar, type chrome://extensions, and press key.
- Disable all the extensions and re-enable one after the other to notice the issue.
- Click the button to remove the problematic plugin permanently.

After you remove or disengage the concerned browser extension, check if you are still encountering the warning.
Method 2: Clear the Browser and Website Data
Clearing the Chrome browser data will remove the junk information stored in its cache. The browser will perform efficiently without any errors.
- Launch the Google Chrome on your system.
- Keypress + + keys or visit chrome://settings/clearBrowserData from the address bar.
- In the Clear browsing data dialog box, click the checkboxes for Browsing History, Download History, Cookies & Other Site Data, and Cached Images & files.
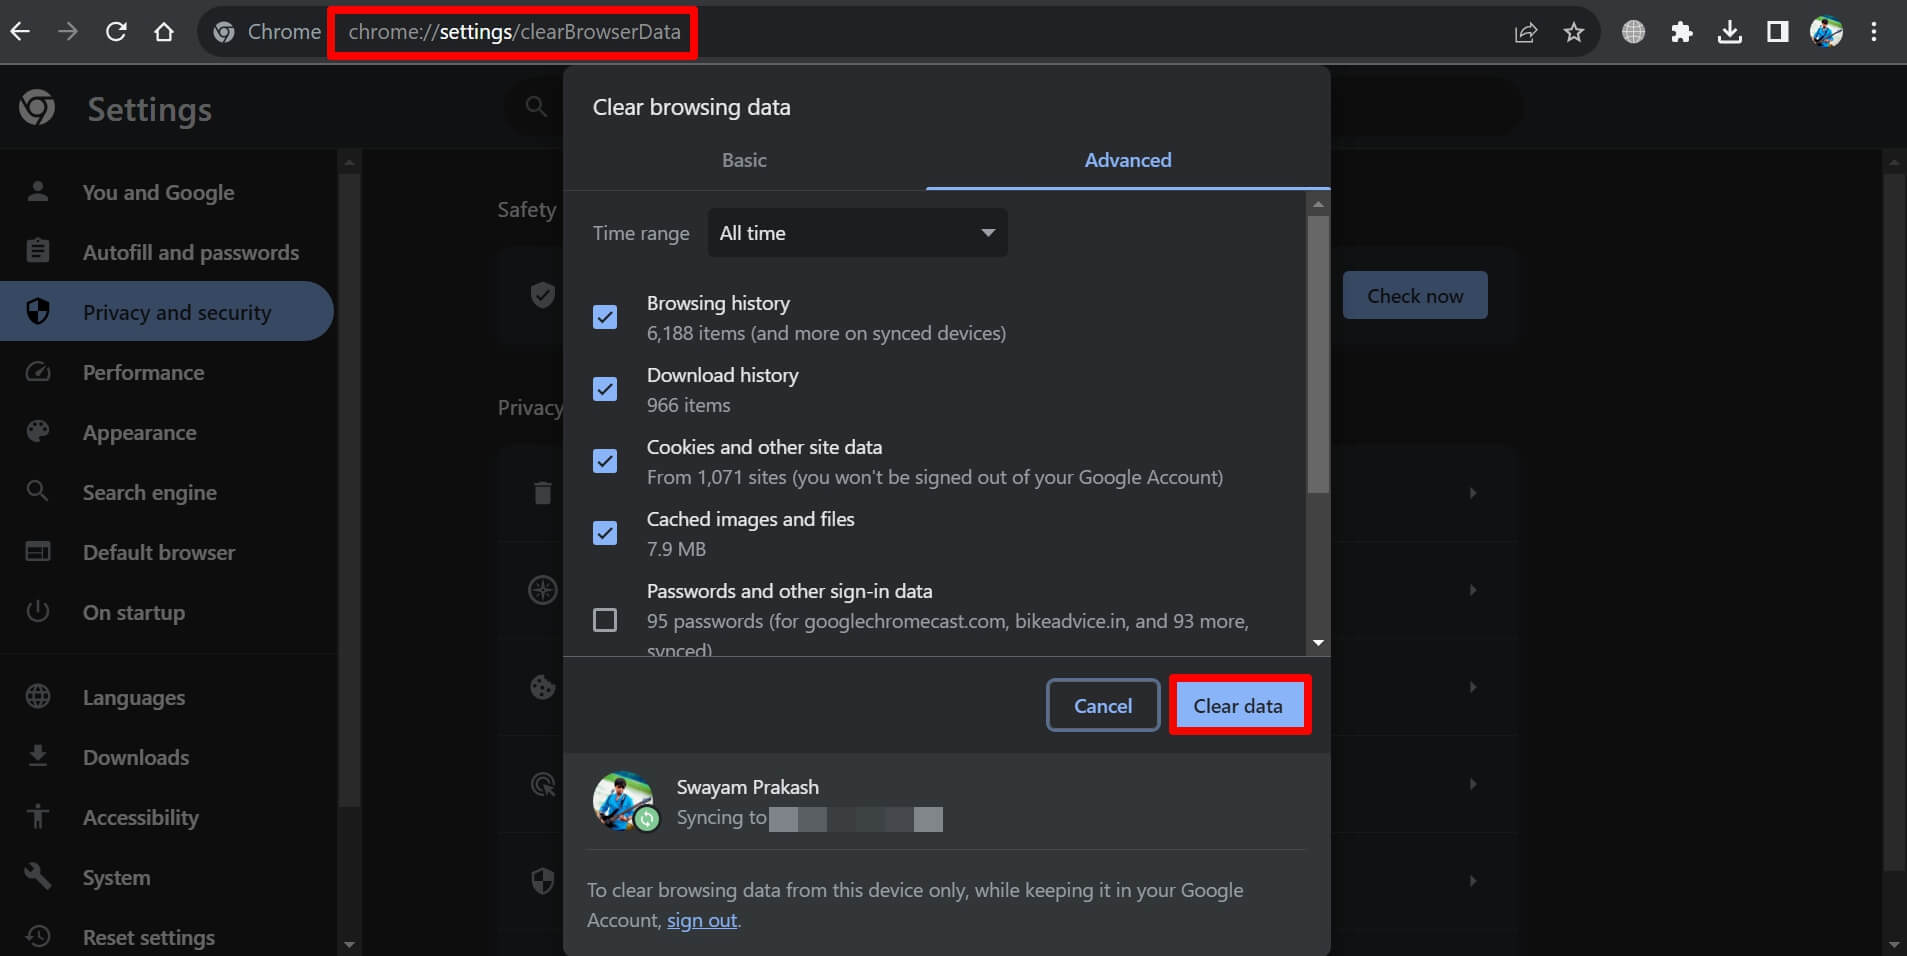

- Set the Time Range drop-down to All Time.
- Click on and confirm the action.
Relaunch the browser after clearing the data to verify the issue.
Method 3: Update Chrome Browser
Chrome updates automatically when the PC is connected to the internet. You can manually check for pending Chrome updates as well.
- Launch the Google Chrome browser.
- In the URL bar, type chrome://settings and keypress button.
- On the left-side bar, go to About Chrome and click on it.
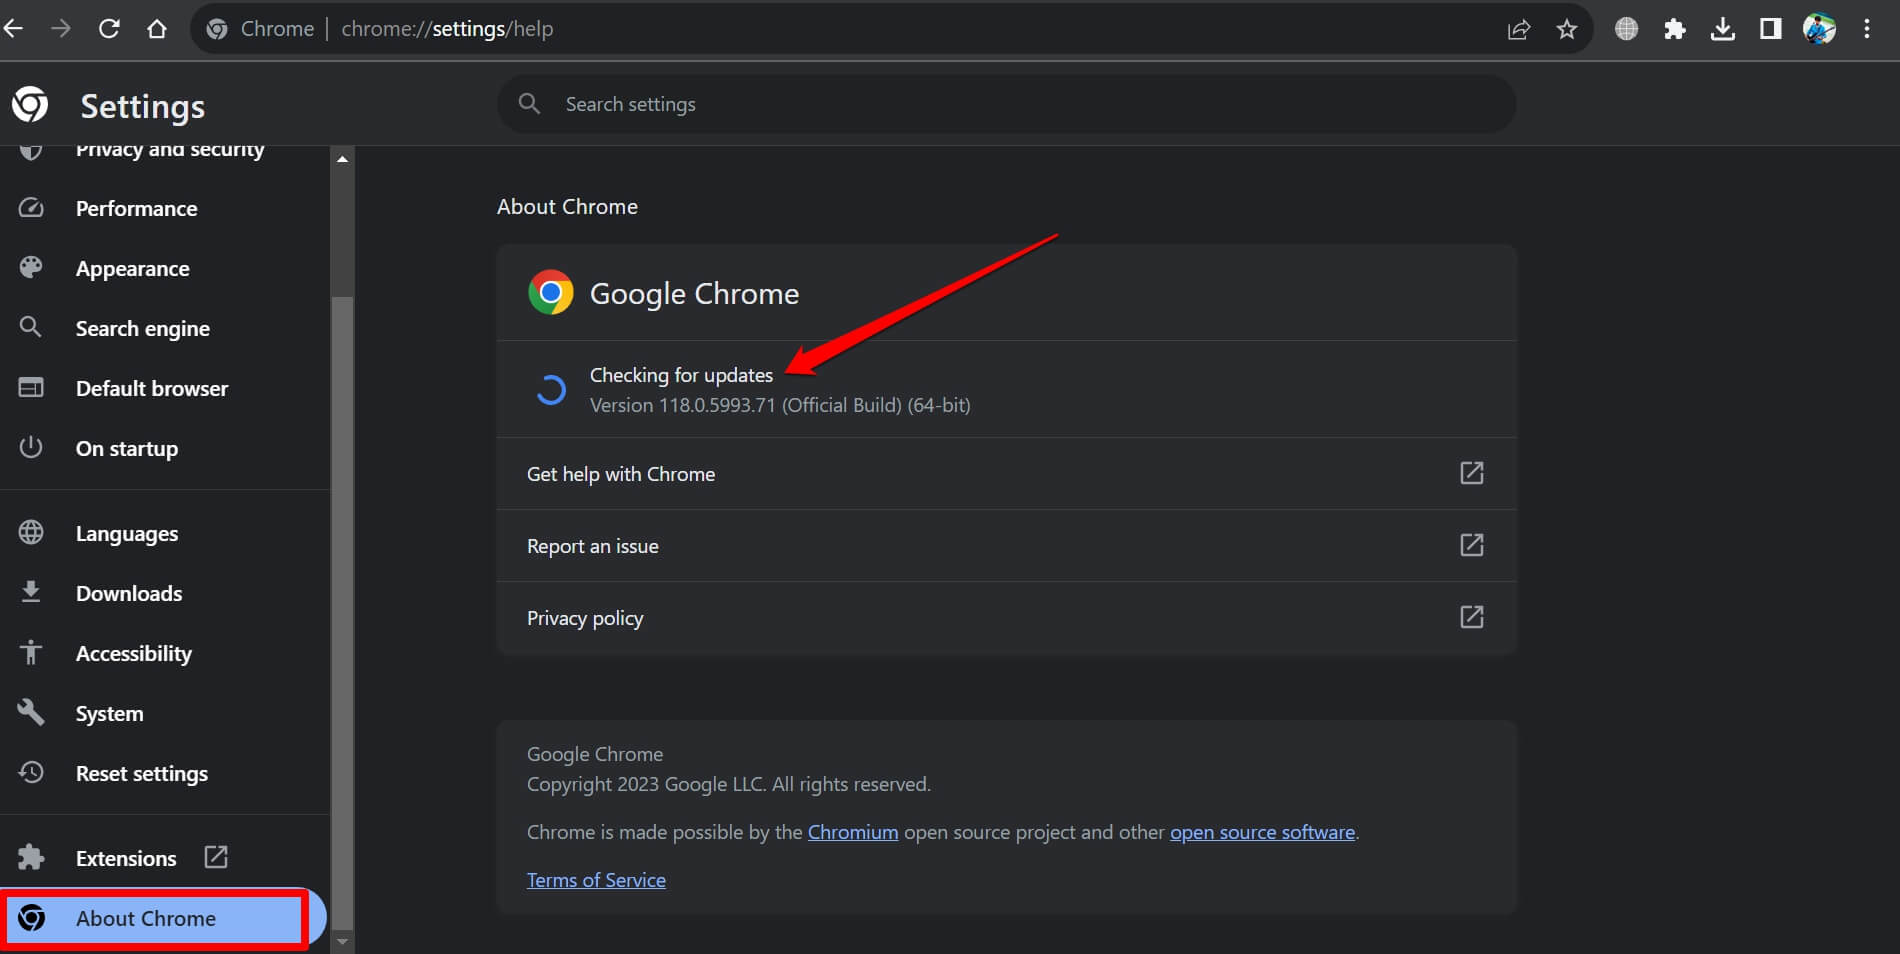

If your PC is connected to WiFi, Chrome will install the new update. Otherwise, you will see Chrome is up-to-date. It means you are using the latest version of the browser.
Method 4: Force Close Chrome app
Force close the Chrome browser from the Task Manager. Relaunch it to fix random bugs on the interface that may be the reason for the warning.
- Press + + to launch the Task Manager on your Windows PC.
- Under the Apps section, right-click on the Google Chrome app.
- From the context menu, click on the End Task command.
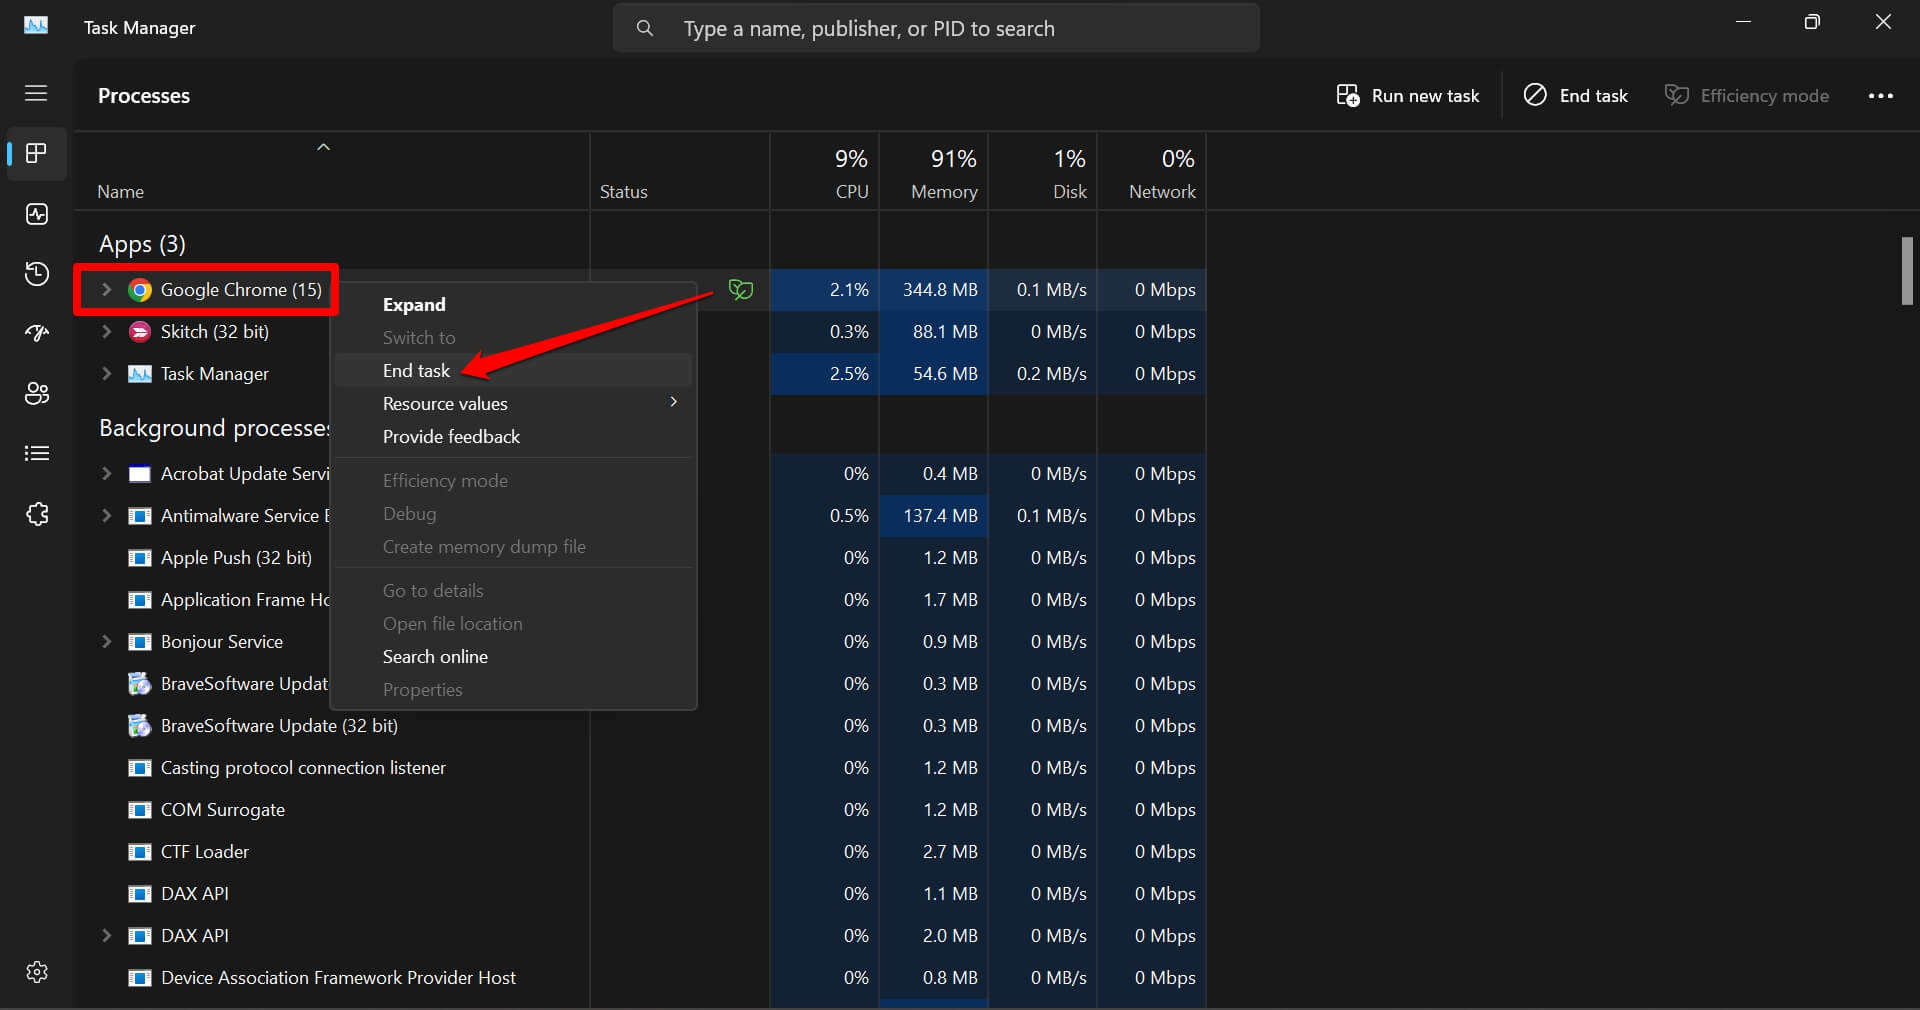

After a few seconds, relaunch the Chrome app on your PC to check the missing cache error.
Method 5: Load Page with Cache Disabled
Note: The caching will be disabled until the developer mode is active. After closing the inspect element window, the browser cache will usually work.
- Launch Chrome browser on your PC.
- Press the + + keys to launch the Inspect Elements interface.
- Switch to the Network tab in developer mode.
- Enable the checkbox beside the Disable Cache option.
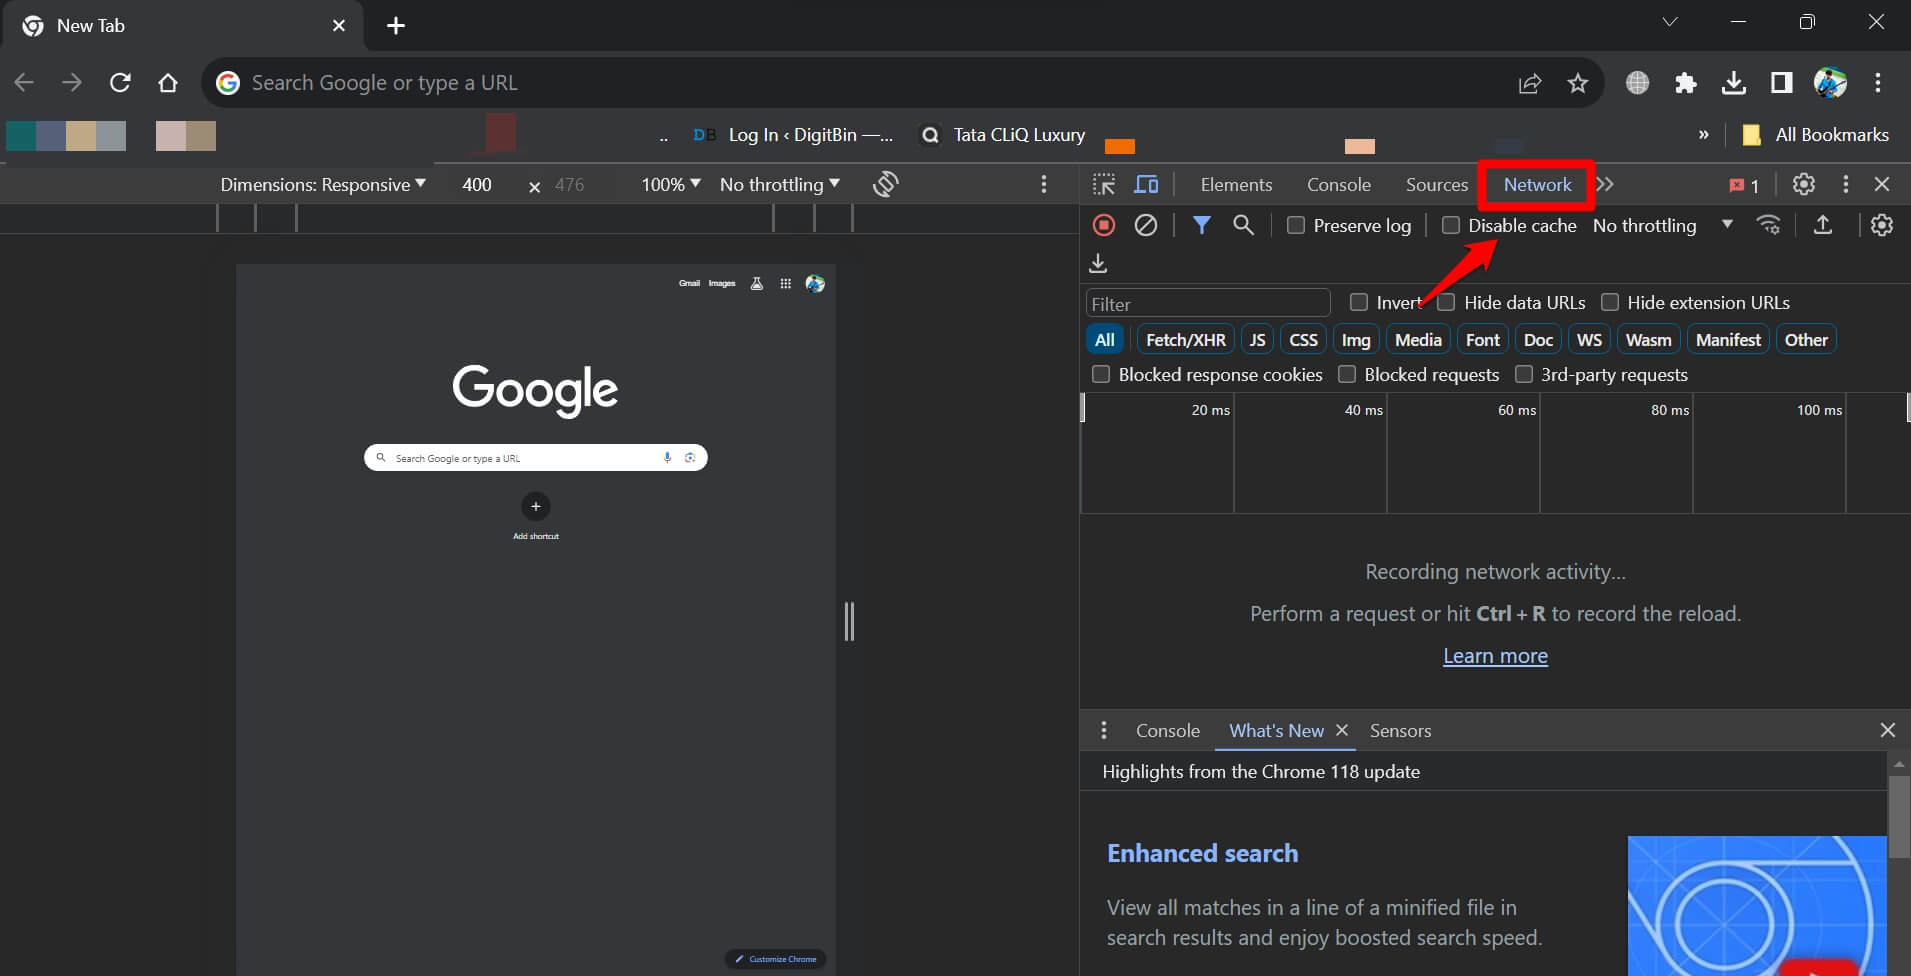

- Reload the webpage and continue your task.
Method 6: Flush Internal DNS Cache
Flush the Chrome DNS cache to let the browser perform fresh DNS requests to a web server. To reset the DNS settings,
- Open Google Chrome on your PC.
- Type the following in the URL bar: chrome://net-internals/#dns in the address bar.
- Click the button on the net internal settings page.
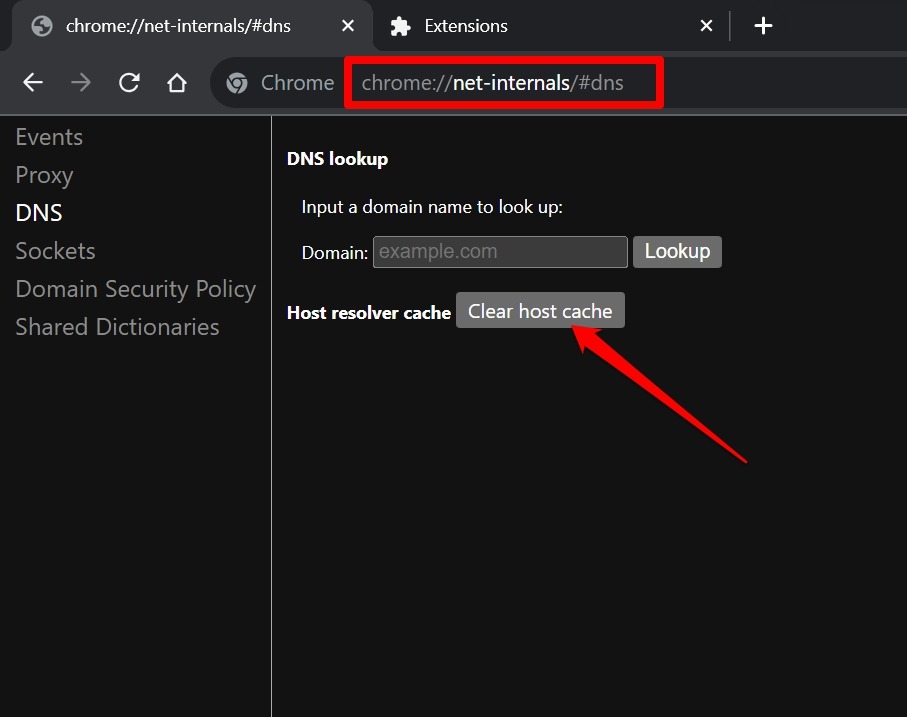

You will need to relaunch the browser to make these changes effective.
Method 7: Reset Chrome to Original Default
Resetting Chrome browser will change the settings of the browser to default parameters.
- Open the Google Chrome browser.
- Type chrome://settings/reset in the URL bar.
- Click on Restore settings to their original defaults option.
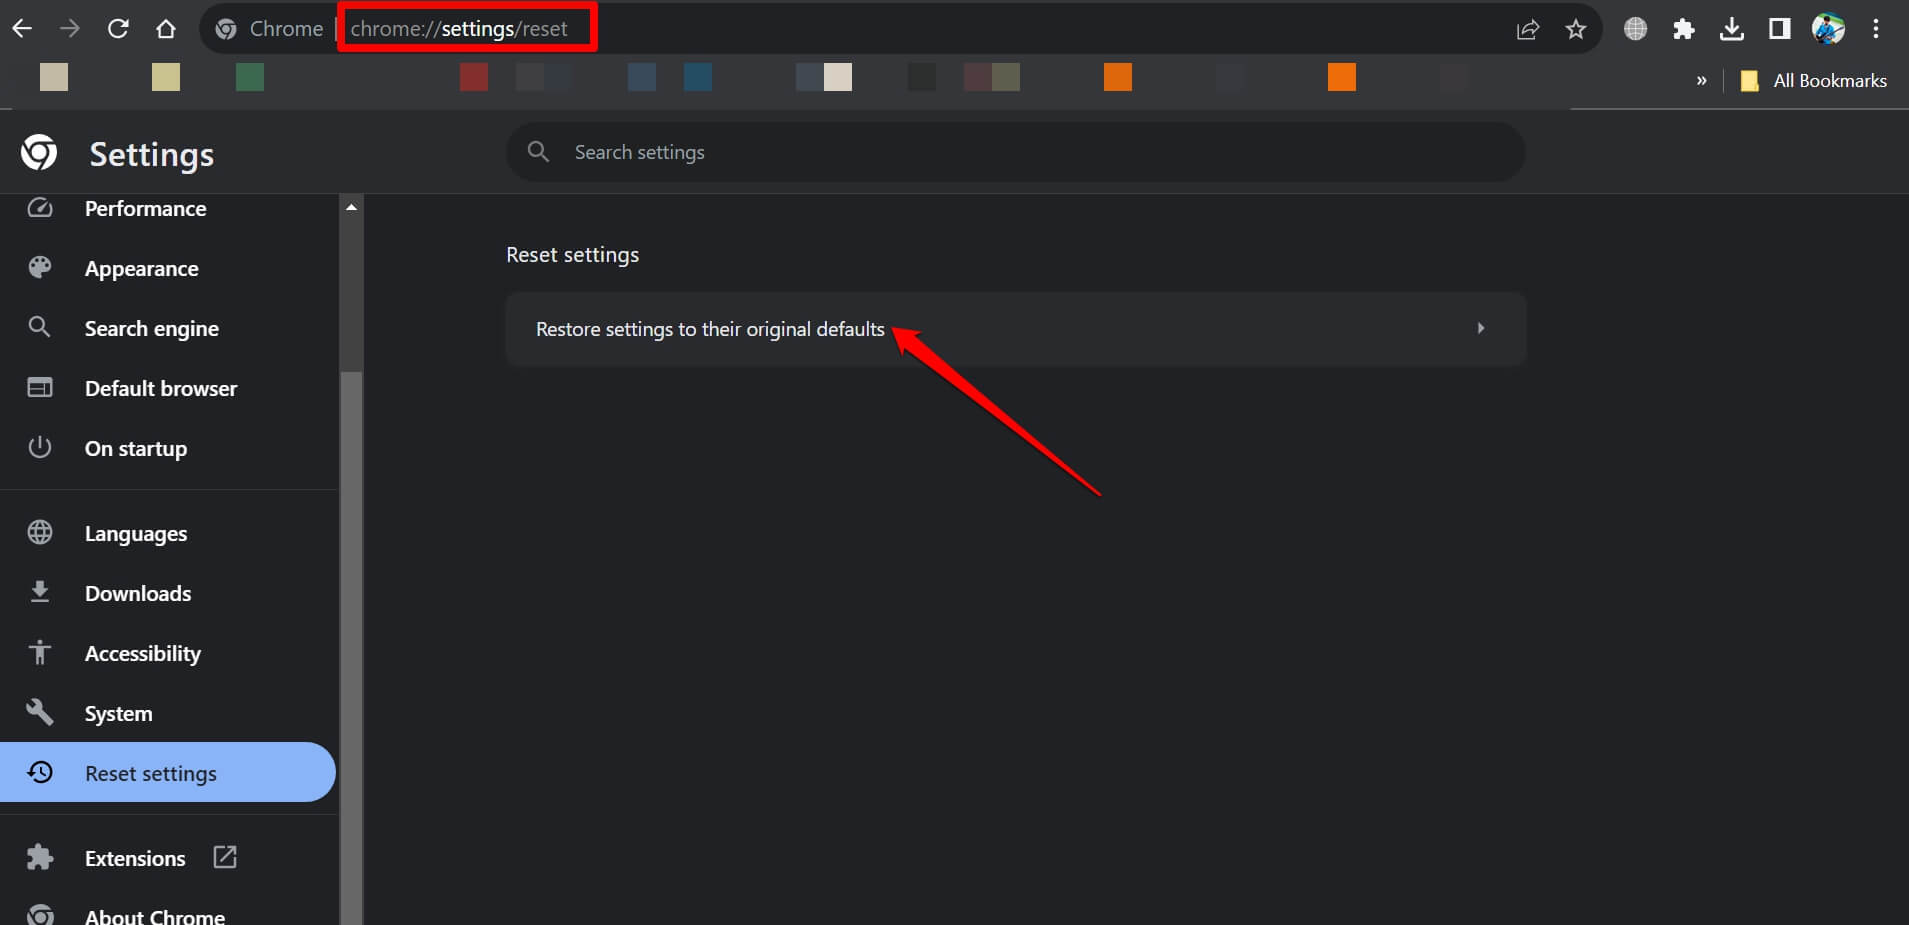

- Click on to complete the reset process.
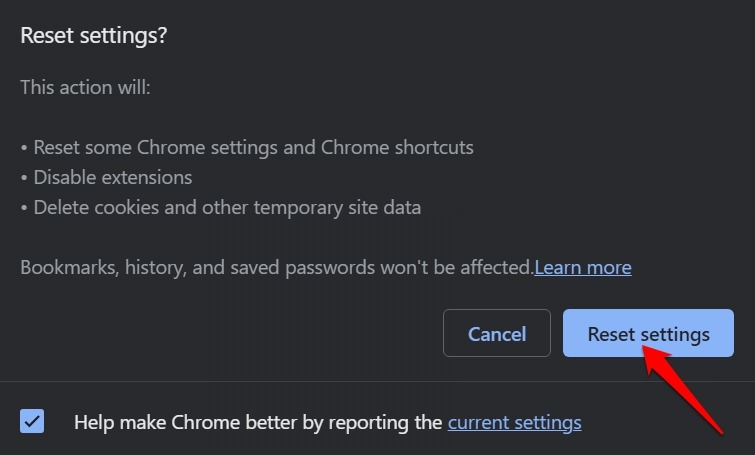

After resetting the browser, relaunch and observe the cache missing error again.
Bottom Line
Chrome returns the error message to stop the browser from duplicating any information entered on a form. It avoids information redundancy for web security breaches and blocks the resubmission of information.
After fixing the issue, you can submit forms on websites without the warning message.
Lastly, if you've any thoughts or feedback, then feel free to drop in below comment box. You can also report the outdated information.