
The Brave browser allows you to add credit card information as the payment method to store in the browser. You can use this payment information to autofill the details on any payment gateway page, reducing the effort required to remember or carry a card.
The browser will ask for validation before autofilling details to avoid unauthorized usage.
In this guide, I have shared written instruction about:
Add Card Details to Save
If you save them once, you can swiftly make payments in your browser without manually entering the payment details at any time. The autofill feature will automatically identify the fields and prompt you to enter the card details.
- Launch the Brave browser on the computer.
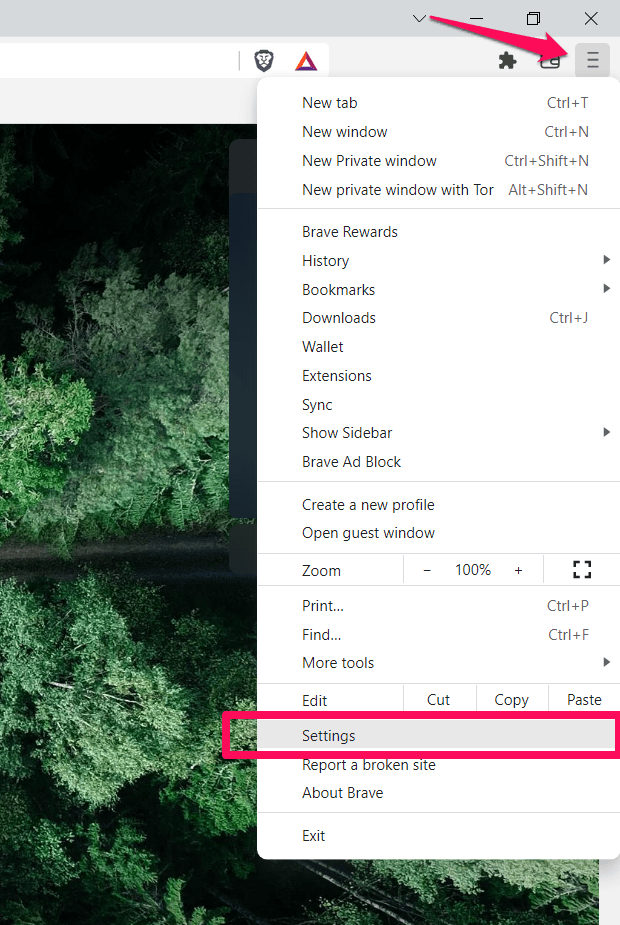
- Click on the More

 menu and select the Settings option.
 - Switch to the Additional Settings from the left panel.
- Choose Autofill and click on the Payment Methods tab next.
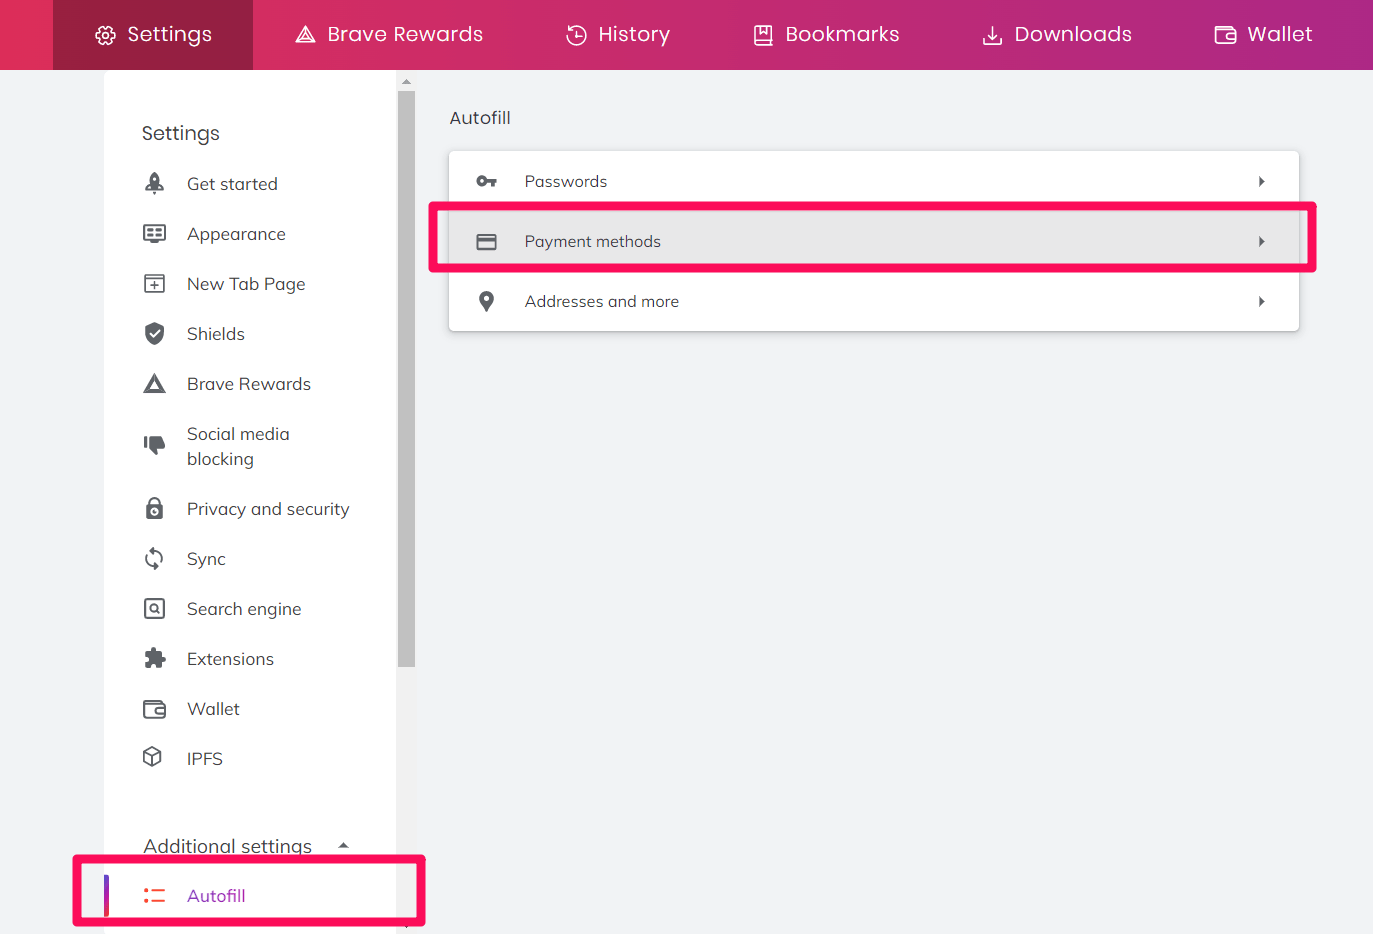

- Click the button next to Payment methods.
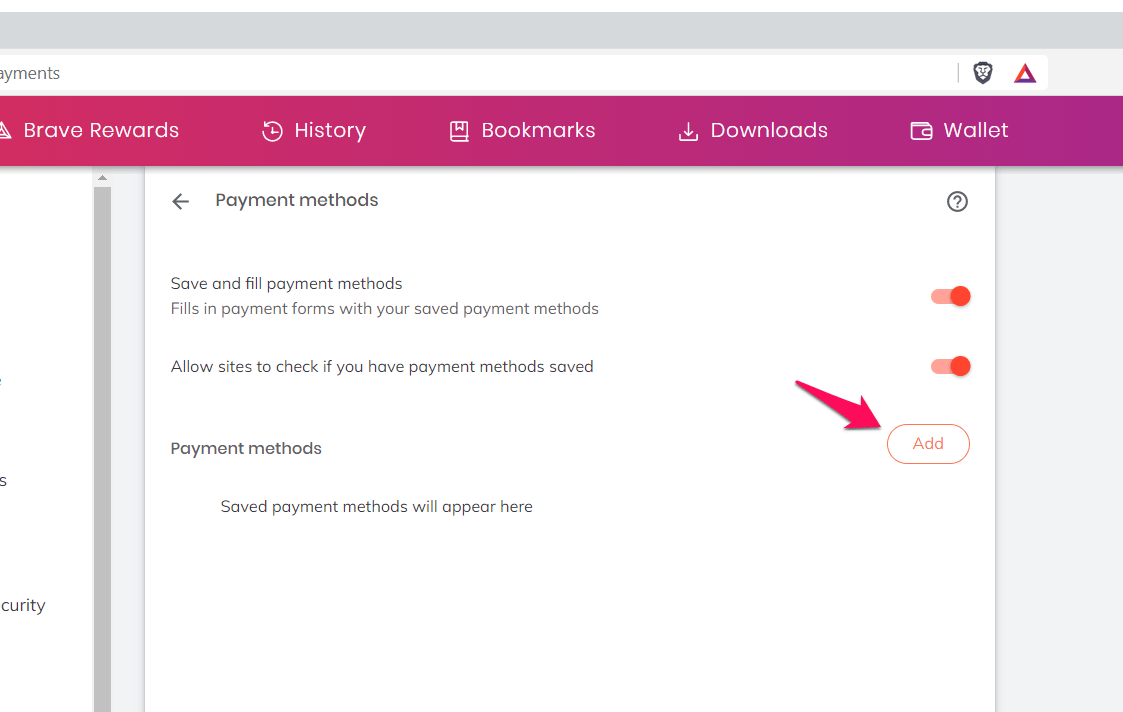
 It will pop up in the window to fill in the card details.
 - Enter your card number, expiration date, name, nickname, etc., and hit the button.
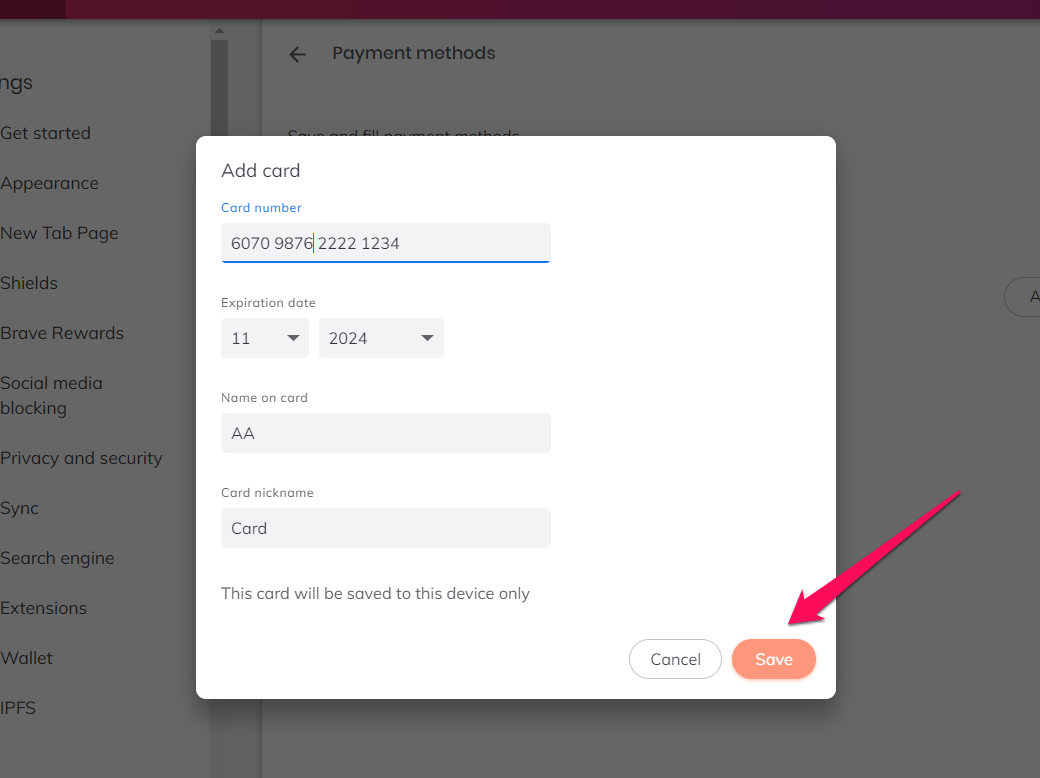

The payment method will be added and ready to use on the payment gateway forms. The Brave browser might ask for authentication like CVV to avoid authorized access to details.
Manage Saved Cards and it’s Information
Managing payment methods successfully on the Brave browser is easy. It allows customizing options like autofill, checking the payment methods, and adding new card details. Here are the steps to manage payment methods:
- Launch the Brave browser on the computer.
- Click on the More menu and select the Settings option.

- Switch to the Additional Settings from the left panel.
- Scroll to the bottom of the page, choose Autofill, and click on the Payment Methods tab next.
- Customize the toggle button for autofill and check the saved payments option.
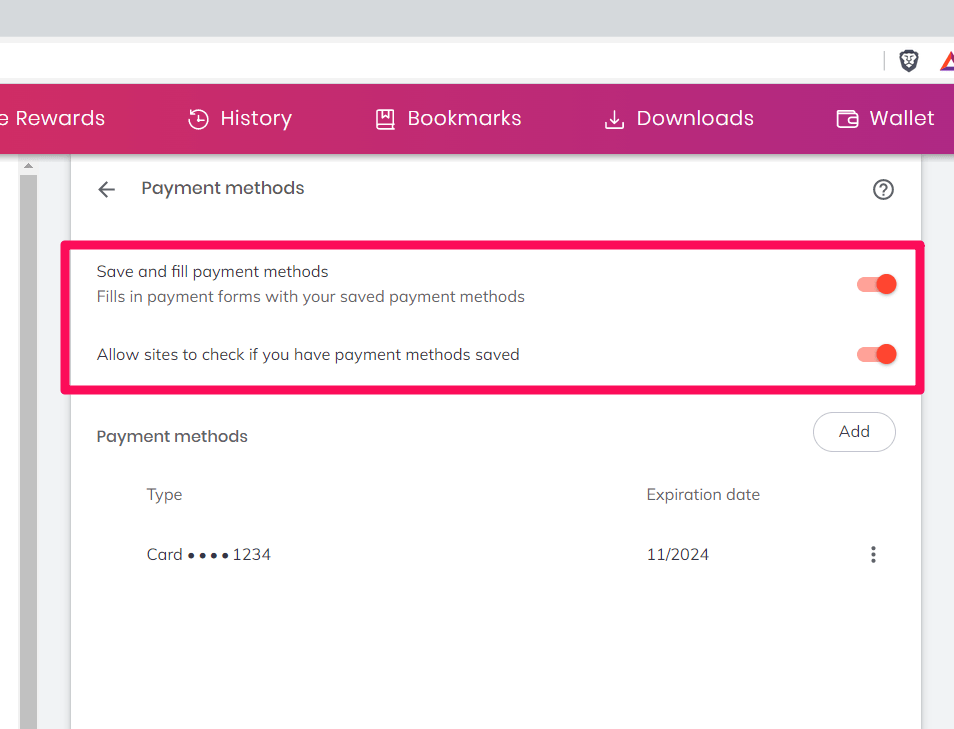

You can enable or disable auto-filling in payment methods by toggling it on or off. You can also allow/stop sites from checking for saved payment methods by toggling it on/off.
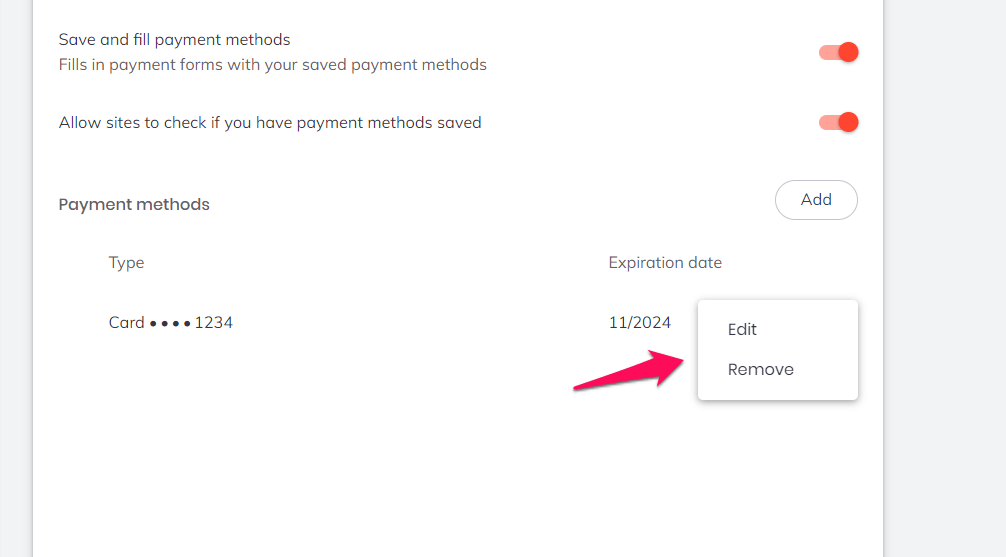
Additionally, you can edit and delete saved payment methods and add multiple payment cards.
Bottom Line
Instead of remembering your account details, credit card numbers, and expiration date, you can save them in the Brave browser. By adding your preferred payment method, you can make payments efficiently.
Just save the details once, and you’ll never have to worry about the tedious process of making payments online. You can manage the information on these saved cards per need.
Lastly, if you've any thoughts or feedback, then feel free to drop in below comment box. You can also report the outdated information.


Hi, i cannot change the billing address when i add a card. please advise me how to do this. thanks
Not having autofill for payment and contact information on iOS is a deal breaker for me. Please let the dev teams know this is critical in todays world of online shopping and bill pay. I like Brave, but this feature is a must have. Maybe I will try back at a later time. Thanks. Good luck!
But can I connect gpay on my Android mobile brave browser?
If the Brave browser supports for integration with Google Pay in your country then you can connect.