
Progressive Web Apps or Chrome Apps are lightweight applications installed and executed on Chrome-based operating systems and browsers.
We can manually create Progressive web apps and install them on the computer as stand-alone apps within the Chrome OS or any Chromium browsers.
In this guide, I have shared written instruction about:
What is a Progressive Web App (PWA)?
The Progressive Web Apps, more popularly known as the Chrome Apps, are small-sized web apps that are majorly built-in JavaScript and are compatible across all Chromium-based browsers.
It can be installed and later used as a standalone application without launching the web browser.
Although lightweight, they still include most of the required feature sets. Installation only takes a couple of seconds, and PWA’s popularity is due to its extensive list of features.
Editor’s Note: we shared an overview of creating a PWA app to get started. It may need to provide you with complete technical details.
Step 1: Create a Progressive Web App
Create a blank folder on your desktop, giving the PWA app the same as the folder name.
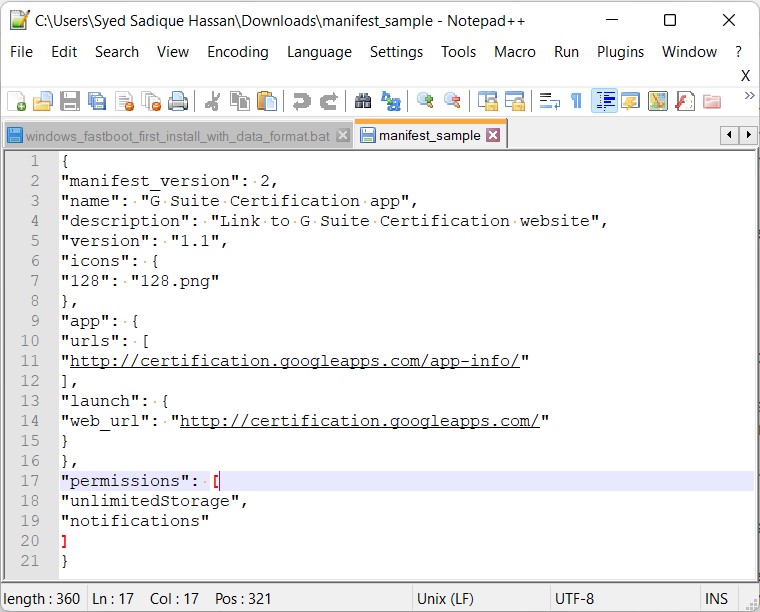
After that, you must code and create a manifest file within that folder. Use a text editor such as Notepad++ and create a new JSON or JavaScript Object Notation file.
Input the desired information within the manifest file for your PWA App. It should have the following values:
- name — The name that will appear in the Chrome Web Store
- version — The version of the metadata
- icons — An array specifying the icons that your item uses
- description — A string of 132 characters (maximum) describing your extension
For example, here’s a JSON file for a bookmark app that you could refer to:
Once the coding is complete, you need to verify that the codes are formatted correctly. For that, you may use a JSON validator tool such as JSONLint.
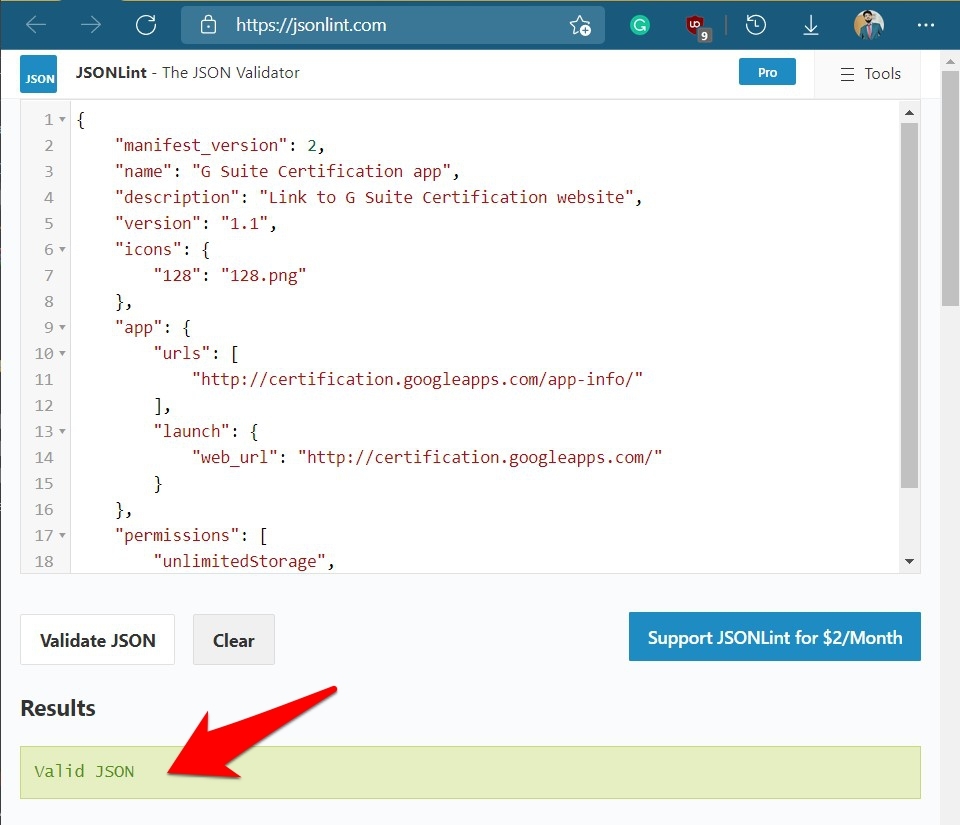
If the validation is successful, save this file as manifest.json.
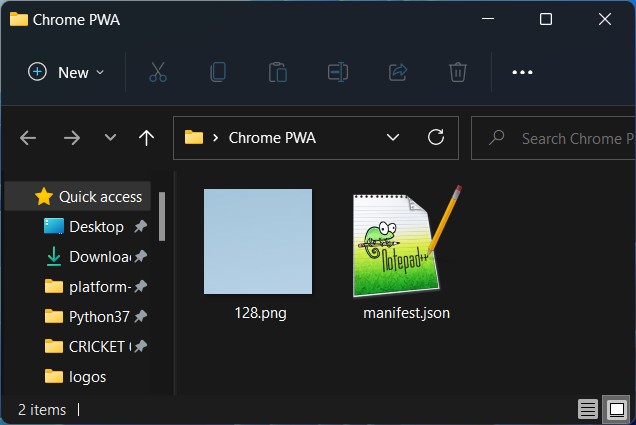
Next up, you will have to design a logo for your app. Make sure that the size is 128p by 128p. Once the logo is created, save it as 128.png inside the same folder where your JSON file is present.
That’s it. You have successfully created the desired miniature version of a PWA App. Let’s now put it to the test.
Step 2: Test a Progressive Web App in Browser
Launch the Chrome browser on your PC and head to the location below: chrome://extensions/ to open the Chrome extensions page.
Enable the Developer Mode toggle from the top right of the page, and click on the button.
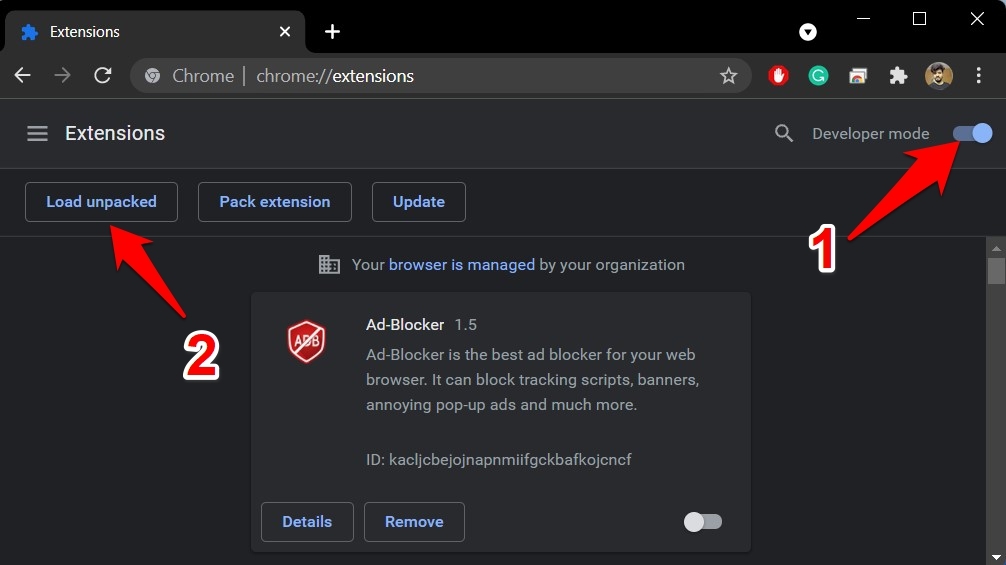
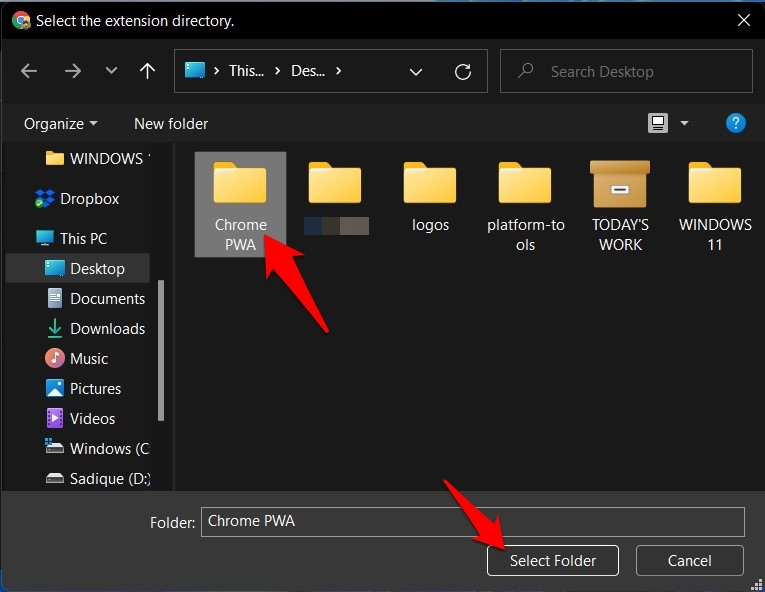
Now browse and select the PWA App folder in the explorer window, and hit the button.
Once the app is loaded, open a new tab and click the Apps icon within the Chrome browser. Alternatively, you can visit chrome://apps/ in the address bar.
Select your created PWA and check if it is working correctly or not. If you find any issues, make the required changes to the manifest.json file and reload the package to Chrome via the Load Unpacked option, as mentioned above.
Now perform the check again, and if you have ironed out all the bugs, publish it to the Chrome Web Store!
Step 3: Publish PWA to Chrome Web Store
Before you proceed with publishing the app, you will first have to verify your target audiences. They are categorized under four segments:
- Public: Your app will be available for everyone.
- Unlisted: Available only to those to whom you share the direct link of your PWA. It wouldn’t appear in the Chrome Web Store.
- Private: Available only to the testers and debuggers whose names you have listed in the developer dashboard.
- Group Publishers: Available to the publishers who have paid a one-time developer fee.
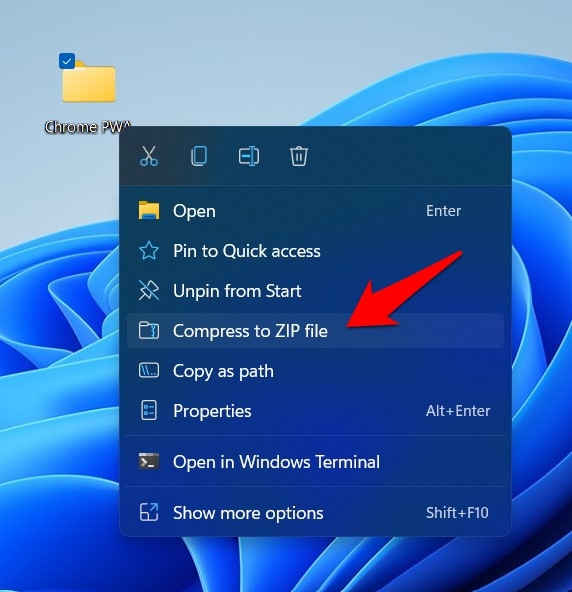
Once you have decided, let’s start with the steps to publish your app. First, create a ZIP file of your app package that has the 128.png and the manifest.json file.
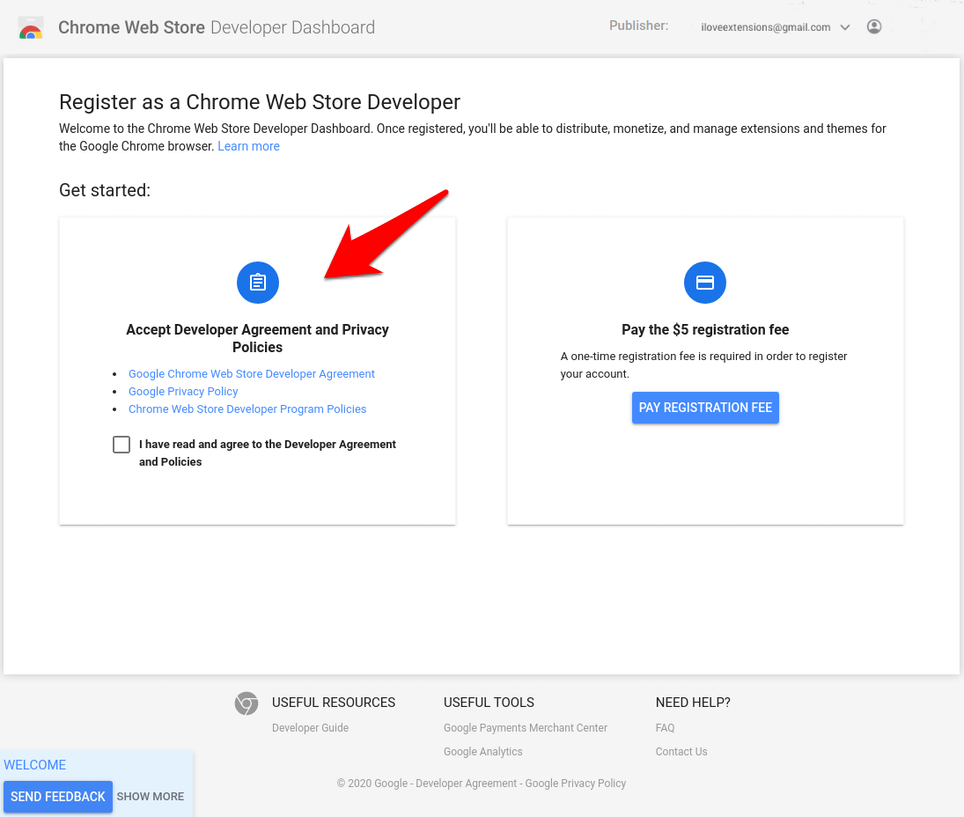
Next up, you will have to register yourself as a Chrome Web Store Developer. Head to this site and proceed with the on-screen instructions to register as a Chrome Web Store developer.
Once your account is created, go to the Chrome Developer Dashboard and sign in with your credentials. Click on Add New Item > Choose File and navigate to your app’s ZIP file; select and hit the button.
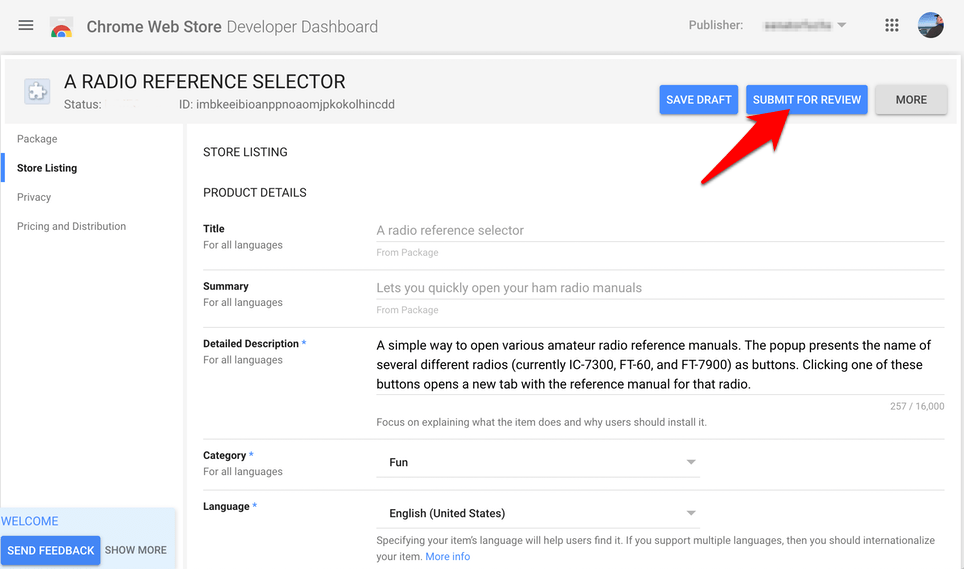
Once the file is uploaded, you must fill in additional details. Fill in the details and click the button at the top right.
After that, enable the checkbox if you want to make the PWA app public using Publish automatically after it has passed review, and click on in the confirmation dialog box.
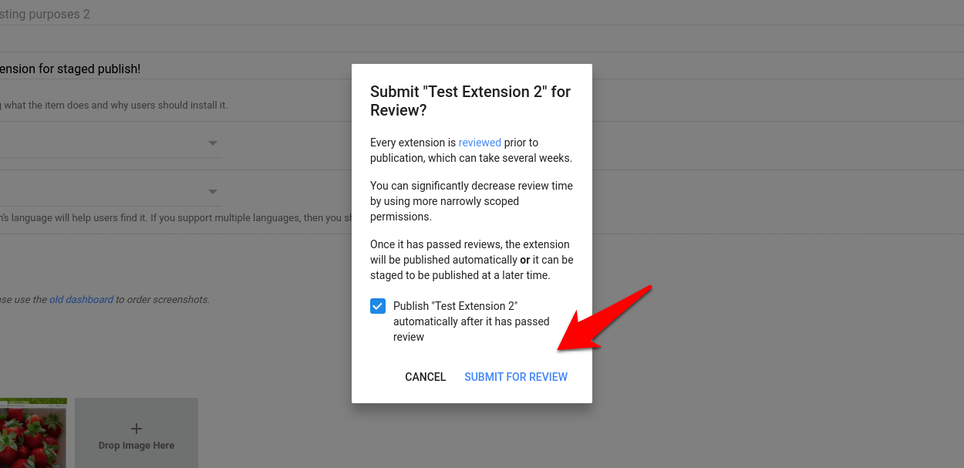
Your app will be reviewed and published to the Chrome Web Store if everything’s good (if you had set the target audience to Public).
You shall also receive the status of the review and publish it automatically if everything looks okay.
Step 4: Install the PWA App in Chrome browser
Now that your app has been published, install it onto your PC.
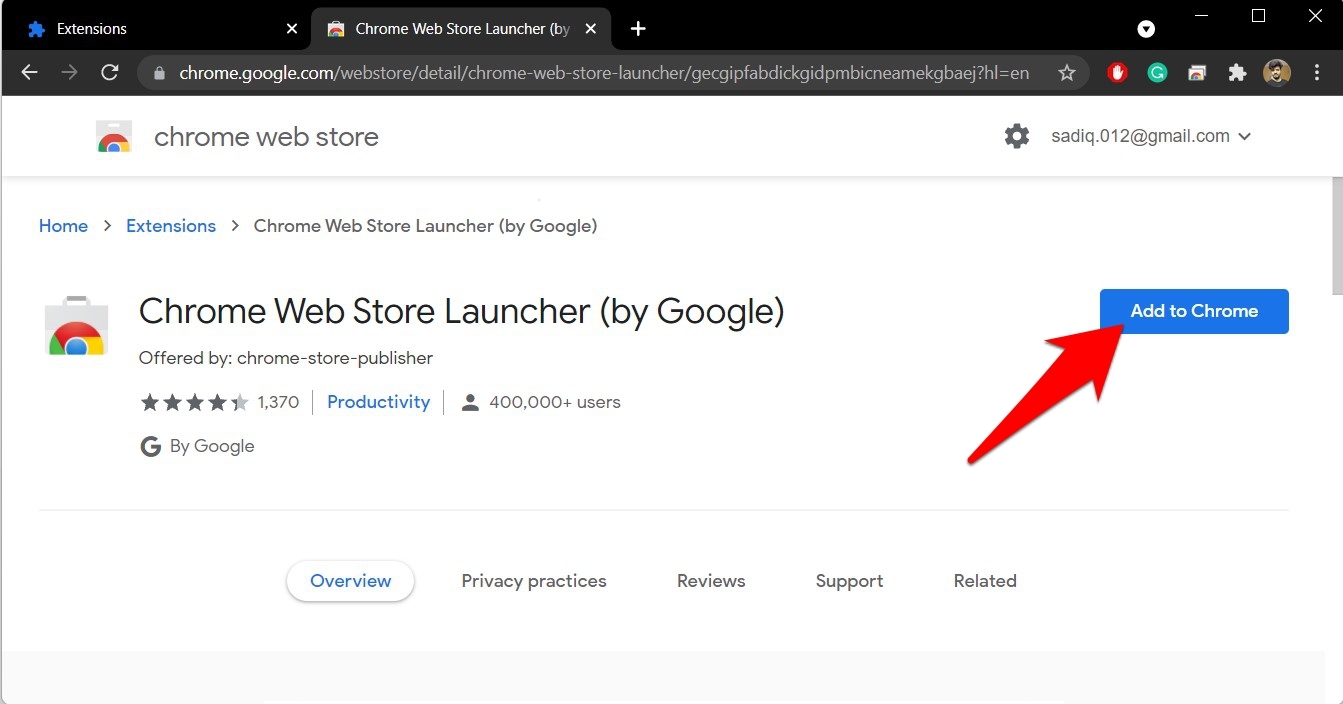
Head over to the Chrome Web Store and open the App details page. Click on the button (Sample below).
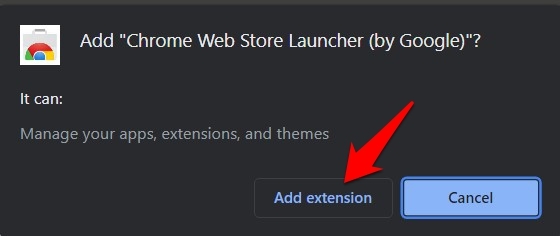
Click on the button in the confirmation dialog box that appears.
That’s it; the app has been installed on your PC and is available under chrome://apps/.
If you have added your PWA app to the website, the process will be slightly different.
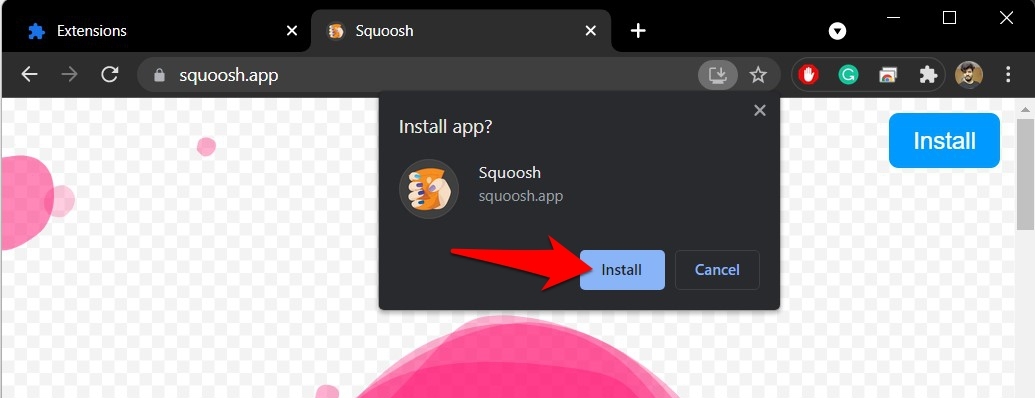
Head over to your website and then click on the Install icon situated at the extreme right of the address bar (for reference, let’s take Google’s Image Compression website Squoosh)
![]()
![]()
Click in the confirmation box, and it shall then install the PWA.
Bottom Line
Consider setting your demographic to the Public if you want your PWA to reach a wider audience. But if the app is currently in the testing phase, it’s better to assign it the Private/Unlisted tag, comprehensively test it, and only make it Public.
Moreover, there’s no fixed time frame for when your app will be verified. It usually depends on the type of app that you have submitted. Whatever the results are, the team will notify you of them via email.
If you no longer want it on the browser, uninstall the PWA app from the extensions page.
Lastly, if you've any thoughts or feedback, then feel free to drop in below comment box. You can also report the outdated information.


So, do it just dump the app files in the folder? I assume the json would need more than name, version, icons and description… Like the filename of my main html?
Hello, this document provides an overview of how to create PWA app to get started. It may not provide you with complete technical details.