
The Chrome browser allows us to manually add the address or location to browser storage that can be auto-filled in any form or registration page. You can also edit or delete the saved addresses that are no longer in use.
We can add multiple addresses, like work, home, friends, etc., and choose the appropriate one while filling out the form.
In this guide, I have shared written instruction about:
Save an Address Information for Autofill
The Chrome app allows the manual addition of the address details used for auto-filling the forms. Here are the steps to follow:
- Open the Chrome app on your iPhone/iPad.
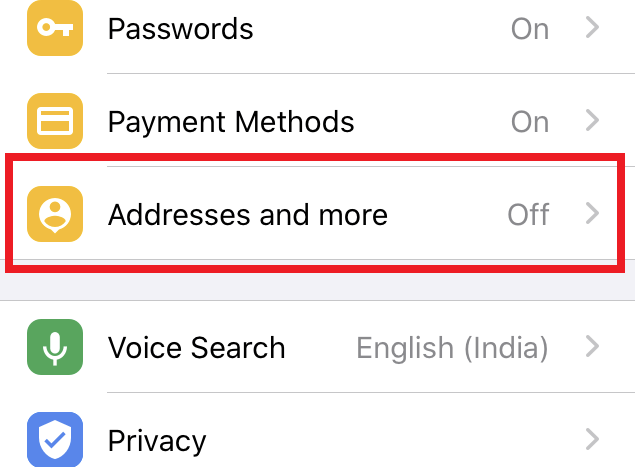
- Tap the More

 option and select Addresses and more options.

- Tap on the Add address command button.
- Enter your location details in the corresponding text fields.
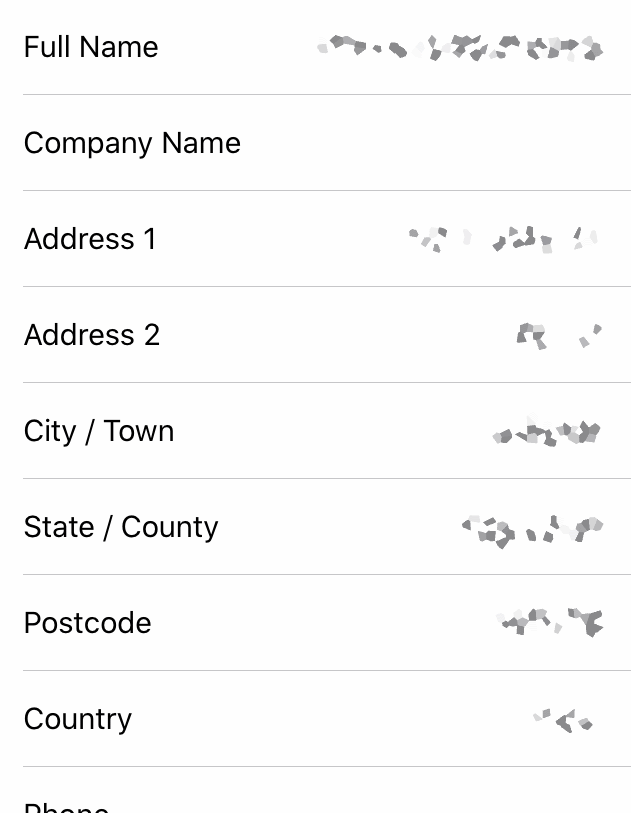

- Hit on to store the details.
The saved address will also sync with Chrome browsers with the same Google account.
Configure Save and Autofill Settings
The browser can auto-detect the new address entry in the form and ask whether to save the address. You can either allow or deny the request.
Apart from that, the saved addresses are autofill in form fields, and you can configure both of these settings with a toggle switch. Here are the steps to configure:
- Open the Google Chrome app on your iOS.
- Tap on the More menu and choose the Addresses and More options.
- Toggle the Save and Fill addresses option and enable the toggle switch.
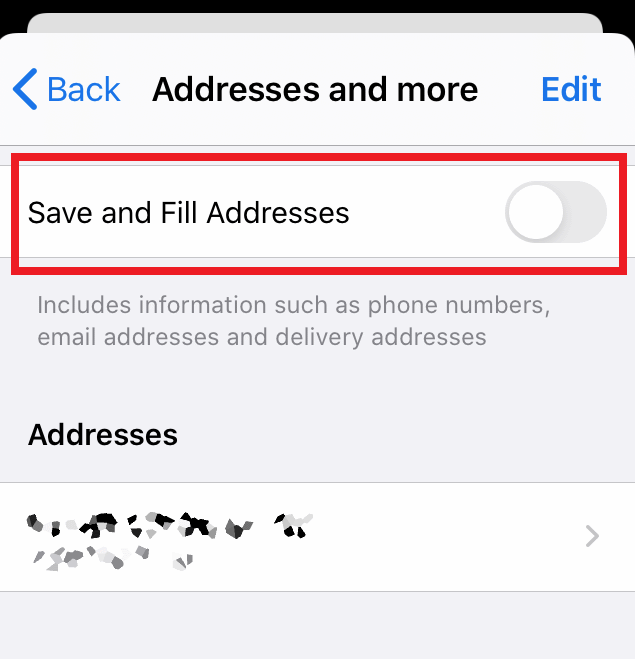
 The browser will automatically fill in the address field and request to save new addresses.
If you turn off the toggle, the browser will stop suggesting to autofill the address fields. However, the address will remain on your device until you delete it.
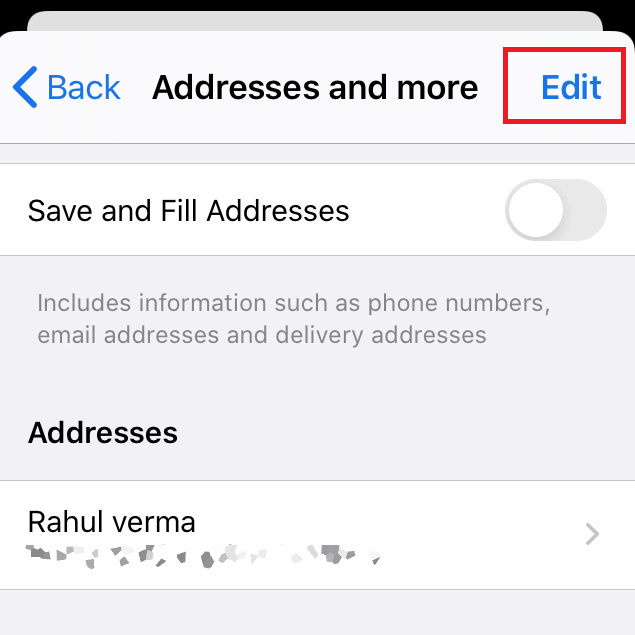
Edit Saved Addresses Details
If you accidentally saved the incorrect address details, the Chrome browser allows you to edit the saved address. Here are the steps to edit:
- Launch the Chrome app on your iOS.
- Tap on the More button and select Addresses and more options.
- Select the saved address which you wish to edit.
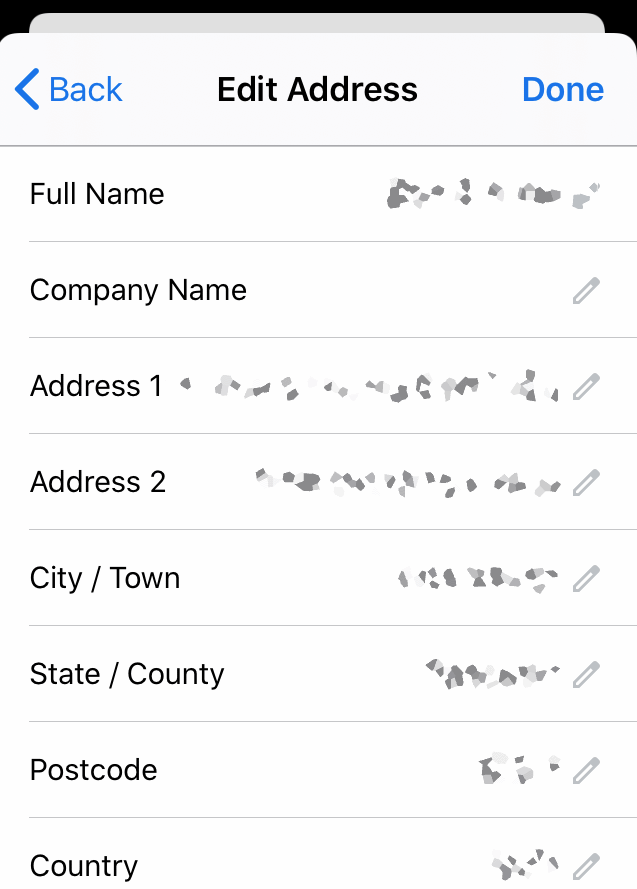

- Tap on the Edit (pencil icon) within the field and change information as needed.
- Hit the button to save the edits.
The changes will be saved and used the next time while autofilling.
Delete a Saved Address from Chrome app
The browser allows you to delete the saved address you no longer require. Here are the steps to follow:
- Open the Chrome app on your iPhone.
- Tap on the More for the menu list, select Addresses and more options.
- Tap on the command at the top.

- Choose the address that you want to delete.
- Hit the button.


The address will be immediately removed from the Chrome browser and cleared from other Chrome signed-in devices.
Bottom Line
The Chrome browser automatically fills the saved address into the online forms and registration field. Also, you can add multiple addresses and choose which to use to fill out any form. You can edit or delete the saved location if it is no longer required.
Apart from the Address, we can add the payment cards in Chrome on iPhone and iPad. Similar to the address, this will automatically fill in the credit card details on the payments page.
Similarly, you can save and manage the addresses in Chrome on your computer. The protected address in the computer or iPhone device sync between devices, and any changes made on one device will reflect on the another.
Lastly, if you've any thoughts or feedback, then feel free to drop in below comment box. You can also report the outdated information.


As the commenter above stated, there is no Add Address button on my Iphone 13. Perhaps this article is referring to an old version of iOS
The solution for adding an address to Google does not work on iPhone 12 pro. The addresses setting only allows you to edit or delete addresses, not add new ones.