The Samsung Internet allows autofill of the address fields in the registration form. It automatically pulls the saved address or location details from the browser storage and fills in the desired location.
We can add and store multiple addresses and edit or delete the existing outdated address.
In this guide, I have shared the video tutorial and written instructions about:
Watch the Video Guide
Find the video guide helpful? Please consider subscribing to our YouTube channel for more such videos.
Save an Address for Autofill
You can add the address to Samsung Internet in the Profile section. Here are the steps to follow:
- Launch the Samsung Internet app on the mobile phone.
- Tap on the More
 button located at the bottom right corner.
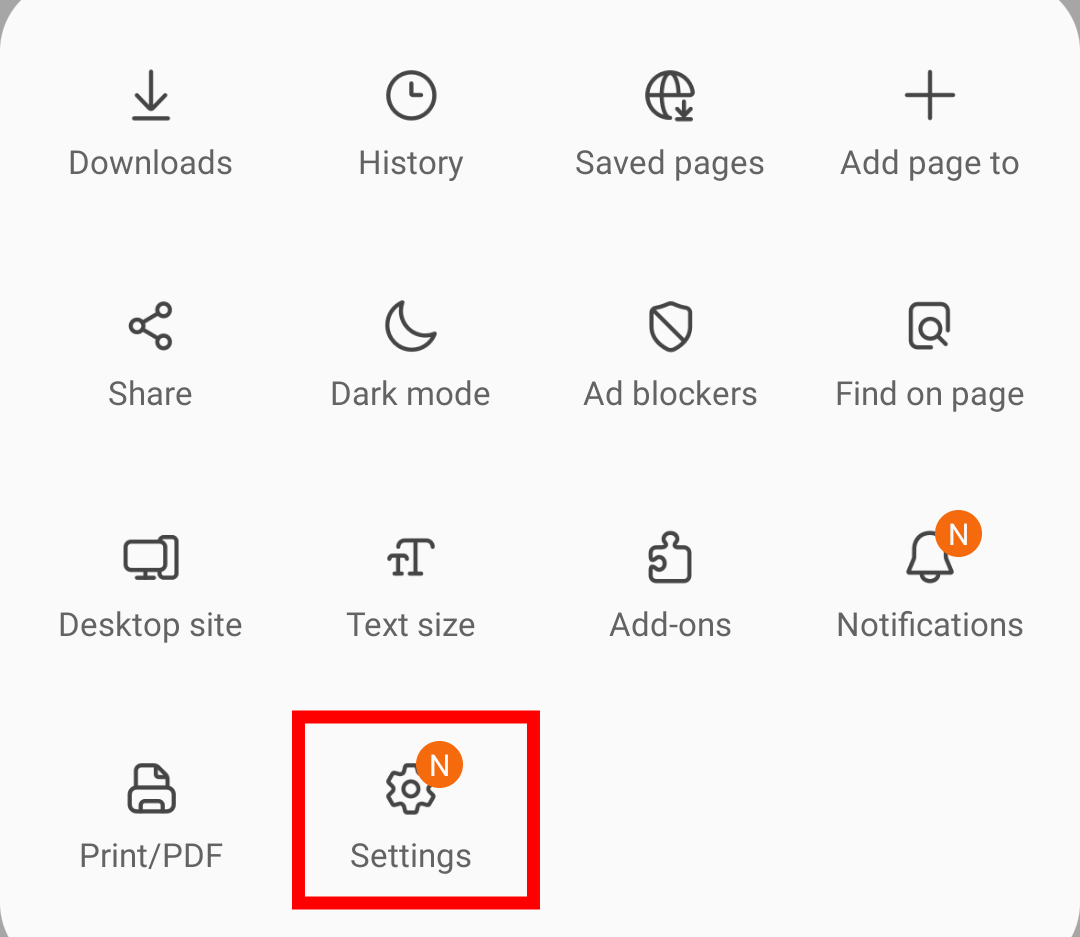
 - Select the Settings menu from the list.
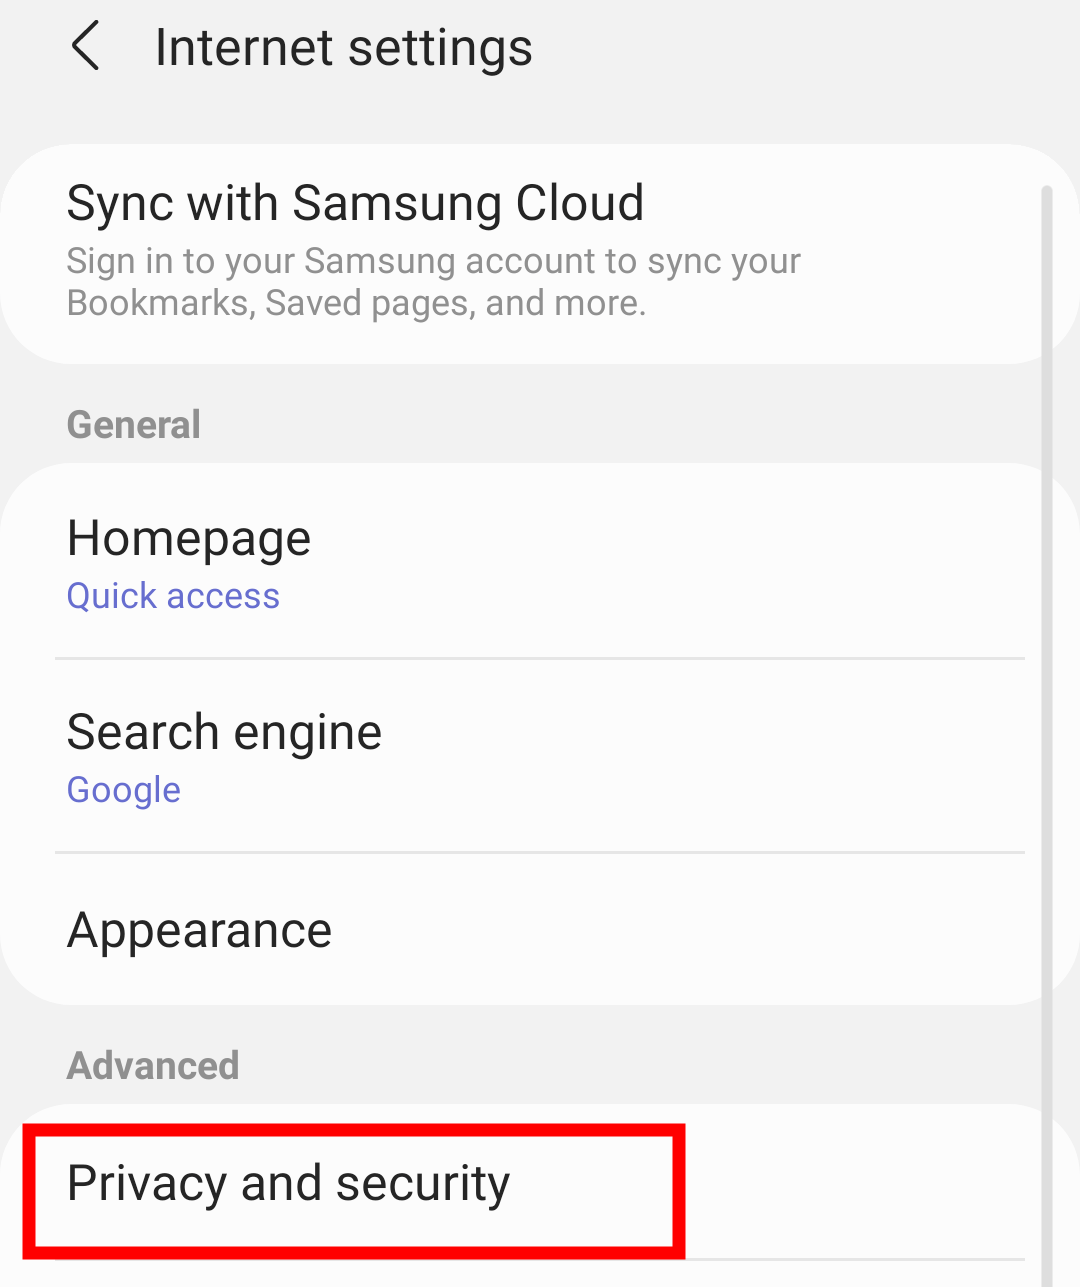
- Under the Advanced section, tap on Privacy and Security settings.
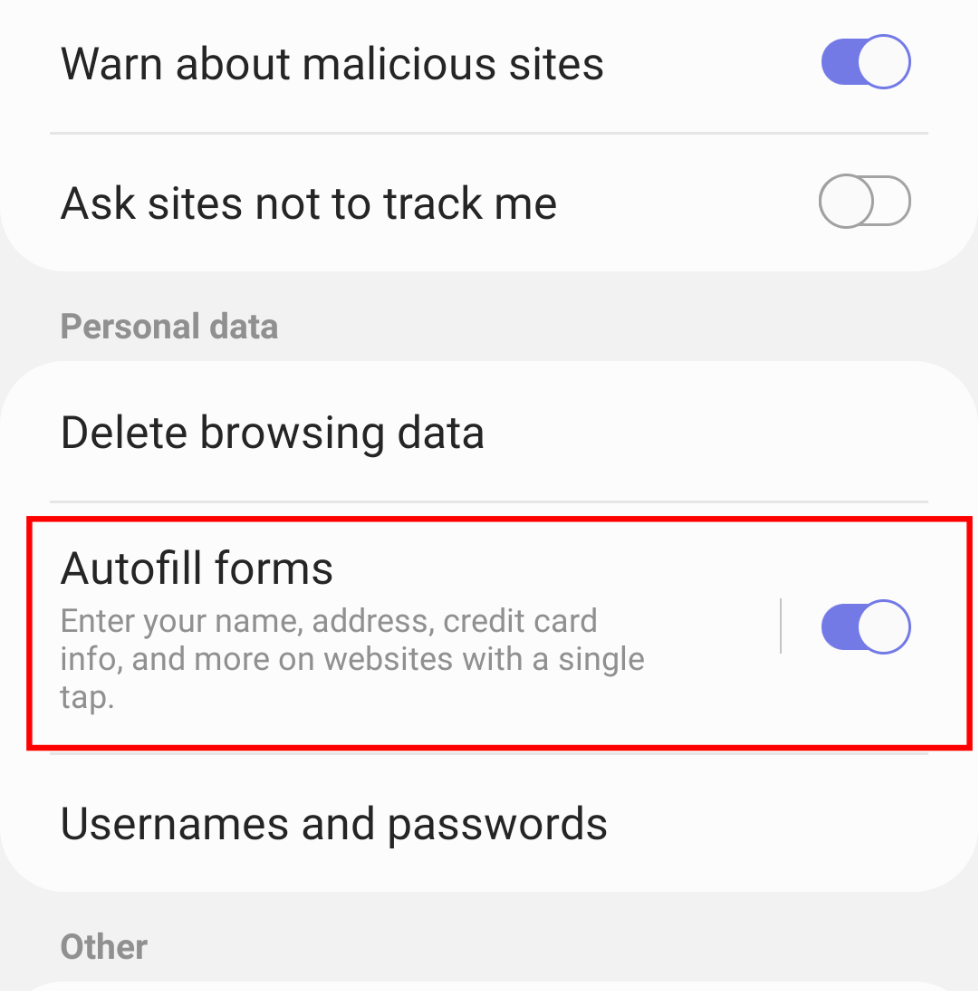
- Scroll to the Personal Data section and ensure the Autofill toggle is enabled.
- Tap on the Autofill forms menu.
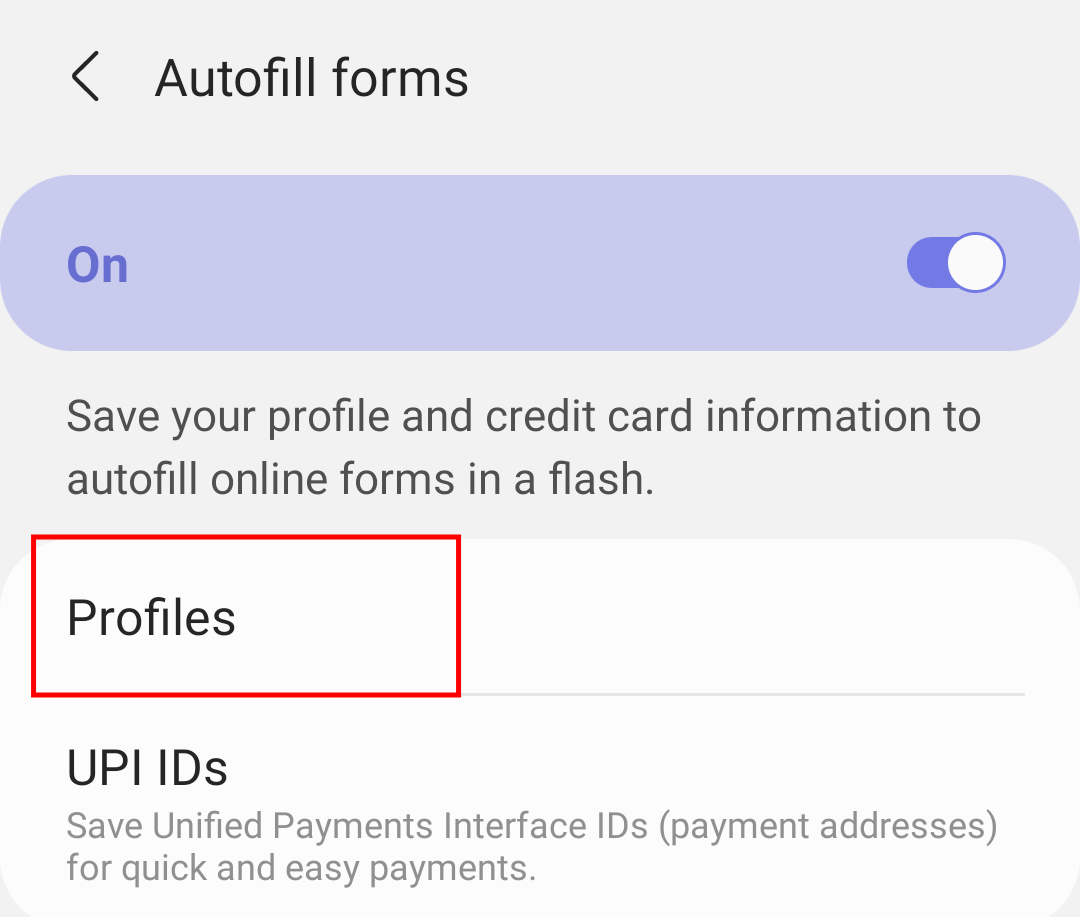
- Tap on the Profiles option.
- Hit on the button.
It will open a form to fill up your address. - Fill in the address details in the respective fields.
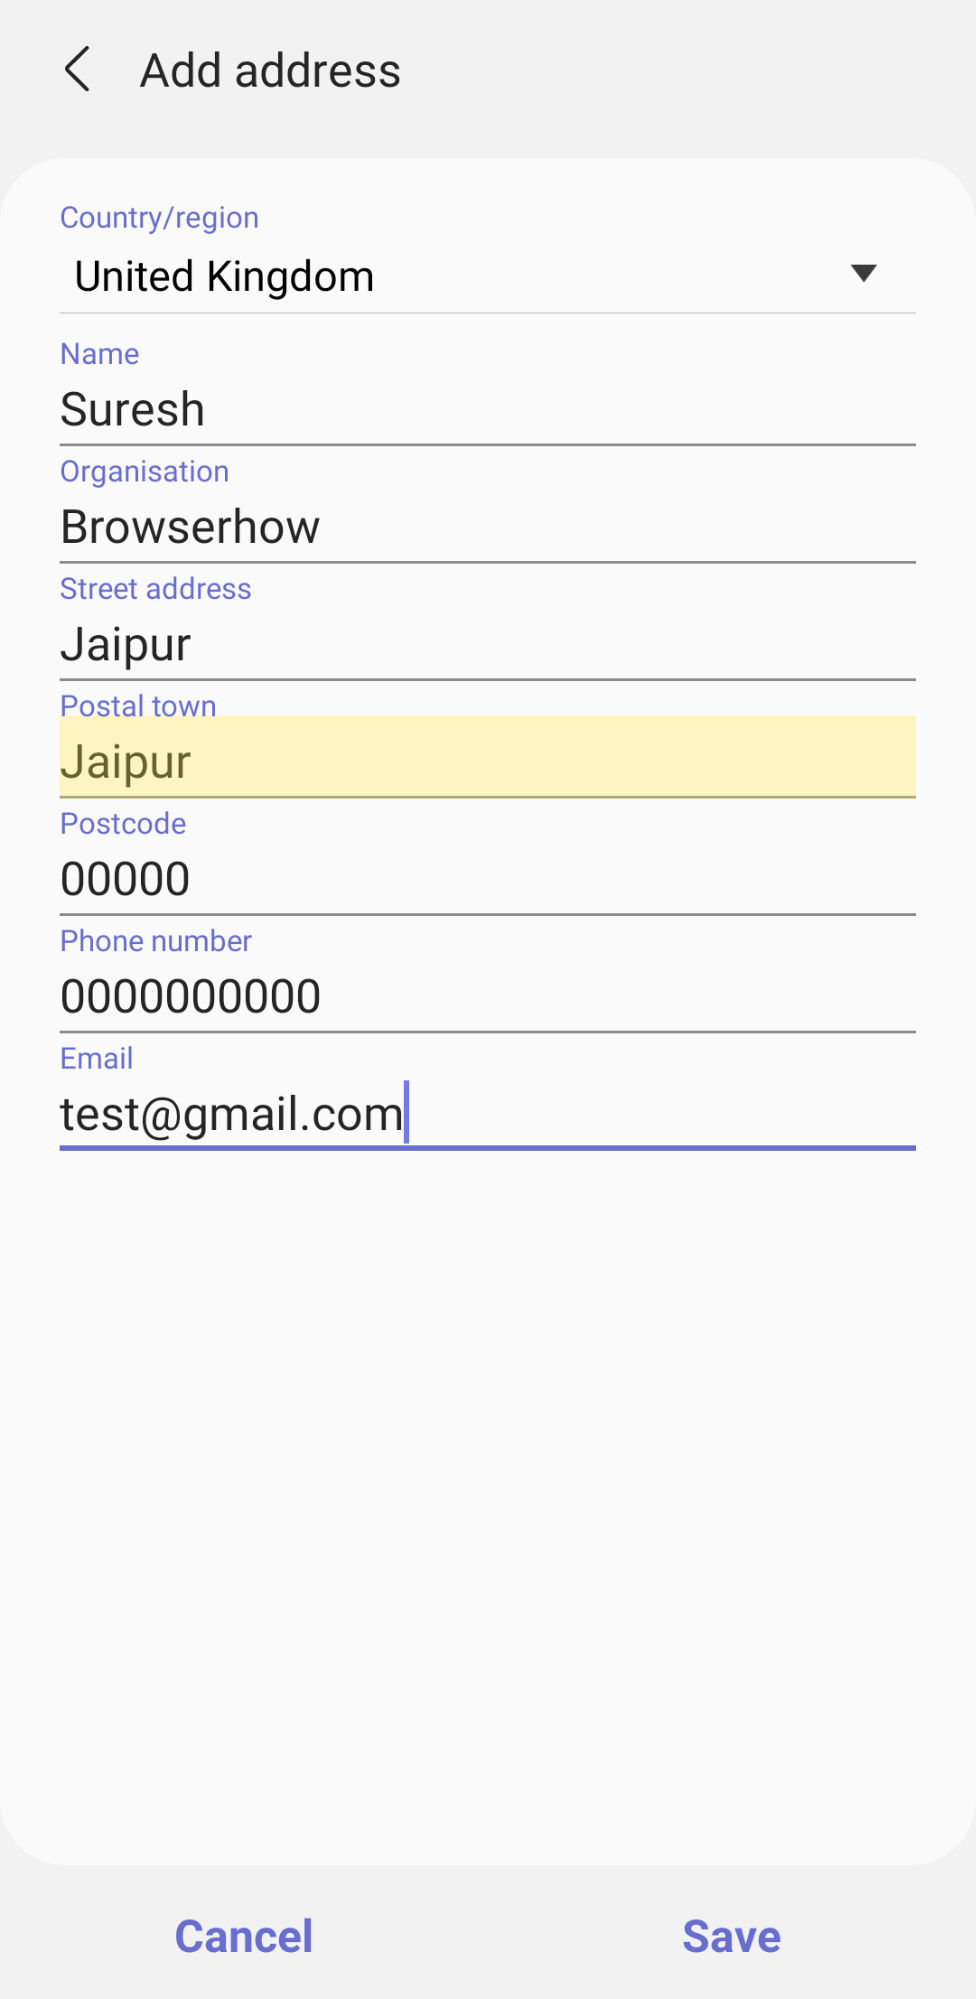
- Finally, hit the button.
It will add the address for autofill in Samsung Internet.
The address will now be auto-populated on any registration forms and process the payments without manually filling details.
You can add more than one address to the Samsung Internet. If you do so, then Samsung Internet will prompt you to choose the appropriate address whenever needed.
Edit and Manage Saved Addresses
Browser allows you to edit, or remove the addresses which is no longer in use. Here are steps to manage the saved address:
- Launch the Samsung Internet app on the mobile phone.
- Tap on the More
 button located at the bottom right corner.
 - Select the Settings menu from the list.

- Under the Advanced section, tap on Privacy and Security settings.

- Scroll to the Personal Data section, and tap on the Autofill forms menu.

- Tap on the Profiles menu > Saved Address to edit the address fields.

- Make necessary changes, and hit the button.
It will save the changes made to our saved address.
If you wish to delete an address, select on saved address and tap the button at the bottom.
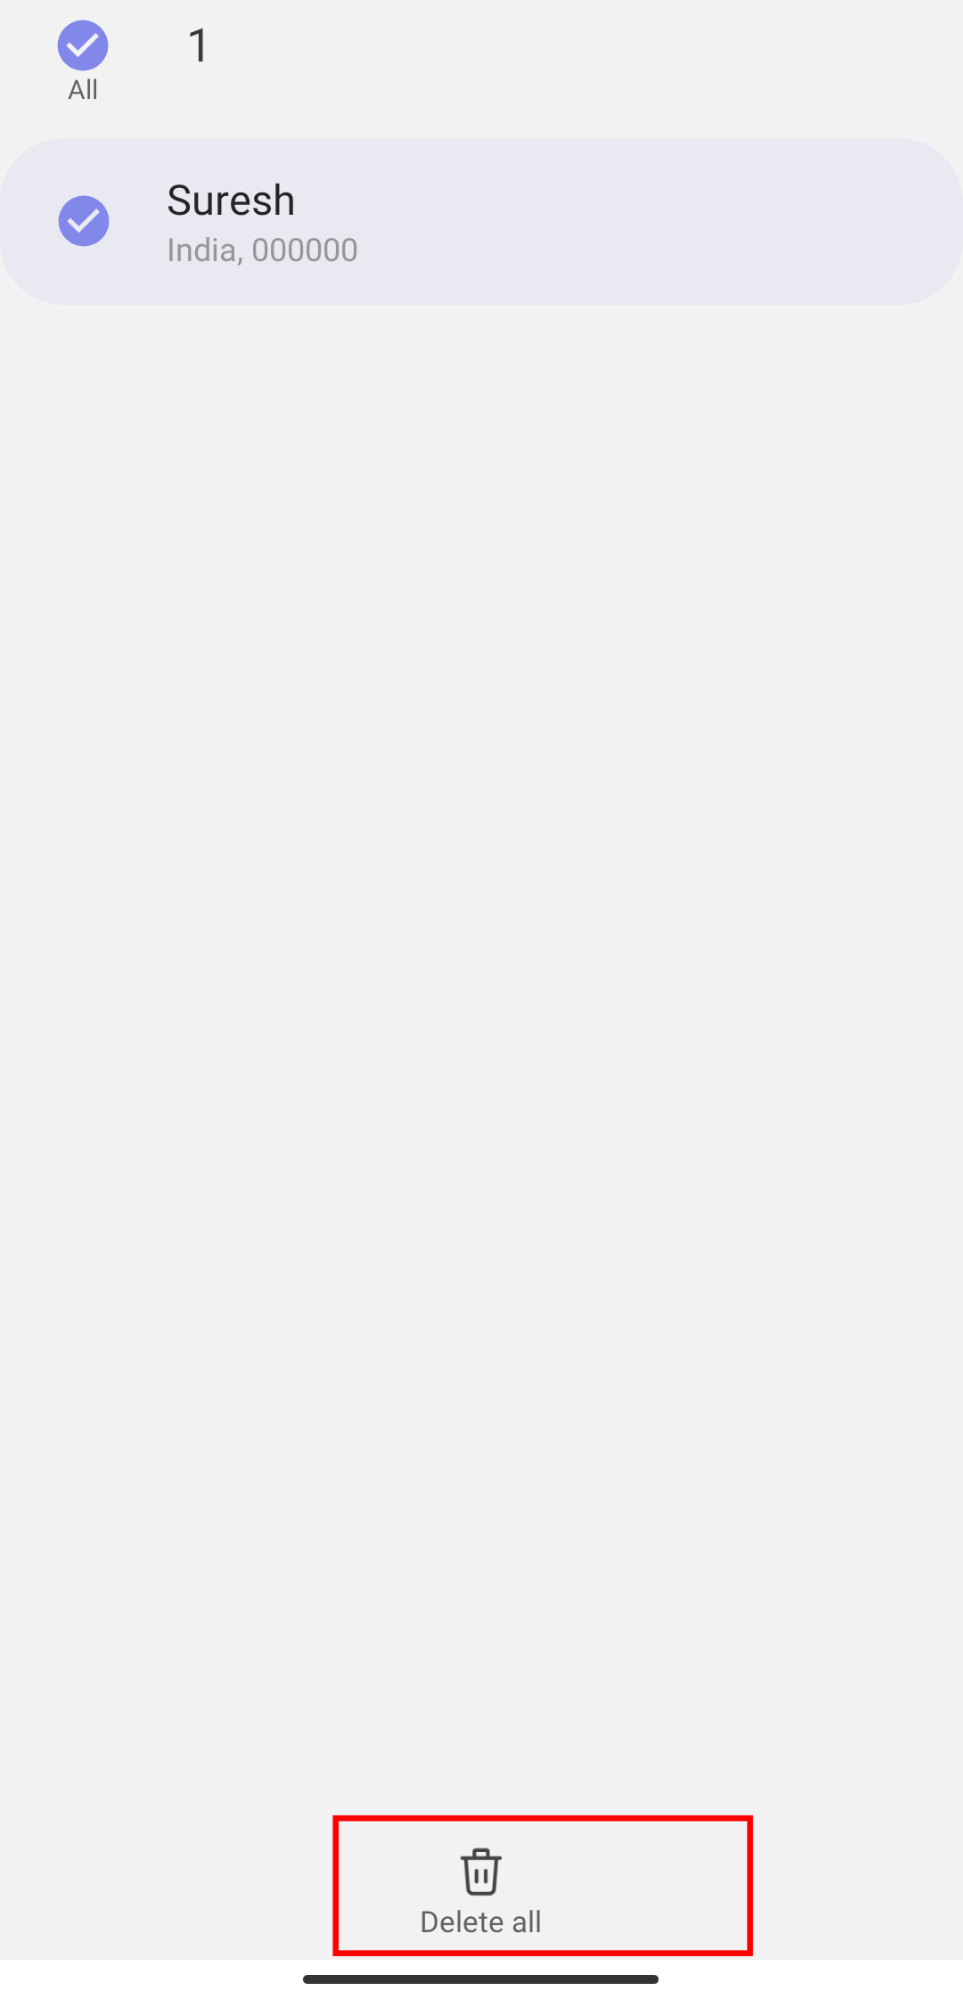
If you’ve multiple saved addresses, then select the checkboxes and tap the button to remove them.
Bottom Line
Address for autofill is the best feature that allows you to store and populate the saved address whenever needed. With the help of Samsung Internet’s Profile settings, you can easily add, edit, or remove the saved address.
Apart from the address, the browser also supports storing the username and password which can be used for auto sign-in.
Lastly, if you've any thoughts or feedback, then feel free to drop in below comment box. You can also report the outdated information.


