Adding Shortcut links to the desktop helps you browse the site directly without launching the browser app.
We can drag and drop the padlock icon from the URL bar to the desktop, and the alternative is to use the built-in browser options to create a site shortcut.
The following guide details about creating a site’s shortcut on desktop screen, and not the browser’s desktop shortcut. You can refer to this guide to create browser’s shortcut on desktop screen, if required.
In this guide, I have shared written instruction about:
Method 1: Drag and Drop the Site Address to Windows Desktop
The shorter and quicker way to create a site shortcut is to drag and drop the URL address to the desired location on your desktop. Here are the steps to follow:
- Launch any Windows web browser on your computer.
- Open the desired website that needs to be created as a shortcut.
- Resize the window so that the desktop and the browser are visible simultaneously.
- Click on the Padlock

 in the URL address bar.
It would be a lock icon (in case of a secure connection) or a warning sign (for insecure sites).
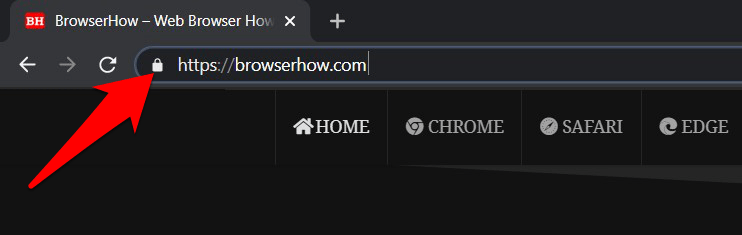

- Drag that Padlock icon to any location on your desktop and drop it.
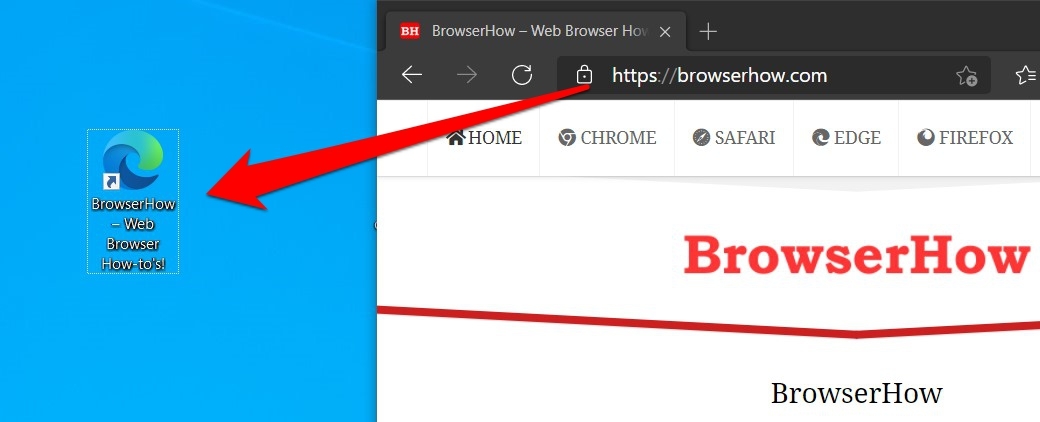

The associated browser shortcut link for that site will then be created on your Windows desktop. You may also give it a different name by right-clicking on it and using the Rename option.
Method 2: Use ‘Create Shortcut’ option in the Browser
If you create a shortcut through the first method, it only displays the browser icon and associated URL of that shortcut.
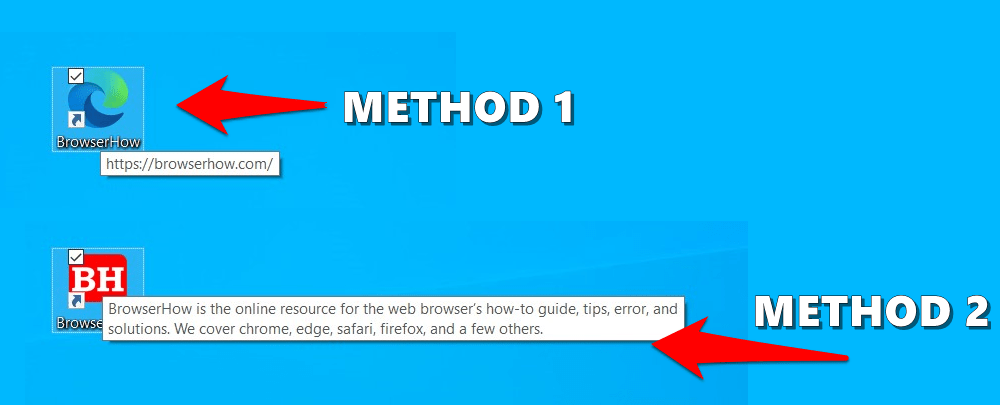
On the other hand, if you choose the second approach, the shortcut created will also display its associated metadata. These include the logo of the site, its description, and the URL. Here are steps to create site shortcut links:
- Launch your web browser app on your machine.
- Open a website to add a shortcut link.
- Click on the More
 menu and hover on Save and Share option.
 - Select Create Shortcut… option.
A dialog box to create a shortcut will pop up on the screen. - Hit on the command button.
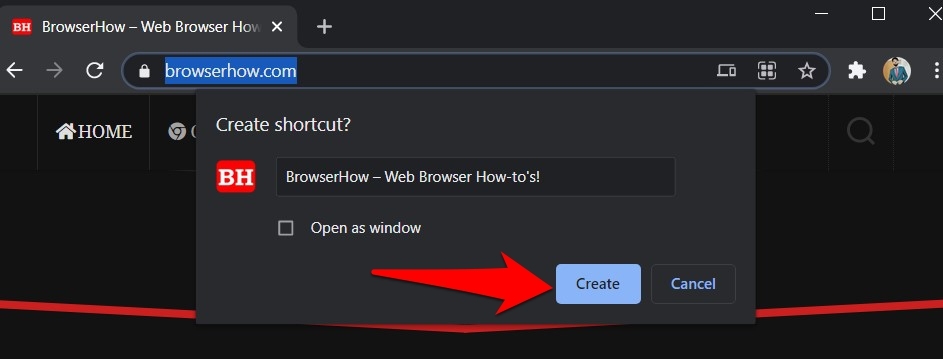

The shortcut link of that site will be created on your Windows desktop. You can also rename the shortcut and enable the checkbox to Open as a window option.
A similar option to create a shortcut link will also be available on other web browsers running on Windows.
Bottom Line
So this was all from this guide on adding a browser shortcut link for your desired site. There is a crucial point to keep in mind, though. It doesn’t matter which browser you have used while creating the shortcut; the latter will always open via Windows default browser only.
For example, if you have created a link via Firefox but your default browser is set to Edge, the system will respect this decision and open the site via Edge itself.
Lastly, if you've any thoughts or feedback, then feel free to drop in below comment box. You can also report the outdated information.