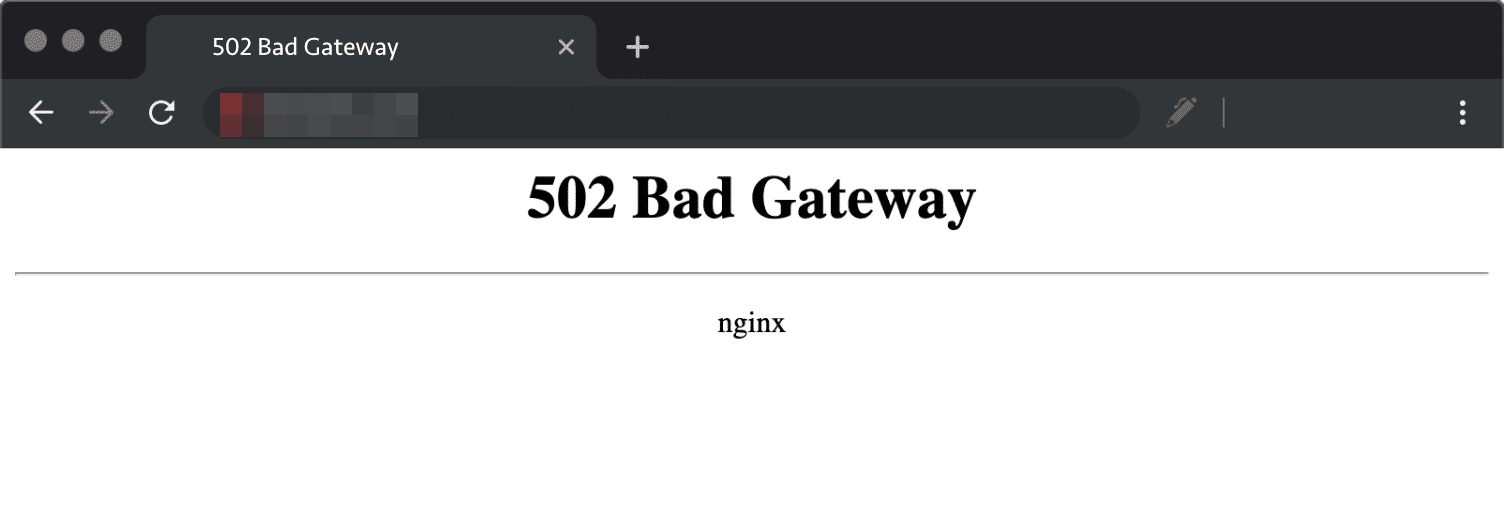
The 502 Bad Gateway error is mostly caused by browser conflicts or a site’s web server being misconfigured and not responding to a web request.
In such cases, you can remove conflicting extensions, clear the browser cache, flush the system & browser DNS cache, change the network DNS address, etc., to fix the bad gateway issue in the Chrome app.
In this guide, I have shared written instruction about:
Method 1: Check Website and Server Status
First and foremost, you should verify that the site is up and running. For that, you may take the help of a third-party site such as DownDetector or try a different web browser. If there are no server issues, try reloading the concerned website.
![]()
![]()
For that, use the + shortcut key combinations or click the Refresh ![]()
![]() situated left of the Omnibox. If the issue is still persistent, then it’s time to try out some other fixes listed below.
situated left of the Omnibox. If the issue is still persistent, then it’s time to try out some other fixes listed below.
Method 2: Try Accessing the Page in Incognito Mode
Incognito mode is used for a secure browsing experience. It also provides a near-about stock experience by default disabling all trackers and third-party extensions.
Consequently, if the issue is because of any of these add-ons, it wouldn’t appear in this private mode. Use the / + + shortcut key combinations to bring up a new Incognito window.
Now try accessing the site. If the site usually works now, it’s time to disable to one of those extensions.
Method 3: Disable Chrome Browser Extensions
The Chrome extensions can cause issues with website loading that can result in browser errors. You can disable the extensions and check if the issue is resolved.
- Open Google Chrome on the computer.
- Enter chrome://extensions/ in the address bar.
- Disable the toggle next to each extension until you can no longer recreate the issue.
- Hit the button next to the last extension that emerged as the culprit.


While these extensions add more to the overall productivity, removing them at that very instance is better if it points to an error.
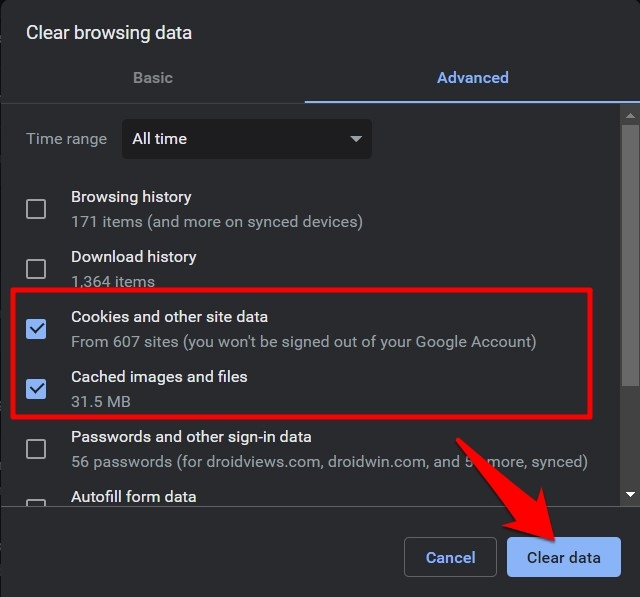
Method 4: Clear Browser and Website Data
If a lot of temporary data gets accrued over time, then it could conflict with the proper functioning of the PC. While they aren’t related to the network side, some users were able to rectify the issue after carrying out this fix.
- Launch the Google Chrome browser.
- Visit the Clear browsing data page by entering the below URL
chrome://settings/clearBrowserData
- Now select Cookies and other site data and Cached Images and Files.
- Hit the button and wait for the process to complete.

- Now check if you can visit that site or not.
While this tweak has worked out for some, it was a temporary fix. Users had to delete the browser’s cache and data every few days, which in turn disrupted their normal workflow.
Method 4: Clear System DNS Cache
Domain Server’s cache stores temporary data related to the websites you visit. Since the browser could directly pick up the data from the cache, it results in a faster loading speed for these sites.
However, even if the cache data gets corrupted, it would have negative consequences. So the best bet is to delete the DNS cache.
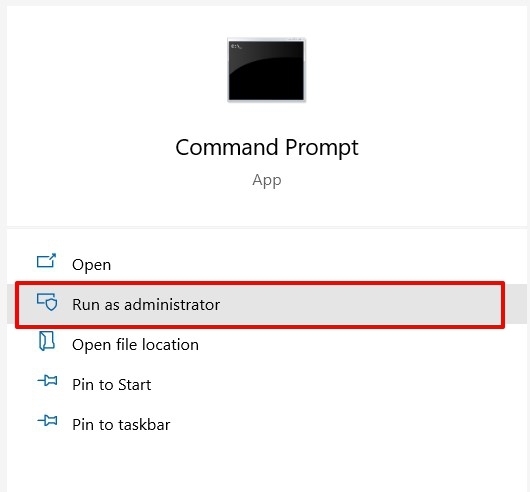
- Head over to the Start Menu and search for CMD.
- Then launch this Command Prompt window as an Administrator.

- Now type in the below command, and hit to clear all the DNS-related cache.
ipconfig /flushdns
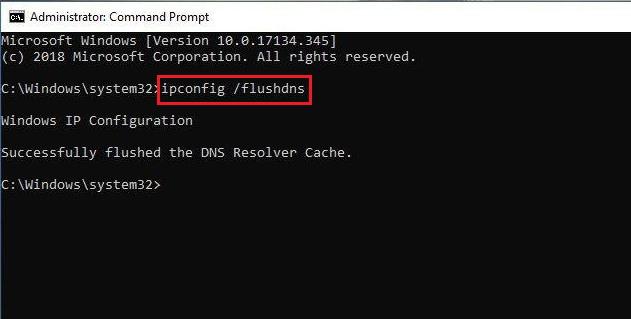

- As soon as it’s done, restart the browser and verify if it fixed error or not.
Deleting the DNS cache might slow down the website’s loading speed when it opens for the first time. You can check if this has resolved the bad gateway error.
Method 6: Change Network DNS Addresses
Your ISP provides you with the default DNS. However, you can always switch to another one, and this is what we would be doing here.
By switching over to Google’s Public DNS, we could verify whether the issue was related to our default DNS.
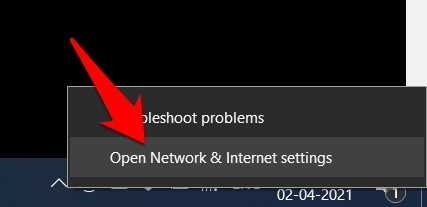
- Right-click the WiFi icon on the taskbar and select Open Network and Internet Settings.

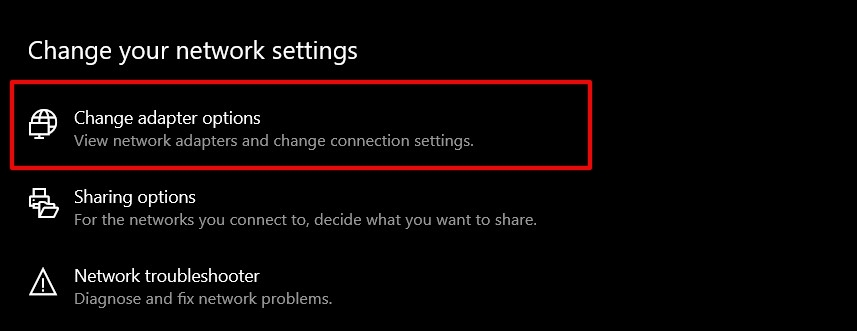
- Select the Change Adapter options, which shall take you to the list of available networks.

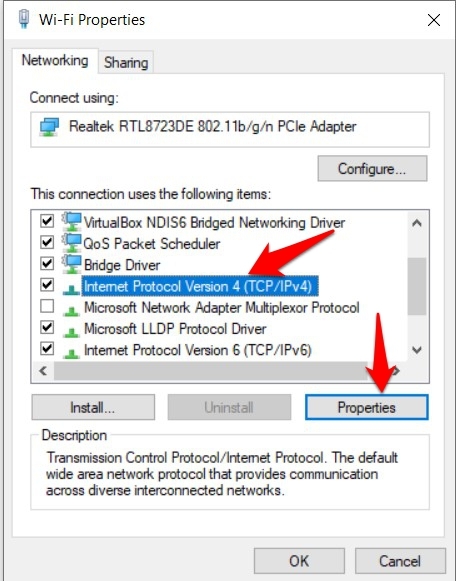
- Right-click on the connected network and select Properties.
- Now scroll to the Internet Protocol Version 4 section and click .

- Then select the Use the Following DNS server addresses option.
- Type in 8.8.8.8 under Prefered DNS Address, and 8.8.4.4 under Alternate DNS Address.
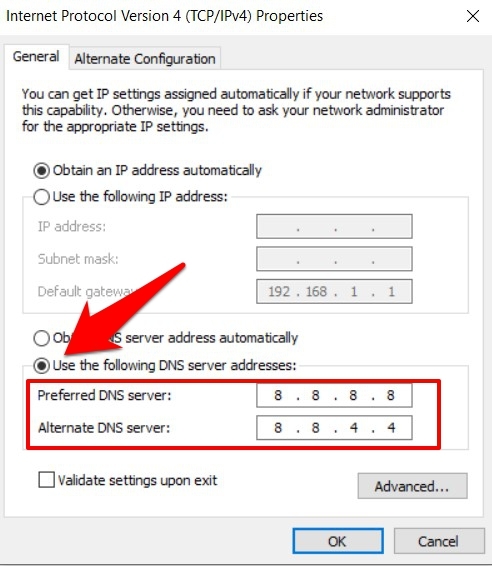

- Finally, hit to save the changes and try accessing the site.
If you can do so now, it’s recommended to stick with this DNS, at least for now.
Remember that this change is at the device level and will only be adopted by the device (Laptop/PC) on which you have carried out the steps. All the other devices connected to this network will continue to use the original DNS.
Bottom Line
While the issue generally stems from the website server, in some instances, the aforementioned browser-side tweaks fix the problem.
In my case, I first checked the website on a Microsoft Edge browser to verify if the issue was on my end. And yes, the page was loading. Hence, I cleared the Chrome browser’s browsing data and the DNS cache, which rectified the issue.
Most of the time, the bad gateway is due to web server configuration, and there is very little we can do apart from contacting the website owner. If you’re encountering the same error across different devices and browser apps, it’s better to ignore it and let the webmaster fix the issue.
Lastly, if you've any thoughts or feedback, then feel free to drop in below comment box. You can also report the outdated information.