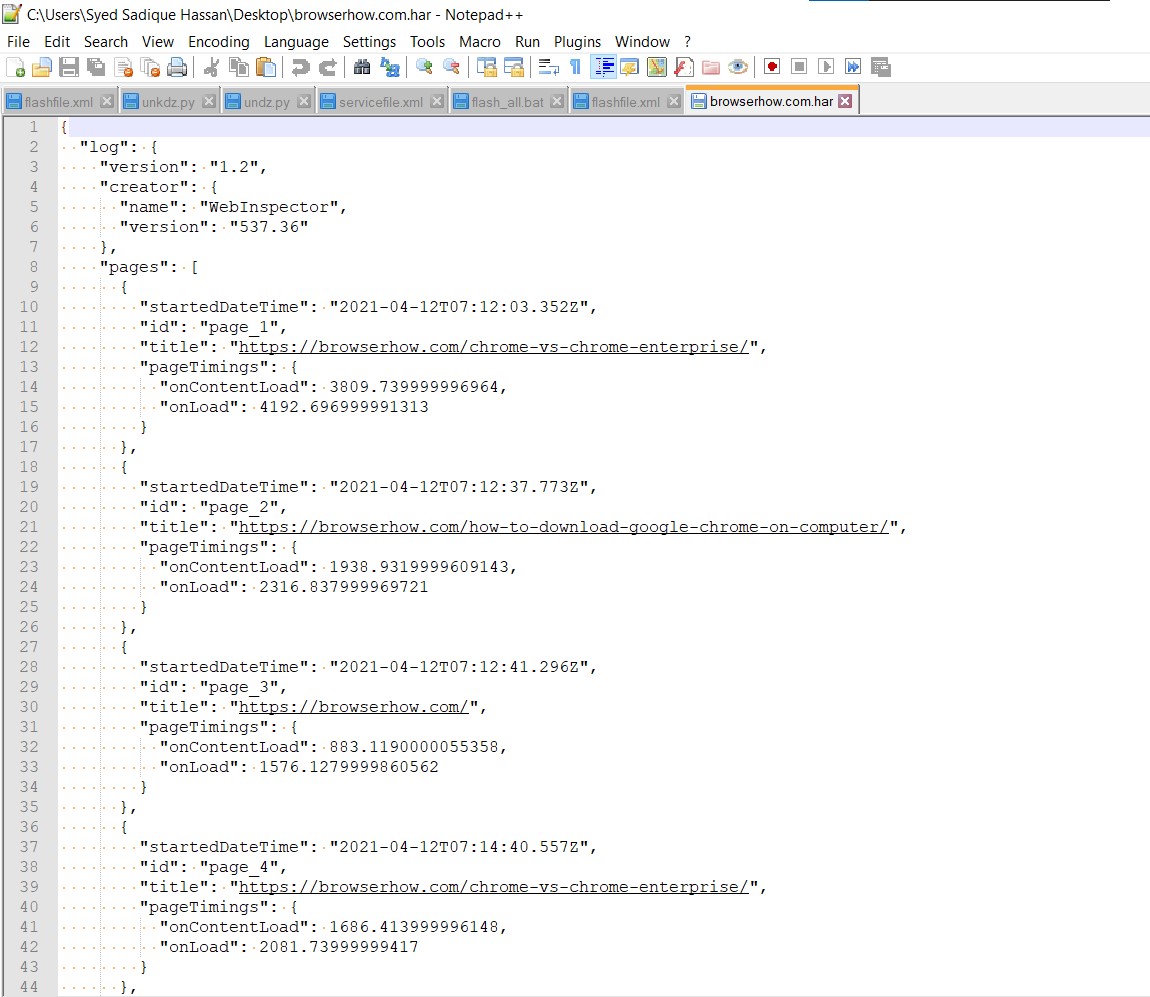
The HAR file, or HTTP Archive file, contains all the network and browsing session-related logs used by developers to debug an issue on the webpage.
The generated HAR file records all interactions, including the cookies and passwords used in the sessions. We can generate HAR files using the developer console in the Chrome browser.
In this guide, I have shared written instruction about:
What is a HAR file, and Why is it Essential for Troubleshooting?
If you come across a website that needs to be fixed, just sending the screenshot of that issue and a few error statements would only help them in some cases.
They would need to understand the technical details of the error-causing site, which is where the HAR file comes in handy.
An HTTP Archived file format records all interactions between your browser and the website with an issue.
Some of the data it stores includes the site loading time, the resources that can load correctly, the ones that are getting blocked, and the issues related to rendering on-page elements. These network-related data are then stored and compressed into a HAR format.
Once this file is created, you could export and send it to the site developer or webmaster, who can read the technical details and act accordingly to fix the issue.
Generate a HAR file in Chrome App
You do not need to add extensions to generate a HAR log file. The built-in developer tools can record error logs and generate HAR files. Here are the steps to generate:
- Launch the Chrome browser on your PC.
- Open the page whose logs you need to collect.
- Click More

 at the top right, and select More Tools > Developer Tools.
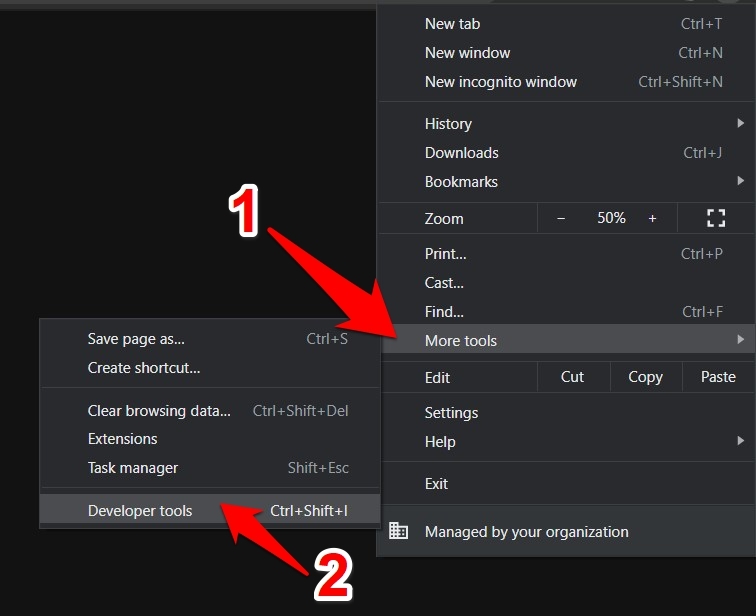
 You could also access the same via the + + Chrome shortkeys.
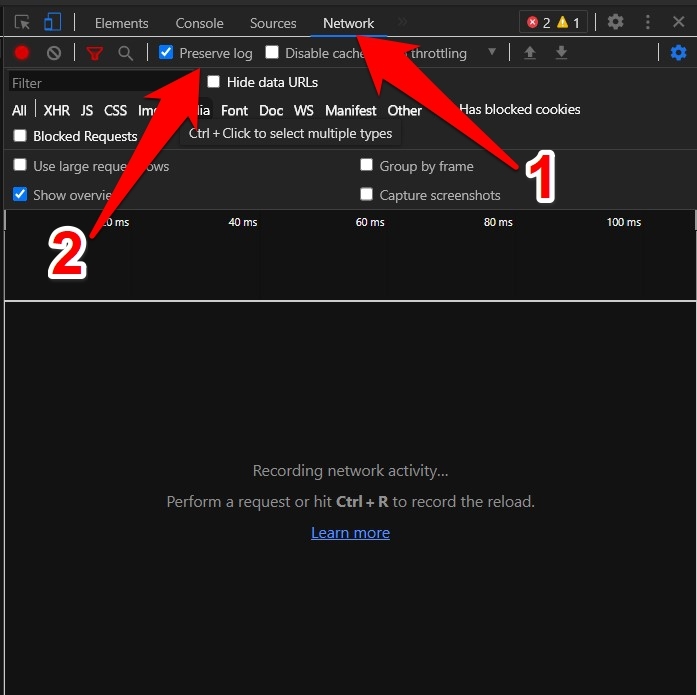
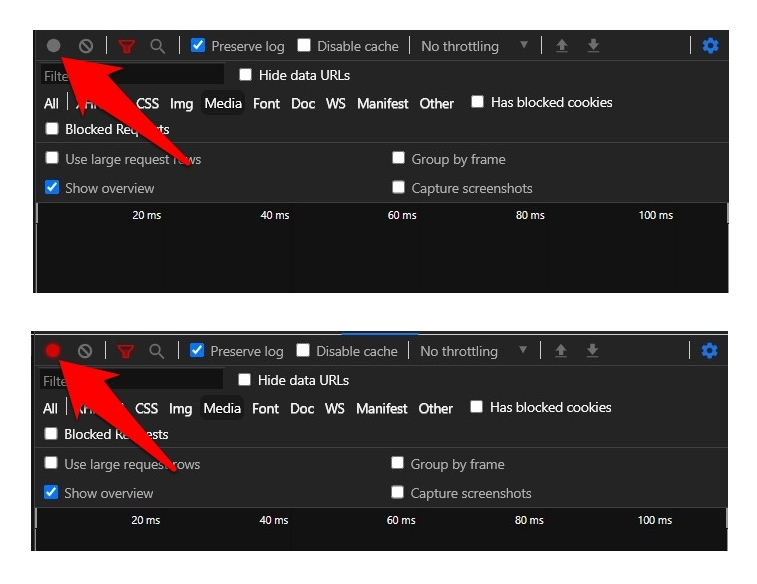
 - Switch to the Network tab and enable checkmark the Preserve Log option.

- Refresh the webpage using
 OR / + key; this should start the recording.
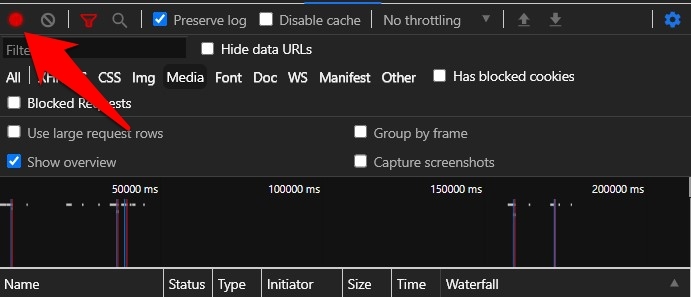
Make sure that you are seeing the red recording icon.

- Now try to reproduce the issue you were facing earlier so that it gets saved in this HAR error log.
- Click on the red circular icon to stop the recording.

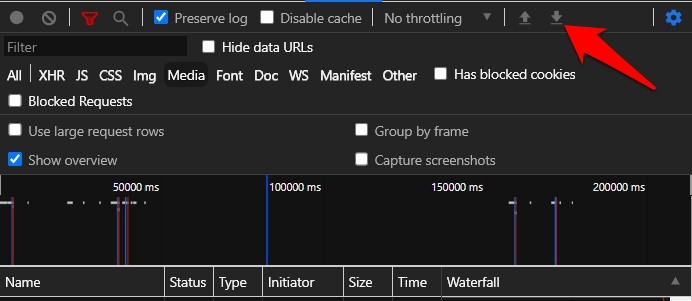
- Click on the icon at the extreme right to export this HAR File.

- Give the file any name of your choice (but leave the extension as .har) and hit .
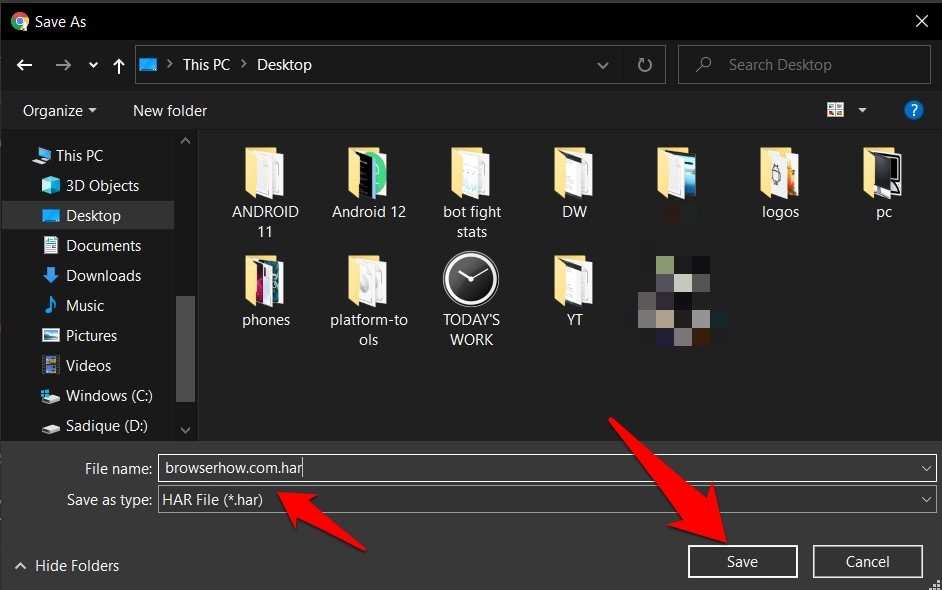

The HAR file will save all logs in a file. You may email it to the concerned authority or send it via any other medium.
Bottom Line
Remember that when the logs are being recorded, they store all the resources loaded during that browser session.
It might include the cookies and any information you save during this time frame (such as passwords, payment details, etc.).
So, it’s better not to interact with confidential information while recording your session. Furthermore, only send the HAR file if you trust the developers. The HAR file can also be helpful to report the issue with Chrome Developers.
Lastly, if you've any thoughts or feedback, then feel free to drop in below comment box. You can also report the outdated information.