The Opera browser has a built-in Virtual Private Network or VPN service that helps in protecting user privacy. We can enable Opera VPN in normal mode and private browsing mode.
It also has the toggle to enable or disable search engines at startup. We can choose the proxy location and turn it off with a simple toggle switch.
In this guide, I have shared written instruction about:
Enable Opera VPN for browsing
You can enable or disable the VPN per your needs. But I recommend keeping it enabled for privacy and data security. Here are the steps to enable the free VPN service:
- Launch the Opera browser on a computer.
- Click on Settings

 situated at the left menu bar.
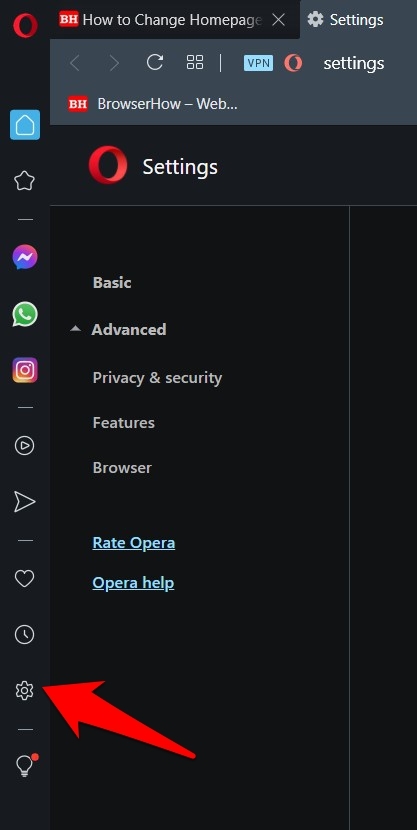

- Scroll to the bottom, and click on the Advanced section.
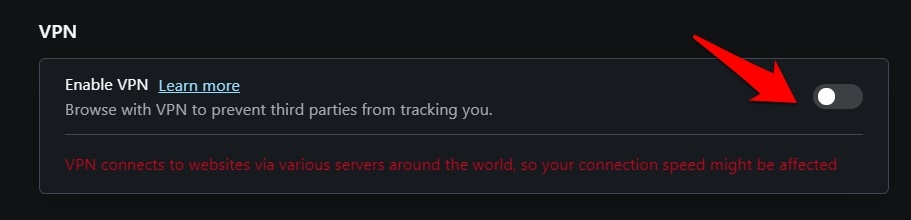
- Go to the VPN section, and turn on the toggle next to Enable VPN.

 It will enable the VPN service for your browsing connection.
Furthermore, you would have noticed two more options: Bypass VPN for default search engines and Connect to VPN when starting the browser. Let’s try and understand both of them.
Bypassing VPN for default search engines
Your search engine (Google, Bing, etc.) will bypass the VPN connection by enabling the first option. As a result, it will only show results tailor-made for your location. It is recommended that you keep this option enabled. Here’s the reasoning behind the same:
Suppose you are currently staying in New York but have connected to a Tokyo server. If you perform a query search like “Best Hotels nearby,” it would display the results of the Tokyo location rather than your actual one, which you would definitely want to avoid.
So to get more refined and filtered search results specific to your location, you should consider turning this feature on.
Automatically Connect to the VPN when starting the browser
This option will automatically enable the VPN when you launch your browser. By default, this feature has been disabled, and I prefer to keep it that way. It’s better to have more granular control over a setting rather than always keeping it enabled.
Moreover, it might also result in a faster bootup time for Opera since it would have to load one less functionality.
Tweaking Opera’s VPN Settings on Computer
Now that we have enabled the VPN, let’s check out the steps to customize it per our needs. Here are the steps to customize the Opera VPN settings:
- Click on the VPN icon located in the address bar.
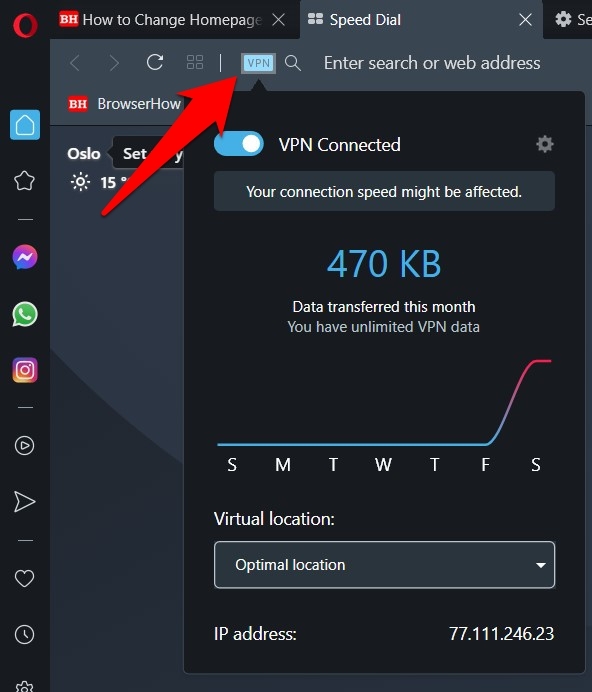
 It will open the VPN information and settings page. The page will show you the total data transfer this month.
 - Click on the Virtual location drop-down to change the proxy location.
It’s default set to Optimal location. - Select any Virtual location to make a new region connection.
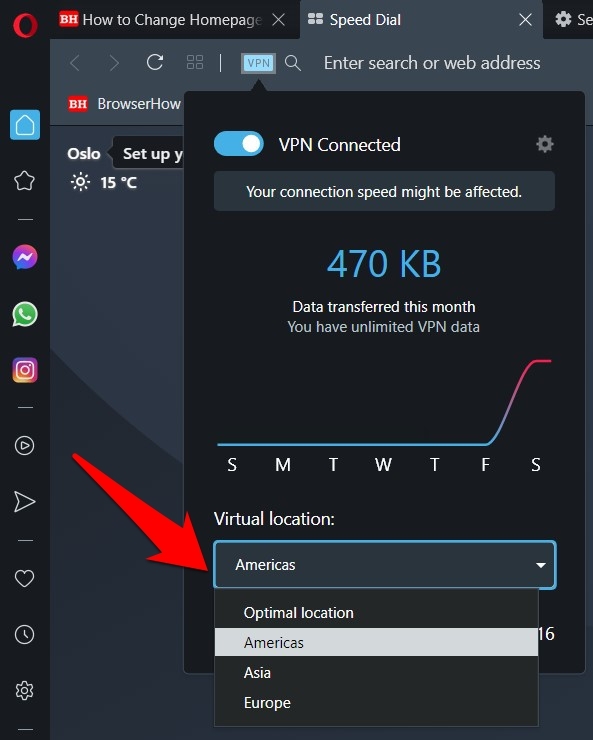

Moreover, as and when you change the server, its associated IP Address will also change accordingly, which you can keep track of from the bottom of that menu.
Disable the VPN in the Opera app
Once you are done using this VPN, click on the VPN icon at the left of the address bar and disable the toggle that says VPN Disconnected. Doing so will turn off the VPN connection.
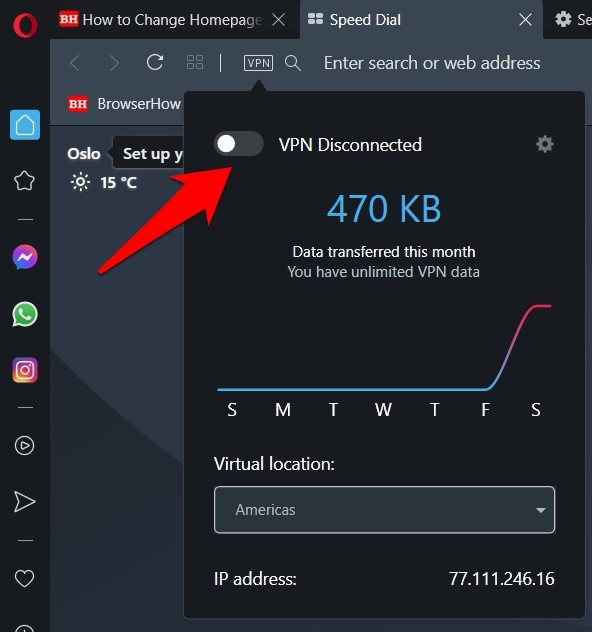
However, you would continue to see the VPN icon, and it’s just that it would be greyed out. So if you wish to remove this trace, you must go to Settings and disable the VPN option.
- Launch the Opera app on a computer.
- Click on Settings situated at the left menu bar.
- Scroll to the bottom, and click on the Advanced section.
- Go to the VPN section, and turn off the toggle next to Enable VPN.

It will disable the Opera VPN. It will also remove the VPN icon from the address bar.
Bottom Line
The Opera browser has built-in VPN services within its browsing tabs which you can use along with private browsing mode to safeguard your browsing behavior.
The VPN service when enabled lets you choose the region and location to spoof your internet browsing location. Also, it helps in bypassing essential services like Search Engine and turning on the VPN after launching the browser app.
For best privacy, you can always visit the privacy and security settings in the Opera browser to configure for enhanced safety.
Lastly, if you've any thoughts or feedback, then feel free to drop in below comment box. You can also report the outdated information.