The Safari app has the feature to install extensions that can help modify the browser’s existing capability. We can easily install, use, and disable the extensions.
We can only install the extensions from the Apps Store and manage them from Safari under Phone Settings.
In this guide, I have shared written instruction about:
Install the Extensions in Safari app
Things are slightly different than how we install the Safari extensions store on Mac. We can download the extensions from the App Store for iPhone and iPad. Here are the steps to follow:
- Open the Phone Settings app on your device.
- Scroll and open the Safari app.
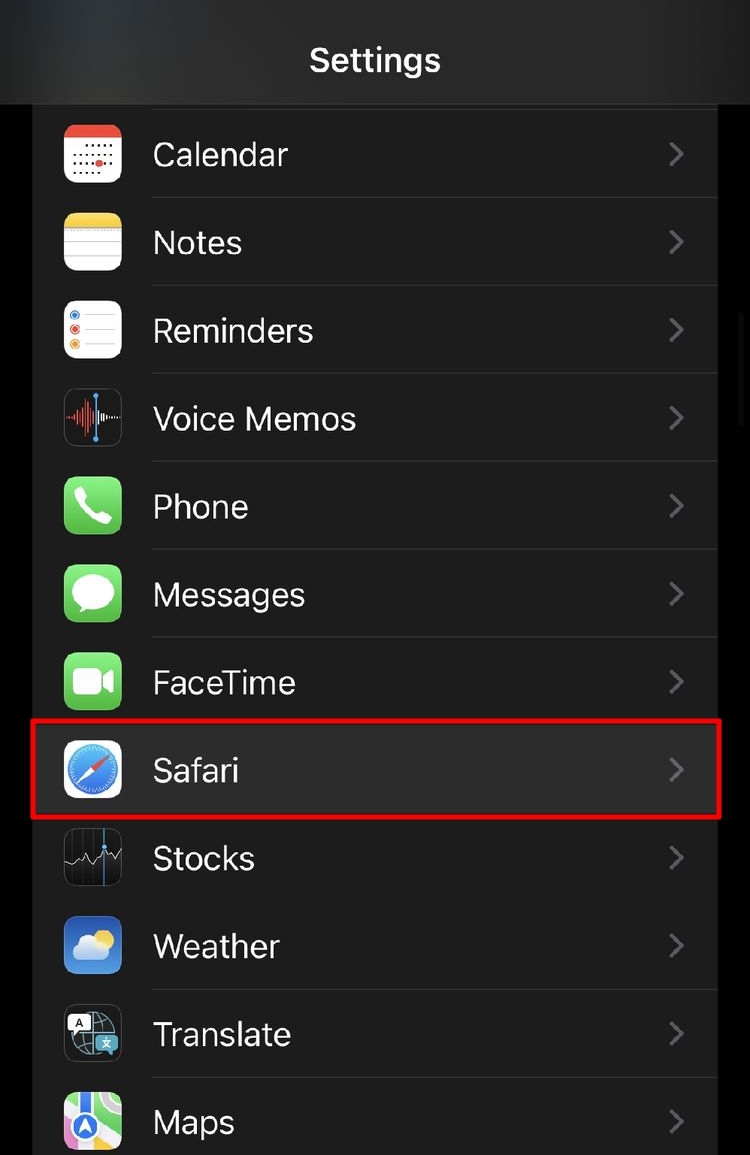
 It will open the Safari settings menu.
 - Scroll down to the General section and tap to open the Extensions menu.
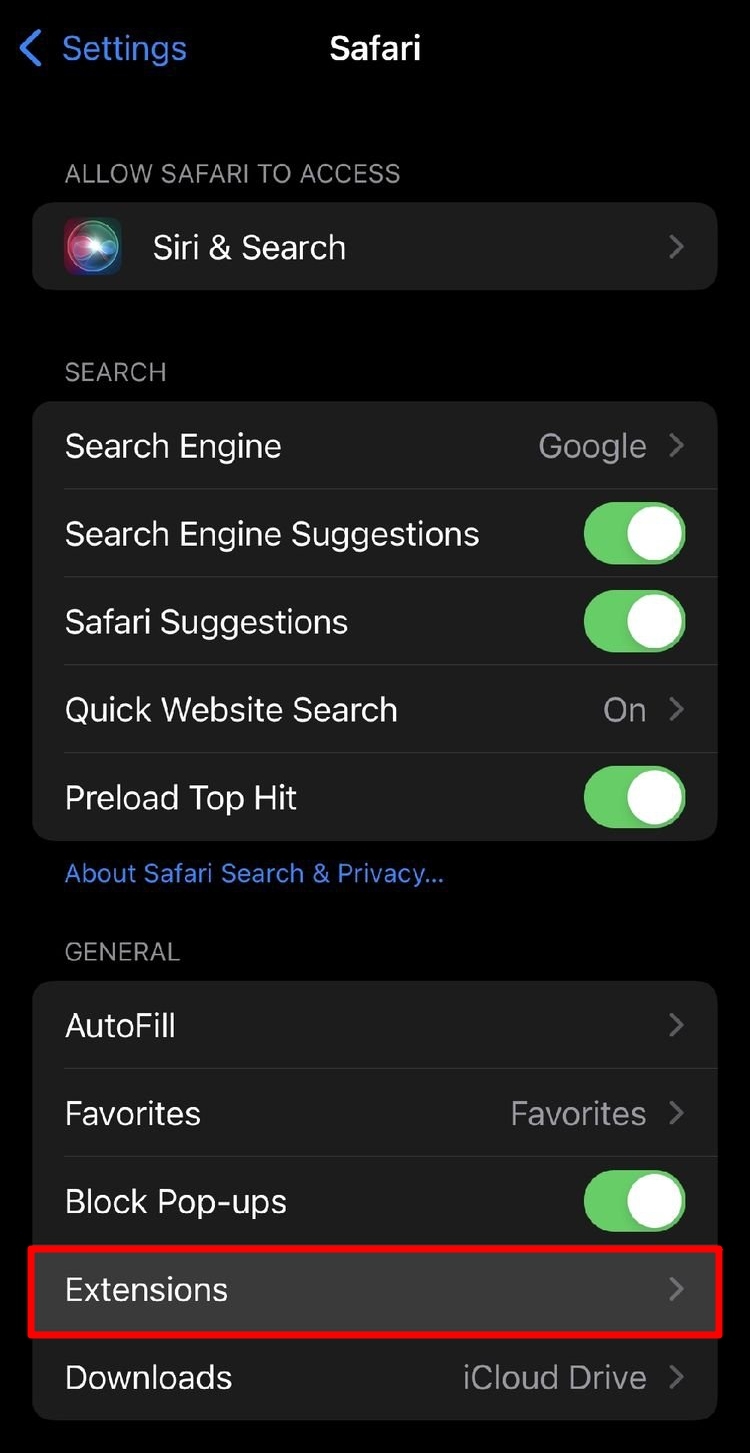
 It will display the list of any extensions already installed on Safari.
 - Tap on More Extensions at the bottom of the page.
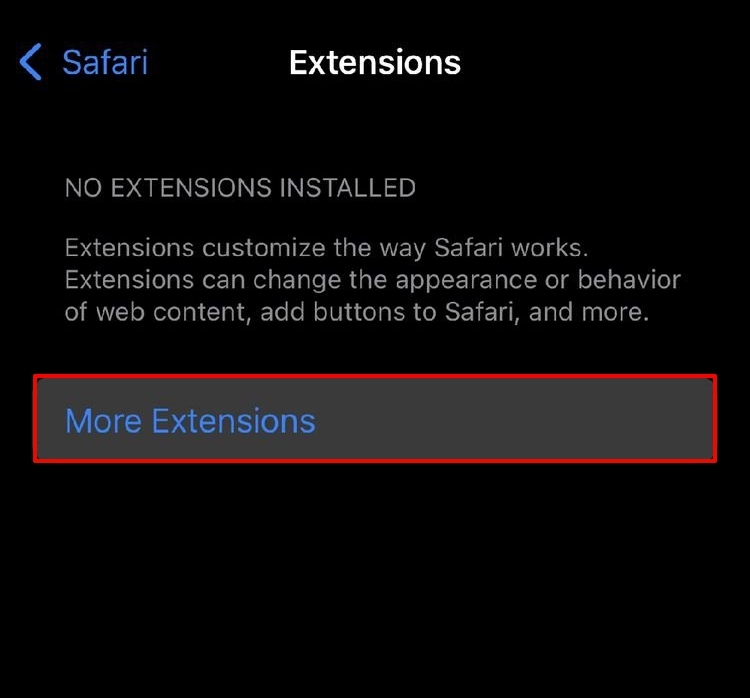
 It shall now take you to the Safari Extensions section of the App Store.
 - Search your desired add-on, and hit the button to install.
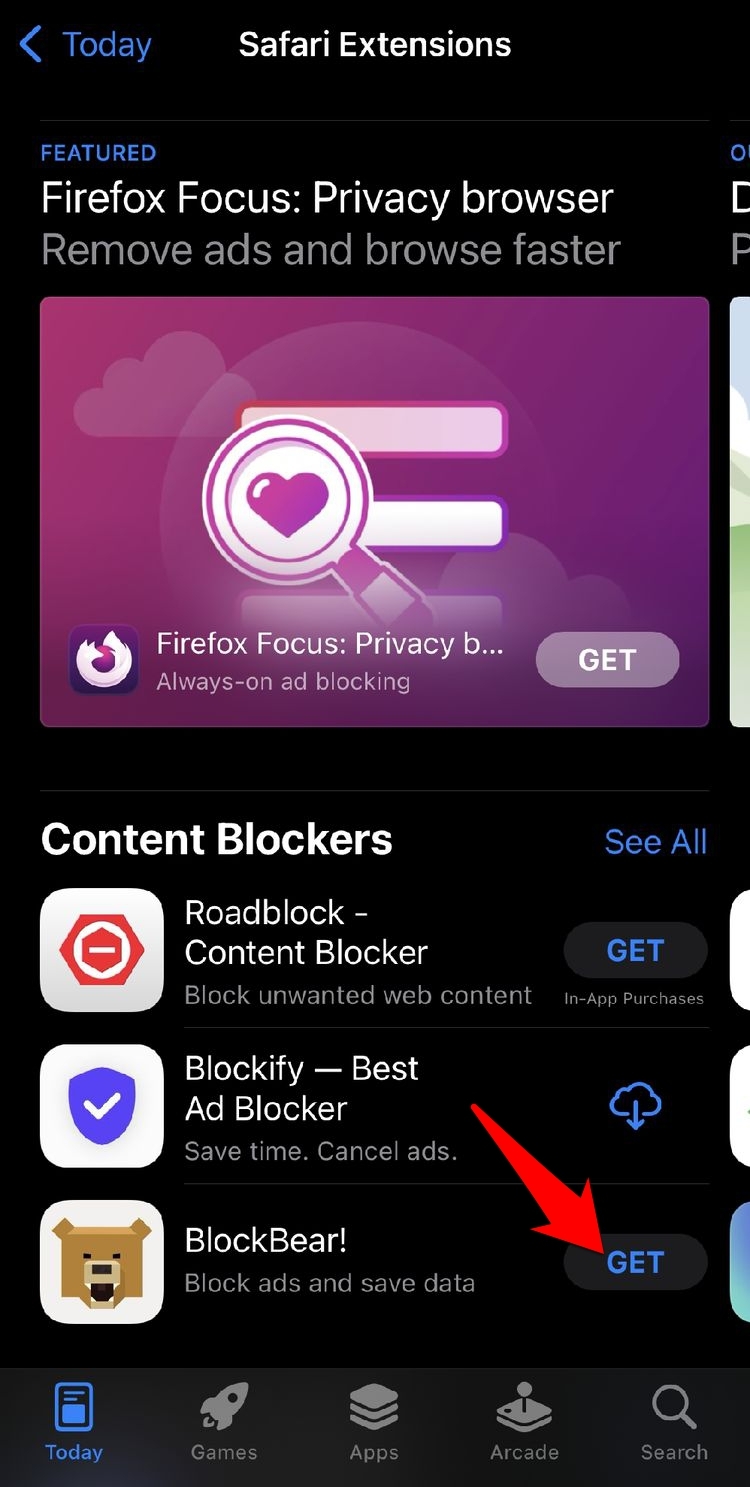

It shall now install the selected extension onto the Safari browser on your iPhone/iPad.
You could also install these extensions right from the App Store itself. Launch the store, search for the required extensions, and tap on the button next to the add-on one of your choices.
Enable an Installed Extensions Browser
The installed extension may be inactive; you can enable it from Safari settings. Here are the steps to follow:
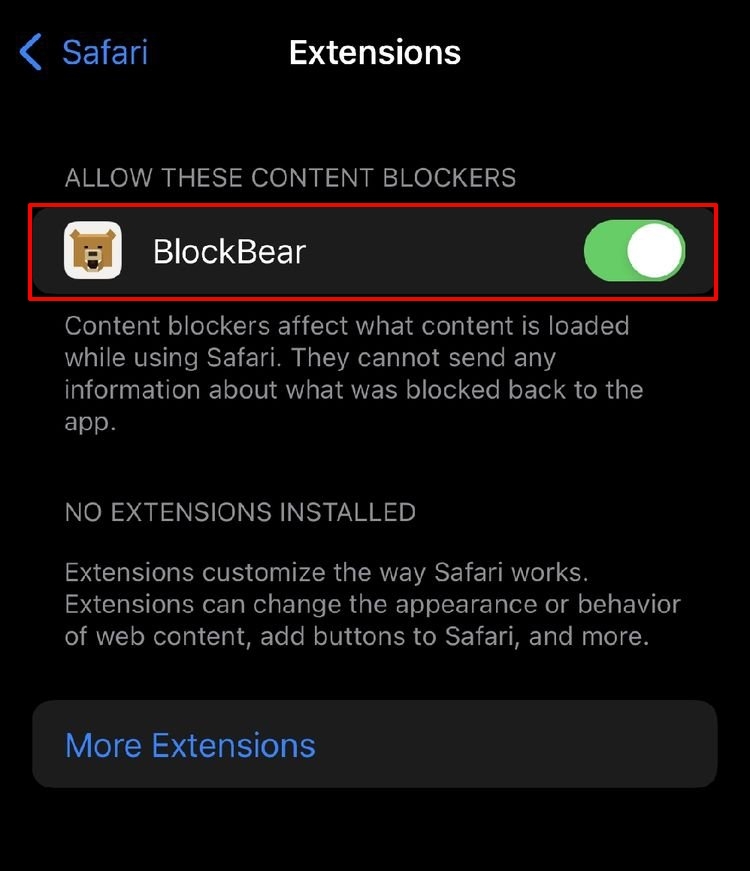
- Head over to Settings > Safari > Extensions menu.
Now, under the list of extensions, you shall see the newly installed ones. - Enable the Toggle next to the extension to activate.

If you wish to carry out any additional configuration, you may launch that extension from your app drawer and proceed with the setup.
Once that is done, launch the Safari browser and tap on Share ![]()
![]() to bring up the sharing page.
to bring up the sharing page.

All the functionalities of the installed extension will be present there; tap on the desired one to use it.
Uninstall the Safari Extensions on iPhone
You can remove it from the device if you no longer wish to use an extension. Alternatively, you can also temporarily disable the extension. Either way, it will no longer integrate the extension into the Safari app. Here are the steps to follow:
- Open the Phone Settings app on your device.
- Scroll and open the Safari app.
It will open the Safari settings menu. - Scroll down to the General section and tap to open the Extensions menu.
It will display the list of installed extensions. - Toggle the Off switch to disable the extension.
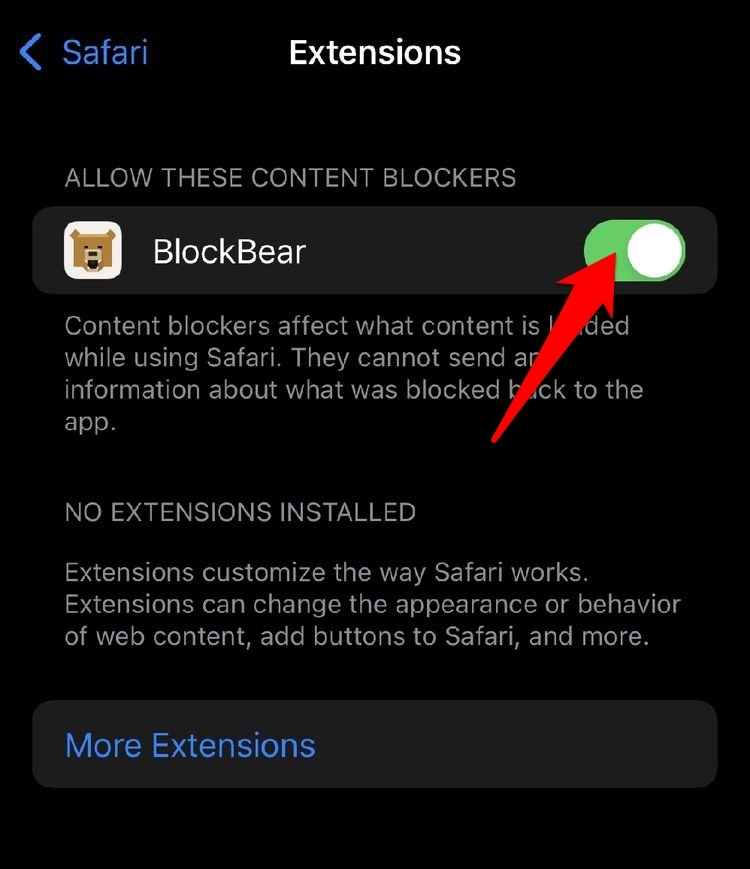

It will disable the Safari extensions; however, they will still be available on the device.
Suppose you want to uninstall the extensions; tap and hold the extension app for the options menu. Select the from the list, and confirm the Remove App command option.
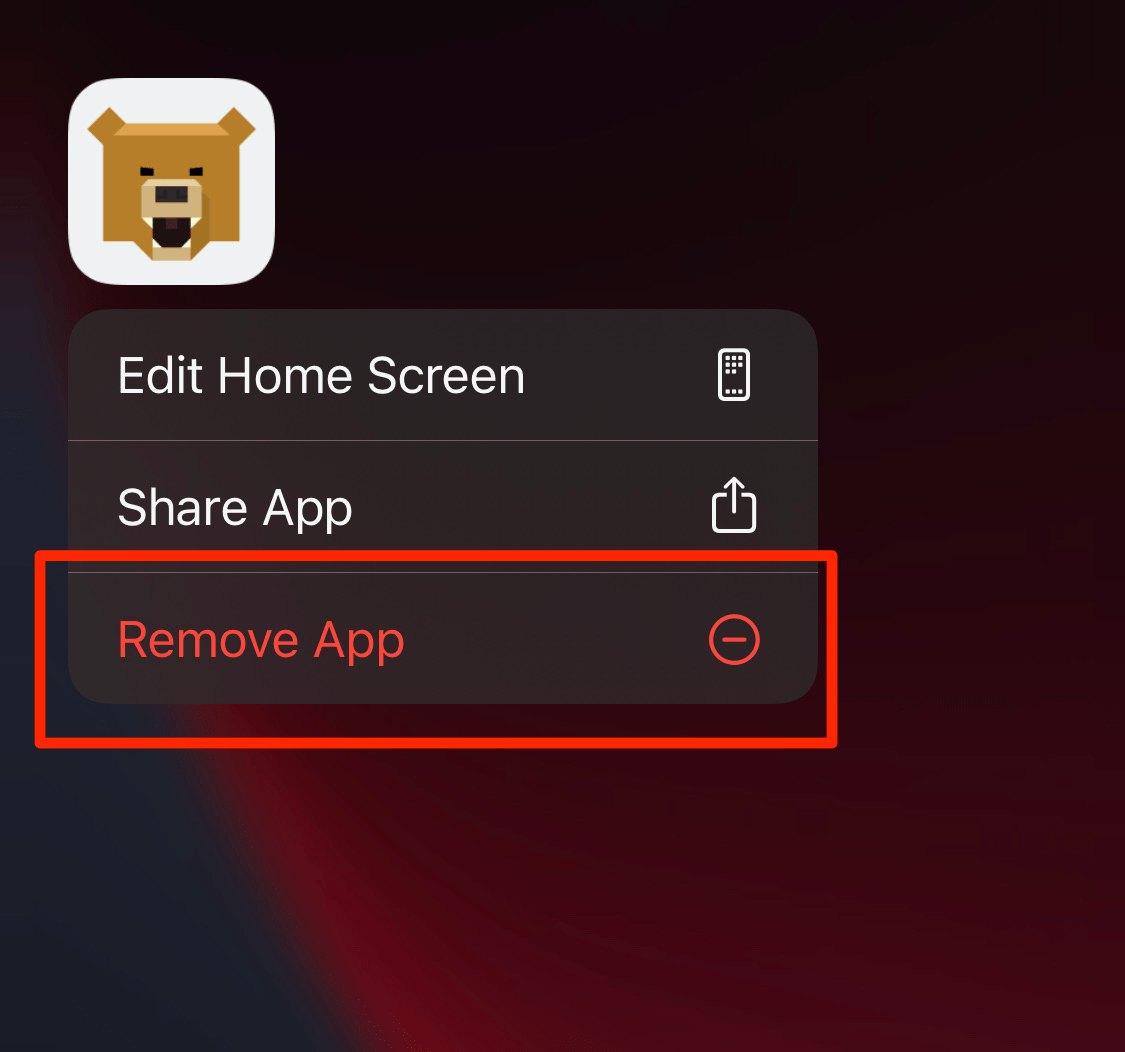
It will remove the extension app and clear the device’s data.
Bottom Line
With that said, the extension support is still in its early stages, so you might not be able to find some of your favorites. Not all extensions are supported since the iPhone and iPad are small screen, low-powered devices.
Multiple extensions are available for Safari on Mac in the App Store. But you can also check whether these extensions are supported for iPhone or iPad devices.
Lastly, if you've any thoughts or feedback, then feel free to drop in below comment box. You can also report the outdated information.