
400 Bad Request occurs when we try accessing a webpage that isn’t available or requesting a secured page without proper credentials.
In order to fix the issue, verify the URL address, check in the private browser, and use proper credentials after clearing cookies and cache.
In this guide, I have shared written instruction about:
Method 1: Recheck URL Format
One of the primary reasons for this issue is the entering an incorrect URL.
In this regard, you should double-check the website address if you have mistakenly used backslashes instead of forward slashes or have incorporated an unsupported symbol, such as curly brackets.
Furthermore, although the site’s name isn’t case-sensitive, its directory might be. Just verify that everything is entered after the .com domain is precisely as it should be.
Method 2: Try Private Browsing Mode
It is no secret that third-party add-ons could lead to various 4XX errors. Therefore, the safest bet is to browse the web in private mode. Doing so will disable all the extensions, and you can verify if the extensions are the reason for the 400 error.
- Launch the Google Chrome browser.
- Keypress the + + shortcut keys to open an Incognito Window.
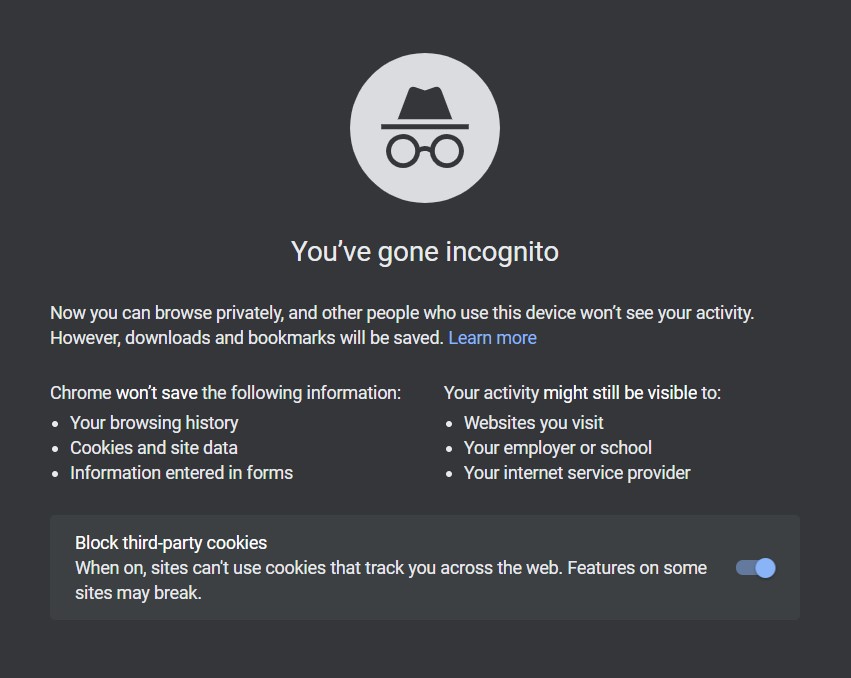

- Now try accessing the site, causing the bad request error.
If it loads without any issue, the problem could be attributed to the installed extensions or cookie and cache clutter within the browser.
Method 3: Disable Browser Extension
Most issues while accessing the browser are generally caused by extensions that we have installed. They can conflict with the browser’s functionality.
- Launch the Chrome app on the computer.
- Visit the Chrome’s extensions pages at chrome://extensions/ address.
- Toggle the button to turn off the extension.
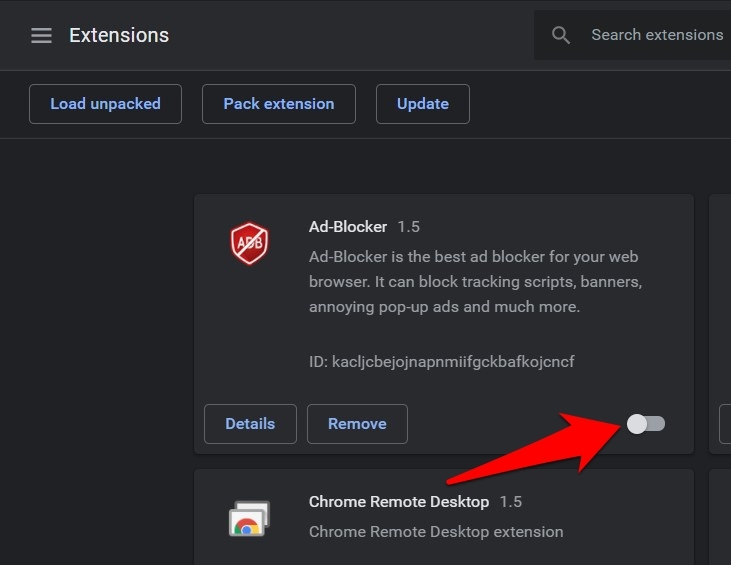

- Now disable each extension, one at a time, until the error has been fixed.
Moreover, it is recommended that the extensions that cause issues be uninstalled.
Method 4: Flush System DNS Cache
DNS is a record book containing all the Domain Names corresponding to their IP Addresses. But if this data gets outdated or corrupted, the browser won’t be able to establish a successful connection to the web. Therefore, it is recommended to clear the DNS cache:
- Open the Start Menu and search CMD.
- Launch the Command Prompt as an administrator.
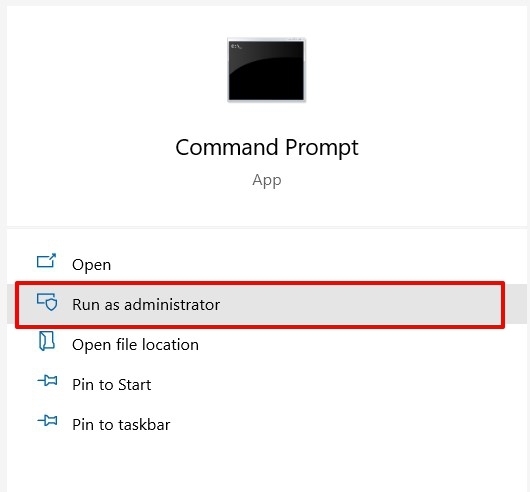

- Now type in ipconfig /flushdns, and hit .
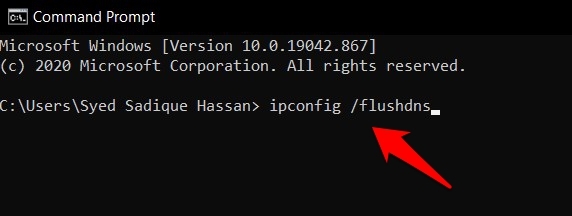

This will delete the DNS cache; hopefully, the error will rectify the issue. You should also consider clearing the DNS cache within the Chrome browser to be on the same page with the system.
Method 5: Delete Temporary Browsing Data
Over time, a lot of temporary data in the browser gets accumulated. This slows down the browser performance and could conflict with the proper loading of websites.
Deleting these cache and cookies files can help fix the underlying problem.
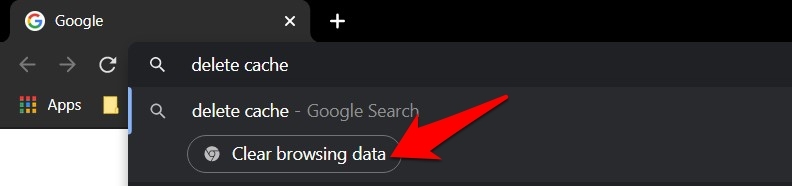
- Open the Chrome browser.
- Type in delete cache Chrome actions in the address bar.
- Click on Clear Browsing Data from the result list.

- Select Cookies and other site data and Cached images and files.
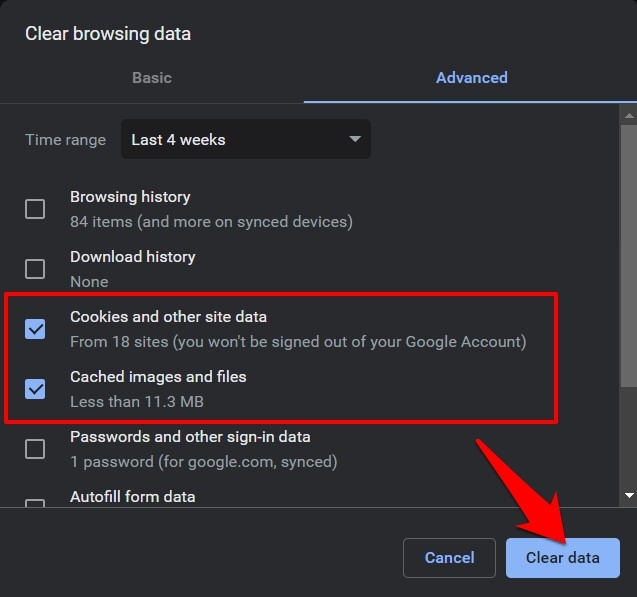

- Hit the button and wait for the process to complete.
Deleting the cache will delay the site loading for a few extra seconds because the fresh files are fetched from the web server instead of browser storage.
Method 6: Verify Upload File Size
If you get this error while trying to upload a file, it could be due to the site’s maximum file size restriction.
So consider compressing the file to a RAR or ZIP format before uploading it to the web. You can also upload the file to the cloud and share the link with the concerned party.
Bottom Line
In my case, the DNS cache wasn’t in sync with the online records. As a result, the browser was still picking up old data and couldn’t establish a successful connection. Deleting this Domain Name Server (DNS) cache helped clear the 400 error code message.
We should also ensure that we aren’t accessing the gated page hidden behind the account sign-in.
Lastly, if you've any thoughts or feedback, then feel free to drop in below comment box. You can also report the outdated information.


Sorry for the incurrence it won’t appear again
Hello help me with this stupid thing it says bad 400! Error ni done send a comment should of known I won’t get any answers back from you all either did you even read the first message I sent asking for help probably not ive tried everything to everyone for 2 weeks now at least messages me back and tell me you can’t help me please??????
Hi Teresa, I do not know where and what you were seeking help for. Can you please elaborate on the issue you are facing, web browser, and also the site URL?
You all don’t help with nothing yet can I get some help I got a bad for a hundred something about a client thing can you look into it for me take it off help me help you help me I know you won’t cuz I haven’t got no help yet for 2 weeks so do you make me want to what I’m doing on this cell phone I’m 65 years old the body will help me