
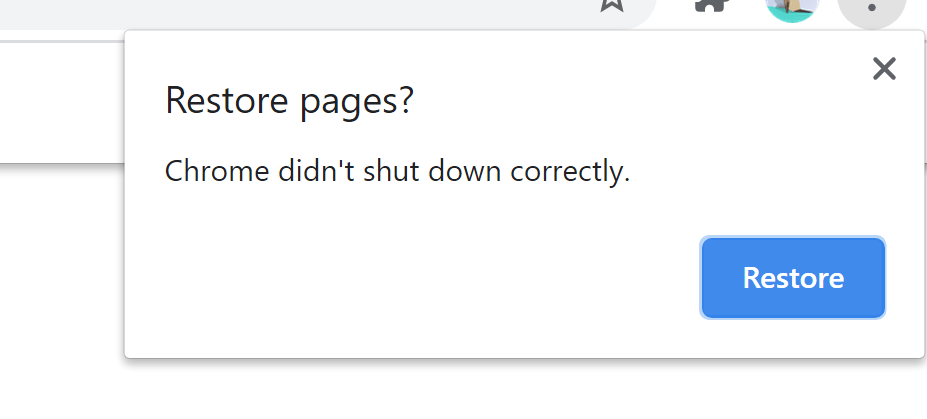
Chrome browser displays the error ‘didn’t shut down correctly’ when the app is closed abruptly with active tabs running. It might auto-exit due to failed Chrome processes or apps running on low resources.
In such cases, you should allow Chrome (PWA) apps to run in the background, rename the User Profile folder, tweak the Preferences file, manually close the browser before the system power off, or reset the browser to its original state to avoid the error.
In this guide, I have shared written instruction about:
Method 1: Manually Close the Chrome app before Shutting Down
If your computer powers off abruptly or you force shut down without closing the running Chrome app with open tabs, the pop-up message will display.
It is recommended that you manually close all the tabs or at least the Chrome app before turning the power off. This will ensure that no data is lost and also help you reopen the browser without any issues.
Method 2: Restore the Closed Tabs
There are a few ways to restore the abruptly closed tabs due to force closure. While Chrome provides the button to the tabs after relaunching the browser, we have two other ways.
- Chrome has a built-in restore closed tabs feature that automatically restores recently closed tabs.
If the browser has crashed, then you can use this option. - We can also visit the Browser History tab using the keyboard shortcut + and reopen the sites that were closed.
Restoring the tabs only works in normal mode, not in incognito mode. Restoring the sessions is technically impossible if you are browsing in private mode.
Method 3: Allow Chrome App in Background
By default, if Chrome isn’t up and running, its associated apps or extensions aren’t allowed to run in the background.
However, you may disable this restrictive environment and let the apps function at their total capacity. This may cause the browser to become slow and unresponsive, but the error will be solved.
- Launch the Google Chrome browser.
- Click on More

 and choose the Settings menu from the list.
 - Scroll down to the Advanced section and click System.
- Enable the Continue running background apps when Google Chrome is closed option.
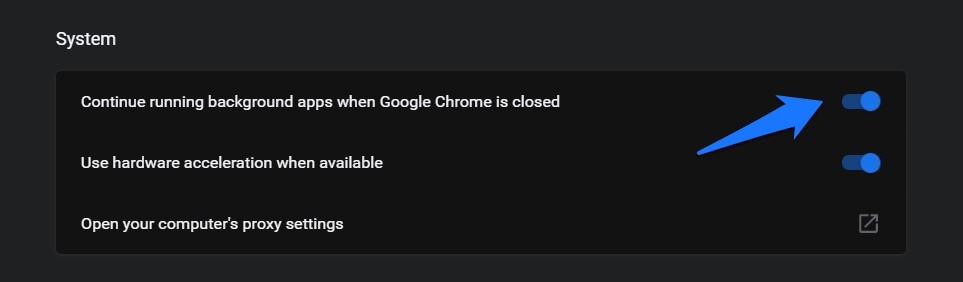

The workaround is primarily a trade-off with performance; however, since it is known to fix the underlying issue, you might have to sacrifice a few MBs of your RAM to get the browser up and running.
Method 4: Rename Chrome User Data Folder
Chrome’s Default folder holds data related to Sessions, Cookies, and Cache related to user profile. You can fix this issue by renaming this User Data browser folder.
However it will remove the existing profile, and you must create a new Chrome Profile with Google account.
- Open File Explorer and browse to the below location (replace UserName accordingly).
C: > Users > UserName > AppData > Local > Google > Chrome > User Data
If you aren’t able to view the AppData folder, then it probably might be hidden.
- Click on the View menu on the top menu bar and enable the Hidden items option.
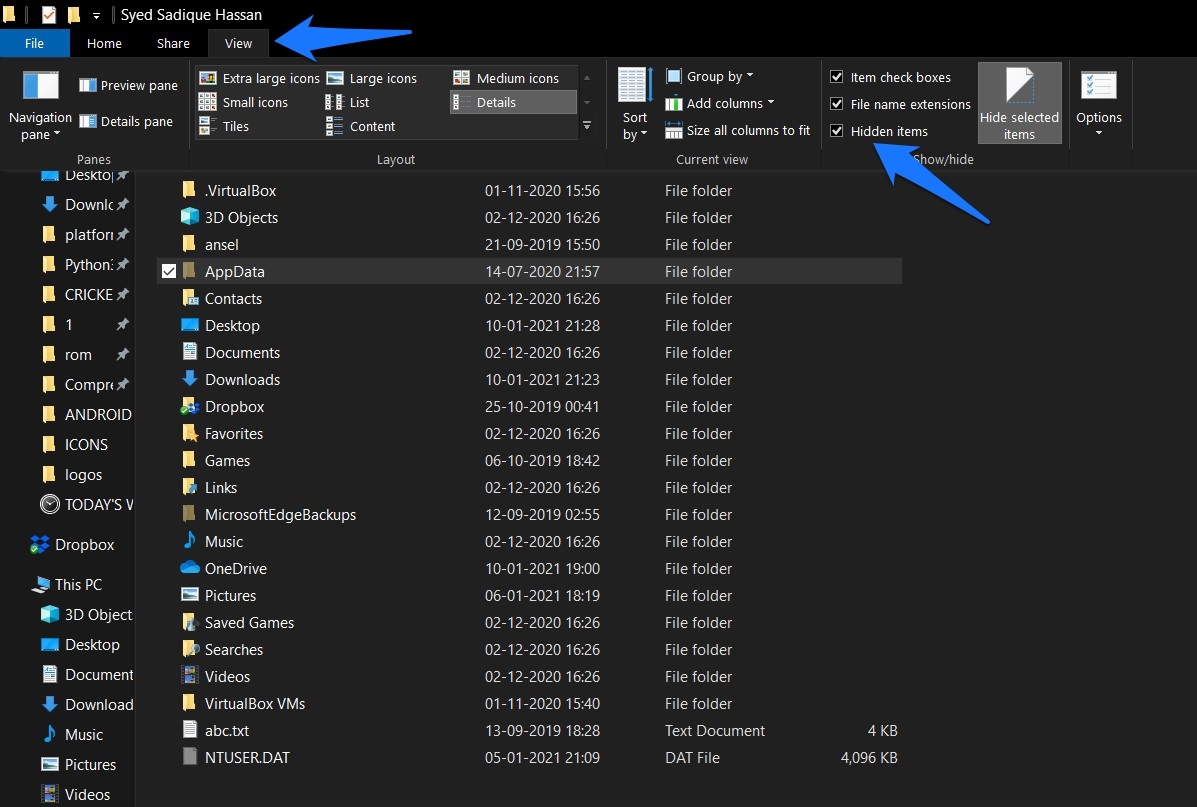

- The Default folder will now be visible under User Data.
- Right-click on the folder and select the command.


- Name it, say Default_old, and hit keyboard button.
Once the renaming is complete, relaunch the browser, and Chrome might now create a new environment to store its default settings and files. This, in turn, should fix the issue as well.
Method 5: Tweak Browser’s Preferences File
If you get the error after every Chrome reboot, it could be attributed to the browser’s Preference file. Making the required changes to this file should generally launch the browser at the next boot.
- Open File Explorer and access Chrome’s Default folder via the following location:
C: > Users > UserName > AppData > Local > Google > Chrome > User Data > Default
- Within that, please scroll to the Preferences file and open it via a text editor like Notepad.
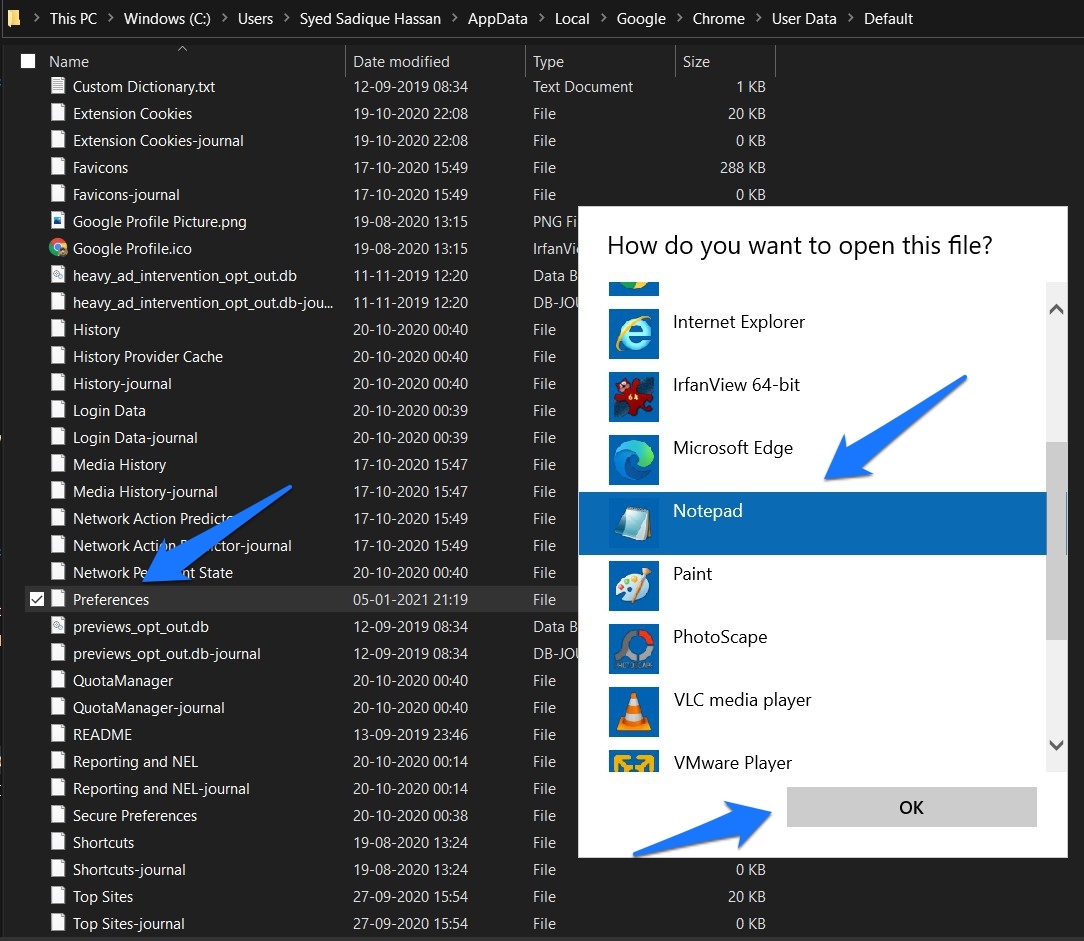

- Now use the + shortcut keys to bring up the Find dialog box.
- Type in exit_type, and press to search.


- Change the exit_type from Crashed to Normal.
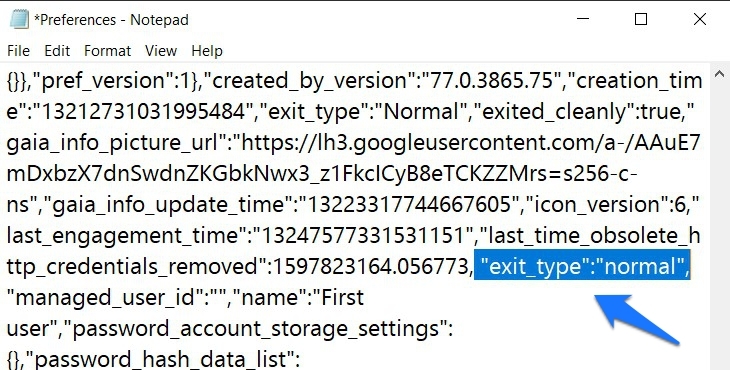

- Save the changes using + keyboard shortcut.
If the browser can’t change its preferences on its own, then taking the manual approach is the best route forward.
Method 6: Reset Browser to Original Default
If you have tweaked Chrome’s settings, they might conflict with the proper browser functioning. Reverting the settings to their default state might spell out success.
- Launch the Google Chrome browser.
- Click on More and choose the Settings menu from the list.
- Please scroll down to the Advanced section and open it.
- Navigate to the Reset and clean up section.
- Click on Restore settings to their original defaults command tab.
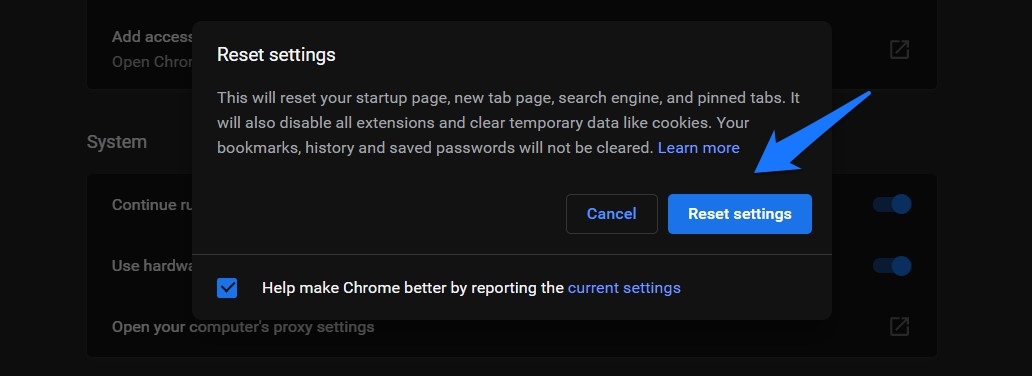

- Hit the confirmation dialog box in the button.
It will disable the third-party extension and clear temporary data bringing all the Chrome Settings back to their original state. So once this is done, restart the browser, and the issue will probably have been rectified.
Bottom Line
As I mentioned, if you try to improve Chrome’s performance to avoid crashes, it will lead to high CPU usage. One of the best ways is to upgrade your machine’s RAM capacity and Hard disk (at least to SSD) for better performance.
Also ensure that you are first closing the Chrome app before shutting down your computer. As shutdown or restart force all the existing open apps to close abruptly resulting in the issue.
Lastly, if you've any thoughts or feedback, then feel free to drop in below comment box. You can also report the outdated information.


One recommendation to modify the current profile config files, verify the browser profile path navigating in Chrome to: “chrome://version/”.
In that page you will see the actual profile path being used to read/write the current settings.
Look-up for the “Preferences” file (it has no extension) and make it read-only while the browser is not displaying the restore pop-up.
This fixed the problem for me. Although, it may bother if you later need to adjust any profile setting that would be also saved to this file. Keep that in mind.
Thank you, Eickel for tip!
The problem with mine is that when Chrome doesn’t shut down correctly, there is no “restore” button to get my tabs back, and it is not discussed in this article how to fix that
Hello Jason, if you do not see the “Restore” command button, then you can use reopen recently closed tabs feature which I already mentioned.